Overview
A Workflow Case in ThreatConnect® is a single instance of an investigation, inquiry, or other procedure. It contains all required elements of a notable event in a logical structure. Cases can be used to capture key evidence to enable security teams to decide if the Case should be escalated.
This article describes how to view and manage a Case, as well as the various components and elements included in a Case. When applicable, links to articles with more detailed information about these Case components and elements will be provided.
Before You Start
| Minimum Role(s) |
|
|---|---|
| Prerequisites |
|
Viewing a Case
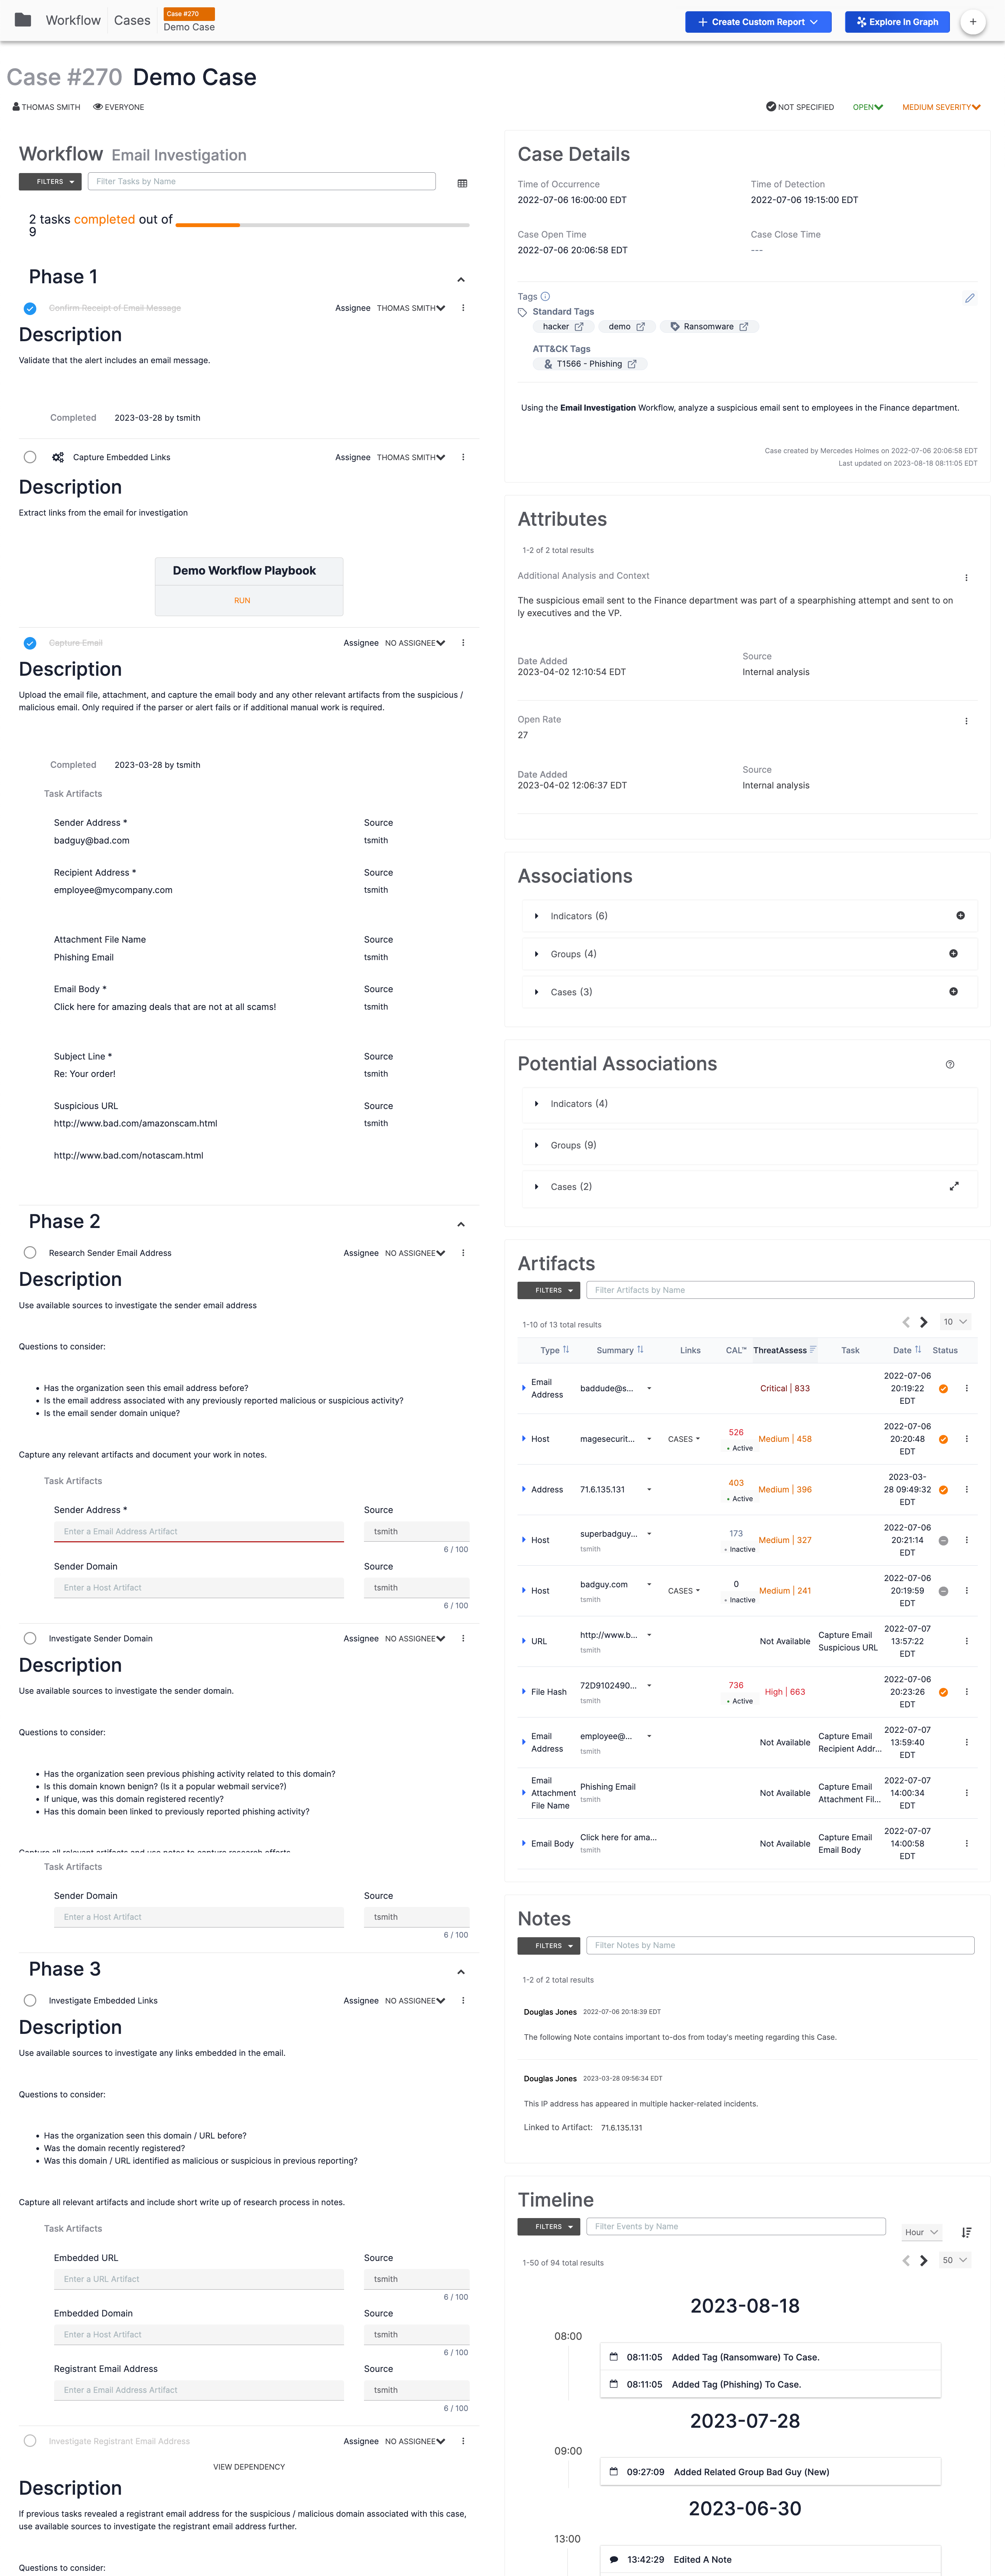
After you create a Case, a card for the Case will be displayed on the Cases tab of the Workflow screen (Figure 1).
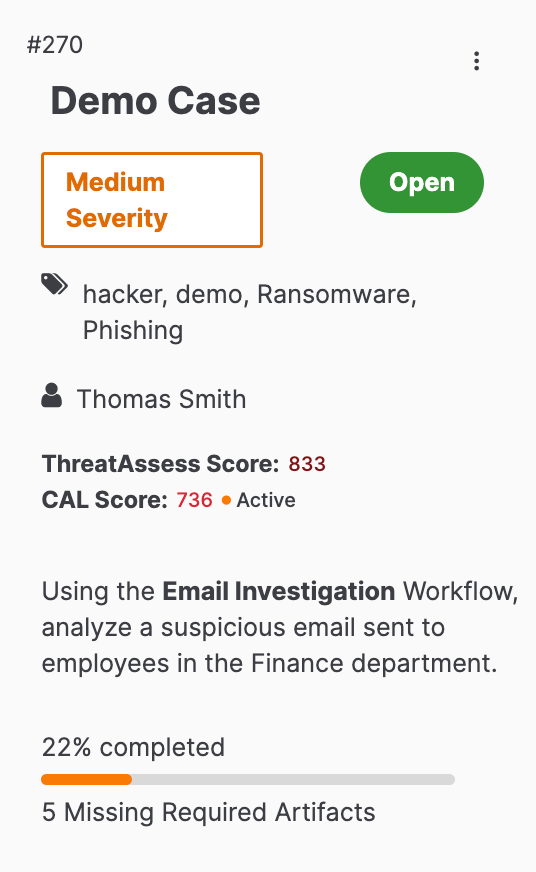
Click on the card to view the Case (Figure 2).
Case Name, Number, and Workflow
The name of the Case and a unique identification number (270 in this example) are displayed next to the Cases tab at the top left of the screen and just below that, at the top left of the Case itself (Figure 3).
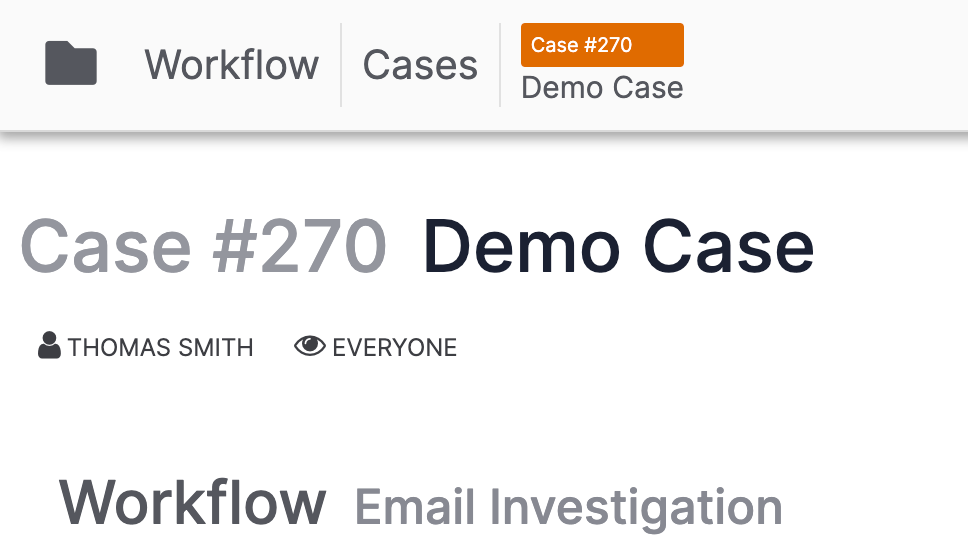
If a Workflow has been applied to the Case, the Workflow’s name (Email Investigation in this example) will be displayed to the right of the Workflow text, below the name of Case’s assignee.
Assignee and Users with Viewing Access
Assignee
The user or user group assigned to the Case is displayed under the Case number (Figure 3). A Case’s assignee is the user or user group responsible for tracking and monitoring the Case. Users other than the assignee may work in the Case as long as they have viewing access. The assignee receives notifications about the Case. Assignee information can also be used to filter metrics on TQL-based dashboard cards.
To change a Case's assignee, click on the user or user group name at the top left of the Case (Figure 3). A menu with suggested assignees (individual users followed by user groups) in the Organization will be displayed (Figure 4).
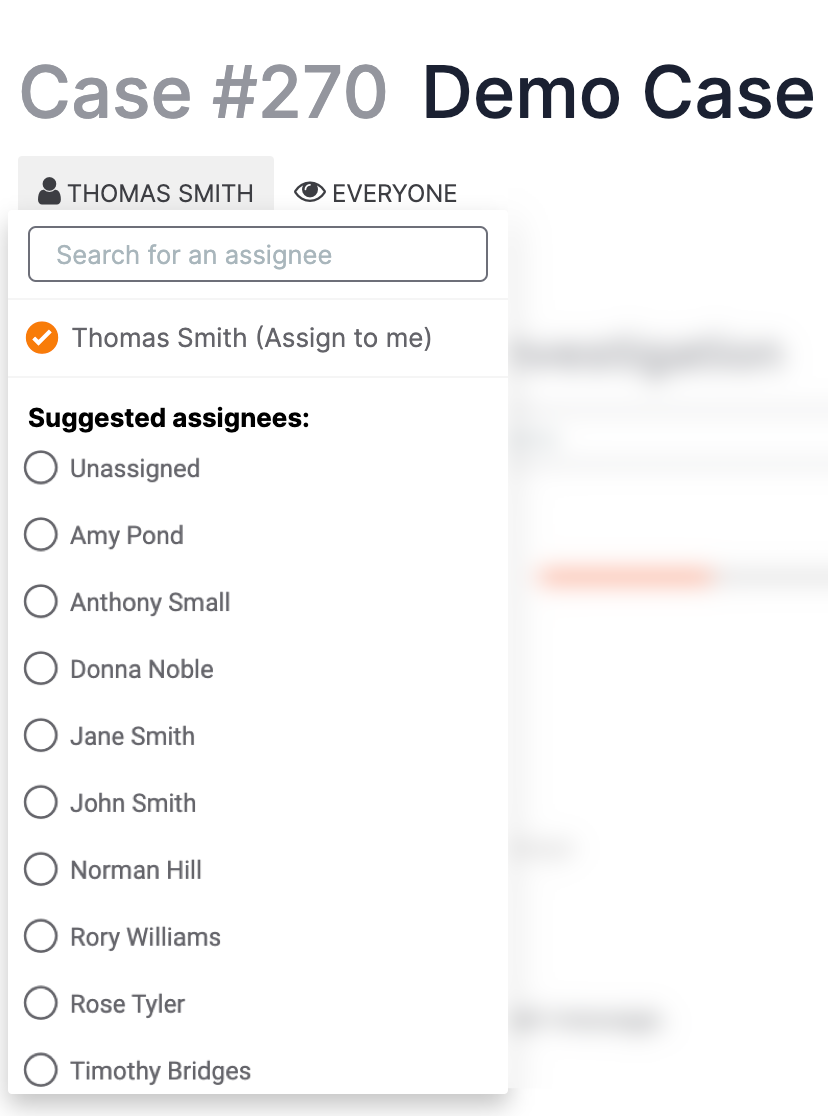
Select a new assignee for the Case from the menu, use the search bar to search for a particular user or user group, or close the menu by clicking anywhere outside of it.
Users with Viewing Access
The user(s) with viewing access to the Case are displayed next to the eye icon under the Case number (Figure 3). For multiple users, only the first two names will be listed, followed by the total number of other users with viewing access—e.g., AMARI JACKSON, AMY POND (+ 12 MORE). Click on the username(s) next to the eyeicon to view a menu listing all users in the Organization and a radio button indicating their access (Figure 5).
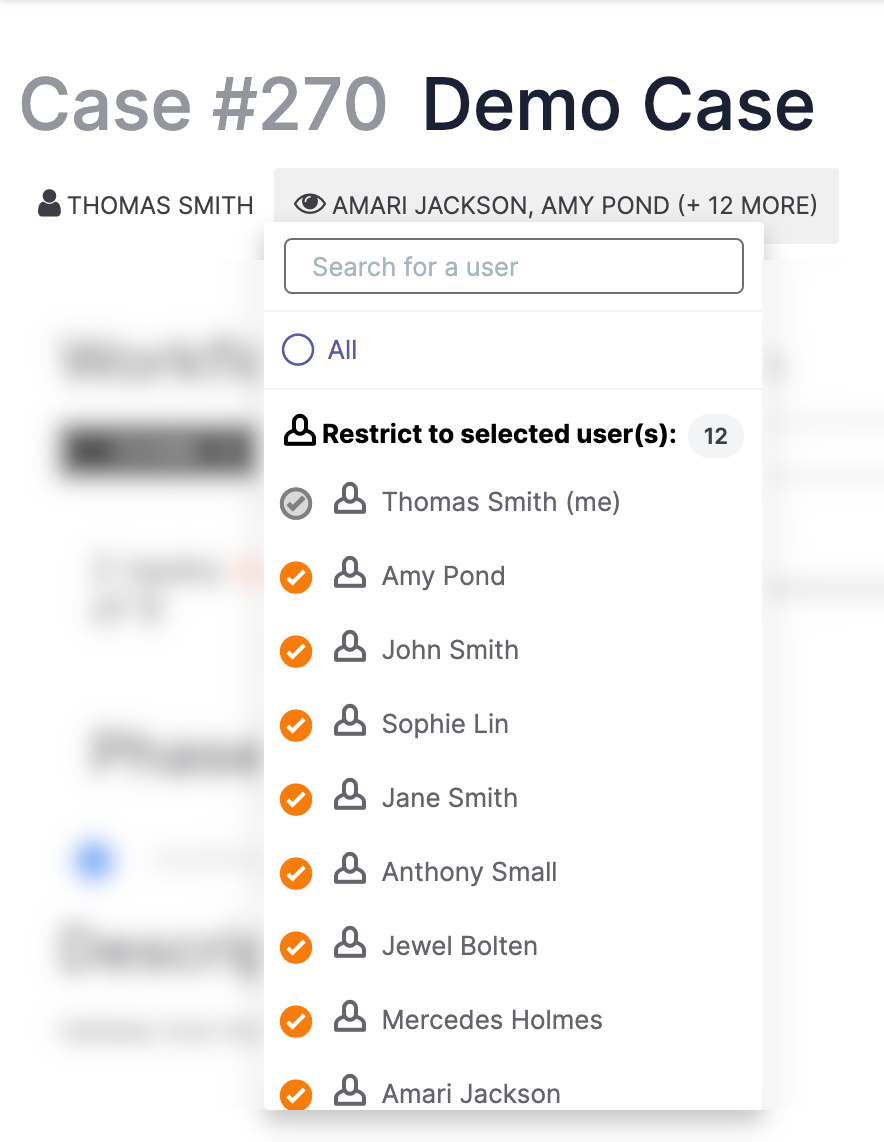
If viewing access is available to all members of the Organization, then the All checkbox will be selected. If viewing access is restricted to a subset of Organization members, then the All checkbox will be cleared, and Organization members with viewing access will be listed under the Restrict to selected user(s): section, as in Figure 5.
To add or remove viewing access for a user, select or clear the checkbox next to their name, respectively. To give viewing access to all users in the Organization, select All (Figure 6).
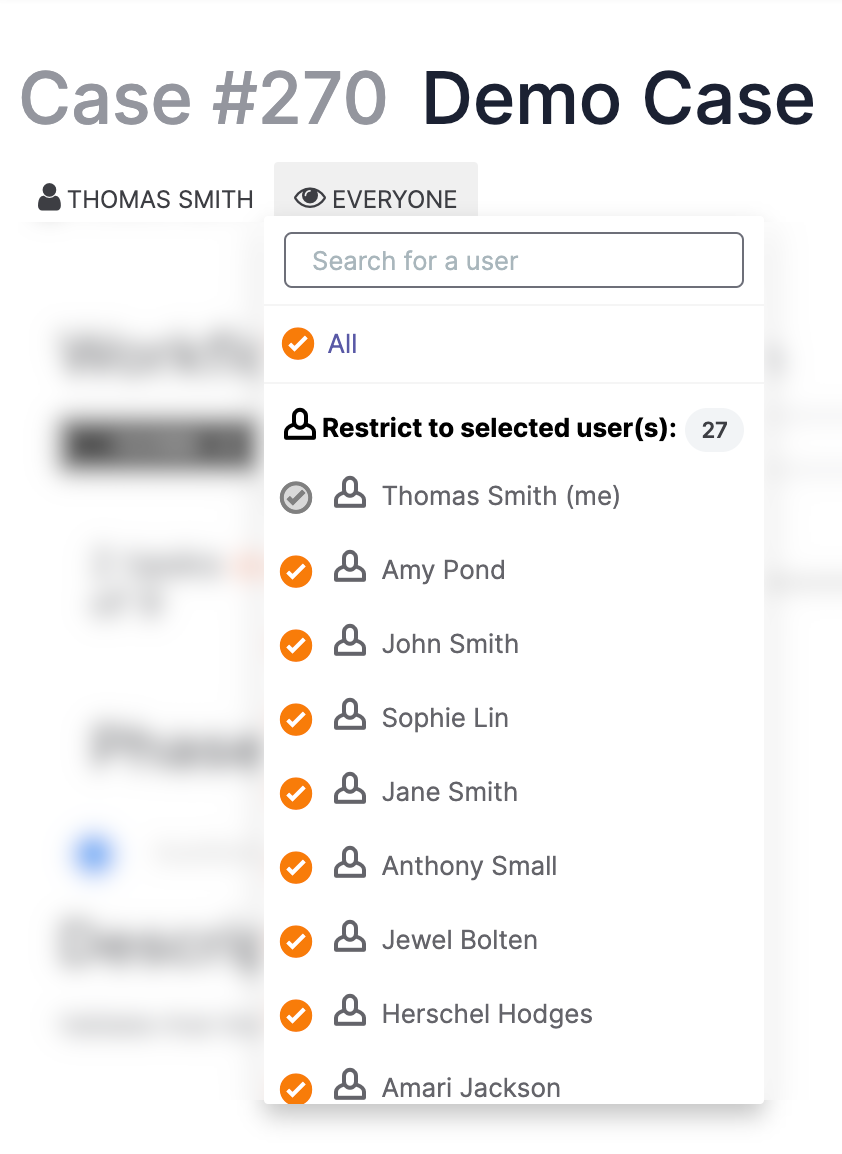
 designates the Case’s assignee. It is not possible to remove an assignee’s viewing access for a Case. The only way to prevent an assignee from viewing a Case is to select a different assignee and then remove viewing access for the original assignee.
If a user who is not assigned to a Case attempts to toggle off their own viewing access for that Case, the Are you sure you want to revoke your own Permissions? window will be displayed. If the user clicks the CONFIRM button, their access to the Case will be removed, and they will be returned to the Cases tab of the Workflow screen.
Resolution, Status, and Severity
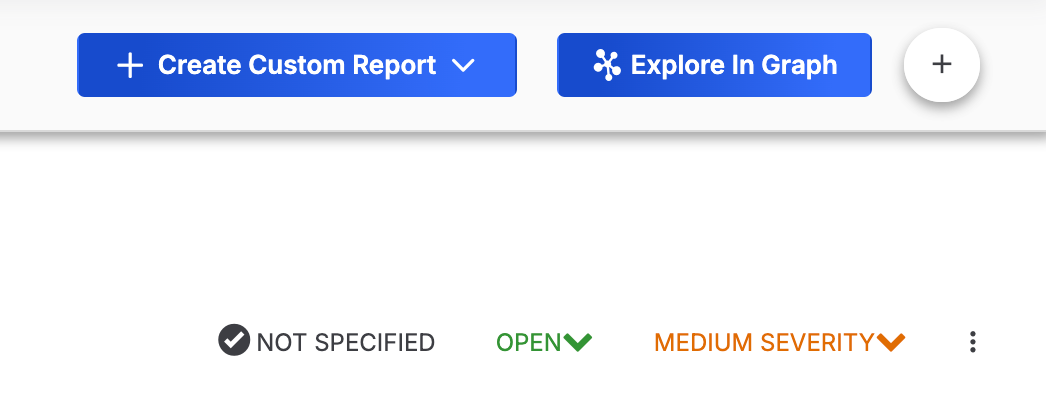
The resolution, status, and severity of the Case are displayed in a row at the top right of the Case (Figure 7).
Resolution
Resolution is used to communicate the justification for the current status of the Case. To set or change the resolution of a Case, click on the leftmost item in the row (NOT SPECIFIED in Figure 7) and select an option from the menu that is displayed. Available Case resolutions include the following:
- Containment Achieved
- Deferred / Delayed
- Escalated
- False Positive
- In Progress / Investigating
- Rejected
- Restoration Achieved
Status
To change the status of a Case, click the middle item in the row (OPEN in Figure 7) and select the corresponding option from the menu that is displayed:
- If a Case’s status is set to OPEN, the menu will display only an option of Close.
- If a Case’s status is set to CLOSED, the menu will display only an option of Re-Open.
Severity
To change the severity of a Case, click the rightmost item in the row (MEDIUM SEVERITY in Figure 7) and select an option from the CHANGE SEVERITY TO: menu. Available severity levels for a Case include the following:
- Critical
- High
- Medium
- Low
Explore In Graph
The Threat Graph feature in ThreatConnect provides a graph-based interface where you can discover, visualize, and contextualize associations and relationships between Indicators, Groups, Cases, and Tags. Click the Explore In Graph button at the upper-right corner of the Case to view the Case in Threat Graph. See Pivoting in ThreatConnect in Threat Graph for further instruction on pivoting on Indicators, Groups, Case, and Tag associations for the selected Case in Threat Graph.
Create Custom Report
ThreatConnect’s built-in reporting feature lets you collect and organize valuable information and insights about a Case in a document that can be shared with teammates, executives, and stakeholders. Click the + Create Custom Report button at the upper-right corner of the Case to create a report for the Case from scratch or from a Case report template.
Case Elements
Phases and Tasks
The Phases and Tasks section, located on the left side of the screen (Figure 2), is where the action of the Workflow feature takes place. This section shows all Tasks in the Case, grouped into Phases, as specified by the Workflow on which the Case is based.
By default, the Phases and Tasks section of the screen is displayed in detail view, but can be switched to list view. Detail view provides all details for each Task, including fields for providing inputs that are saved as Artifacts.
Case Details
The Case Details card, located at the top right of a Case (Figure 2), displays time-based information related to the Case, Tags that have been applied to the Case, and a description of the Case.
Attributes
The Attributes card, located below the Case Details card, displays all System-level and Organization-level Attributes added to the Case. Case Attributes are key/value data sets that you can use to enrich a Case and aid security teams as they investigate a threat and determine the appropriate escalation path for a Case.
Associations
The Associations card, located below the Attributes card, displays all Indicators, Groups, and Cases associated to the Case. For Indicators and Groups displayed on a Case’s Associations card, the Case will be listed as an associated Case on the Case Associations card of the Associations tab on their Details screen, as well as the Case Associations card on their Details drawer. If viewing an associated Indicator’s or Group’s legacy Details screen, you can view associated Cases in the Associated Cases section of the Associations card while the card is in table view. Cases associated to one another will be displayed on each other’s Associations card.
Potential Associations
The Potential Associations card, located below the Associations card, displays Indicators, Groups, and Cases suggested as associations that you may want to add to the Case. Some or all of the following objects may be displayed on this card, depending on how your System Administrator configured potential associations for your ThreatConnect instance:
- Indicators that match the type and summary of a Case Artifact that has its Use to potentially associate cases. checkbox selected
- Indicators associated to Groups associated to the Case
- Groups associated to Indicators associated to the Case
- Groups associated to Indicators that match the type and summary of a Case Artifact that has its Use to potentially associate cases. checkbox selected
- Cases that share an Artifact with the Case you are viewing (i.e., both Cases contain an Artifact with the same summary and type, and each copy of the Artifact has its Use to potentially associate cases. checkbox selected)
Artifacts
The Artifacts card, located below the Potential Associations card, displays all Artifacts added to the Case. When viewing an Artifact’s details, you can view Indicators and Groups associated or potentially associated to the Artifact and create associations to Indicators and Groups. In addition to viewing these associations on the Artifacts card, you can view associated Artifacts on the Artifact Associations card of the Associations tab on an associated Indicator’s or Group’s Details screen. I f viewing an associated Indicator’s or Group’s legacy Details screen, associated Artifacts are displayed in the Associated Artifacts section of the Associations card while the card is in table view.
When viewing an Artifact whose type maps to a ThreatConnect Indicator type, you can enrich the Artifact with data retrieved from third-party enrichment services enabled and configured for the corresponding Indicator type.
Notes
The Notes card, located below the Artifacts card, displays all Notes added to the Case. A Note in Workflow is freeform information entered by a user (e.g., in a Workflow Case or attached to a Task or Artifact). Notes can be used to provide commentary, directives to another user, additional details, or any information that cannot be captured elsewhere. They enable security teams to journal key data findings in an unstructured format.
Timeline
The Timeline card, located below the Notes card, shows a timeline of all changes made to a Case. When an action is performed in a Case, a Timeline Event is added automatically to its timeline. Timeline Events may also be added manually to a Case’s timeline.
Managing a Case
Adding Case Elements
Click the New… button at the top right of a Case to display a menu with the following options:
- Associate Case: Select this option to associate a Case to the Case being viewed.
- Associate Group: Select this option to associate a Group to the Case.
- Associate Indicator: Select this option to associate an Indicator to the Case.
- Artifact: Select this option to create a new Artifact in the Case.
- Attribute: Select this option to create a new Attribute in the Case.
- Case: Select this option to create a new Case.
- Note: Select this option to add a Note to the Case.
- Run Playbook: Select this option to run a Playbook in the Case. Note that no Artifact will be highlighted in the Artifacts table of the Run Playbook drawer.
- Task: Select this option to add a Task to the Case.
- Timeline Event: Select this option to add a Timeline Event to the Case.
Removing a Case
To remove (delete) the Case, click the ⋮ menu at the top right of the Case and select Remove.
ThreatConnect® is a registered trademark of ThreatConnect, Inc.
20121-01 v.05.B