Follow these steps to create an Artifact and add it to a Workflow Case in ThreatConnect®:
- On the top navigation bar, hover over Workflow and select Cases. The Cases screen will be displayed.
- Select a Case on the Cases screen. A detailed view of the Case will be displayed.
- Click the New…
 button at the top right of the Case and select Artifact, or hover the cursor over the Artifacts card and click New Artifact
 at the upper-right corner of the card. The Create Artifact drawer will be displayed (Figure 1).
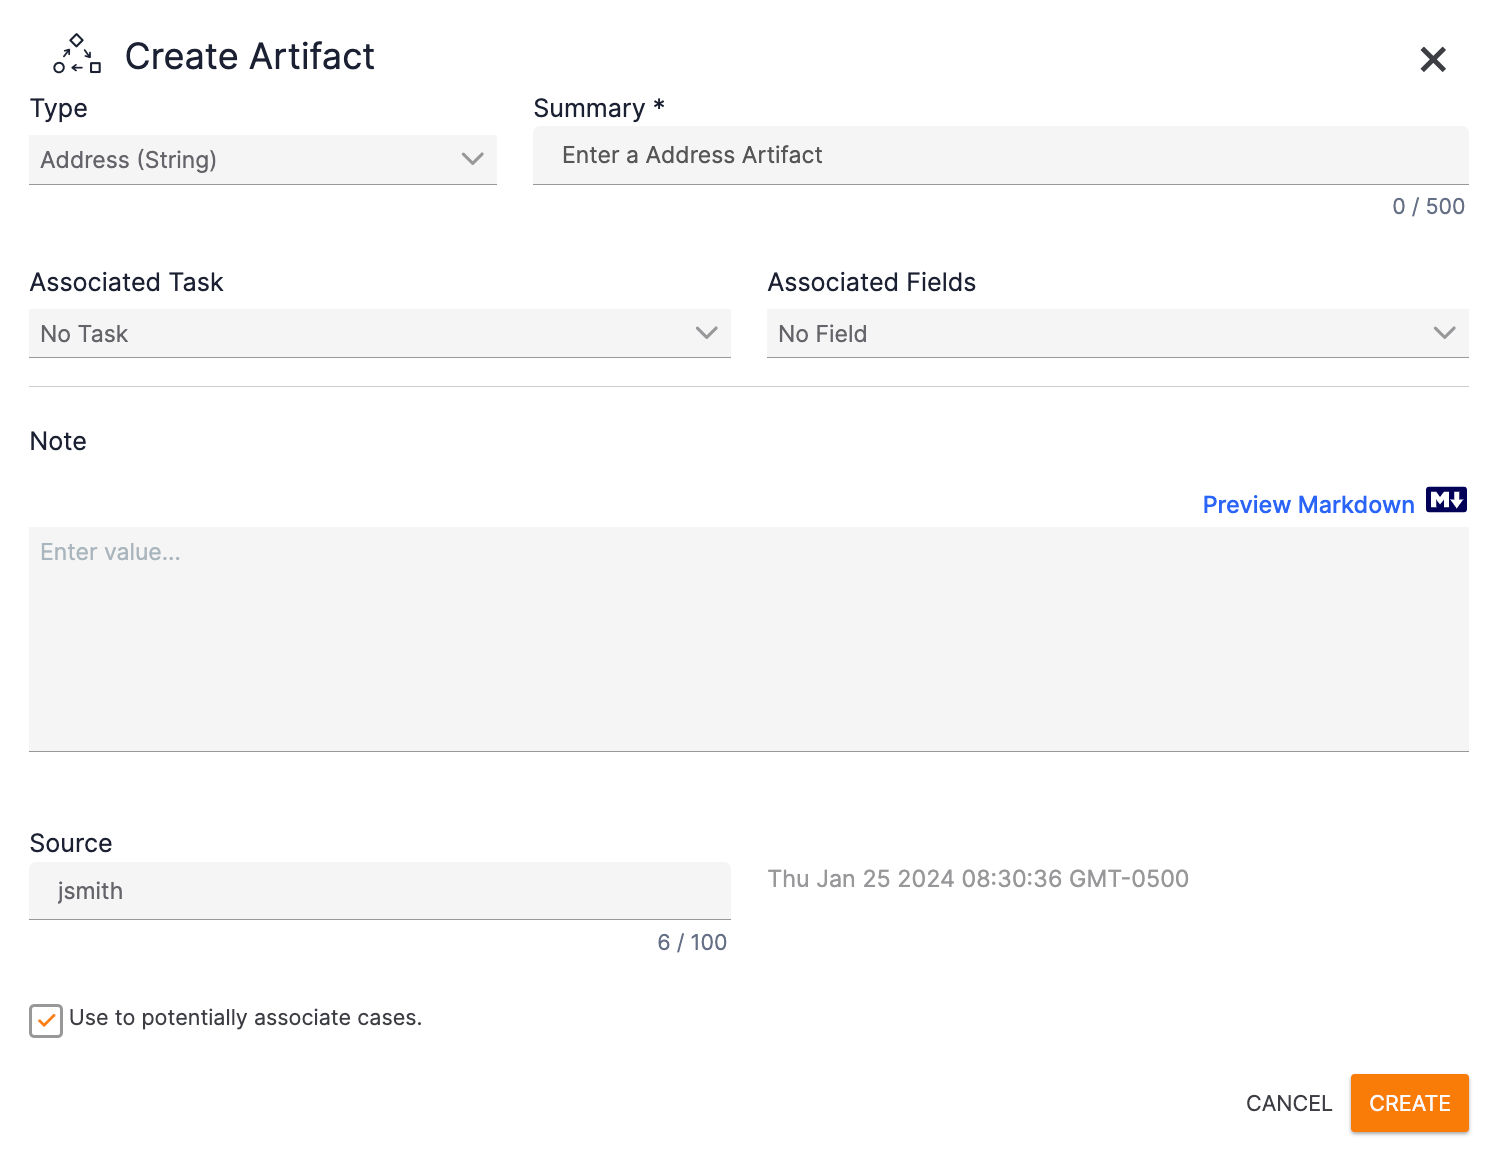
- Type: Select the Artifact’s type. Available Artifact types include all ThreatConnect Indicator types and other data types determined by ThreatConnect and your System Administrator.
- Summary: Enter the contents of the Artifact. If you selected a file-based Artifact type from the Type dropdown, a Drag and drop, or click to select a file. box will be displayed that you can use to upload the desired file for the Artifact.
- Associated Task: Select a Case Task with which to associate the Artifact, if desired. If you do not want to associate the Artifact with a Task, keep the default selection of No Task.
- Associated Fields: If you associate an Artifact with a Task, you can associate the Artifact with a specific Task input field if the type of Artifact being created matches the Artifact type for which the input field is configured. Use the dropdown to select an input field for the associated Task. If the only option is No Field, then the Task selected in the Associated Task dropdown does not have any input fields whose associated Artifact type matches the type selected in the Type dropdown.
- Note: Enter a Note, either in plain text or in Markdown, to link to the Artifact. If using Markdown, click the Preview Markdown
 link to preview the text with the rendered Markdown formatting.NoteThe Note text box supports the Marked library (https://marked.js.org/).
 - Source: The default value of the Artifact’s source is the username of the user creating the Artifact. If desired, edit this value.
- Use to potentially associate cases.: Select this checkbox to allow ThreatConnect to use the Artifact to generate potential associations for Cases, Groups, and Indicators.NoteIf multiple Cases contain an Artifact with the same summary and type, and the Use to potentially associate cases. checkbox is selected for each copy of the Artifact, those Cases will be displayed in the Cases section of the Potential Associations card for each Case. Those Cases will also be listed in the CASES dropdown in the Links column of the Artifacts card for the Artifact.ImportantThe default setting for this checkbox may vary across Artifact types. Also, if a System Administrator has disallowed the Artifact from being used to potentially associate Cases, then selection of this checkbox will not have any effect.
- Click the CREATE button.
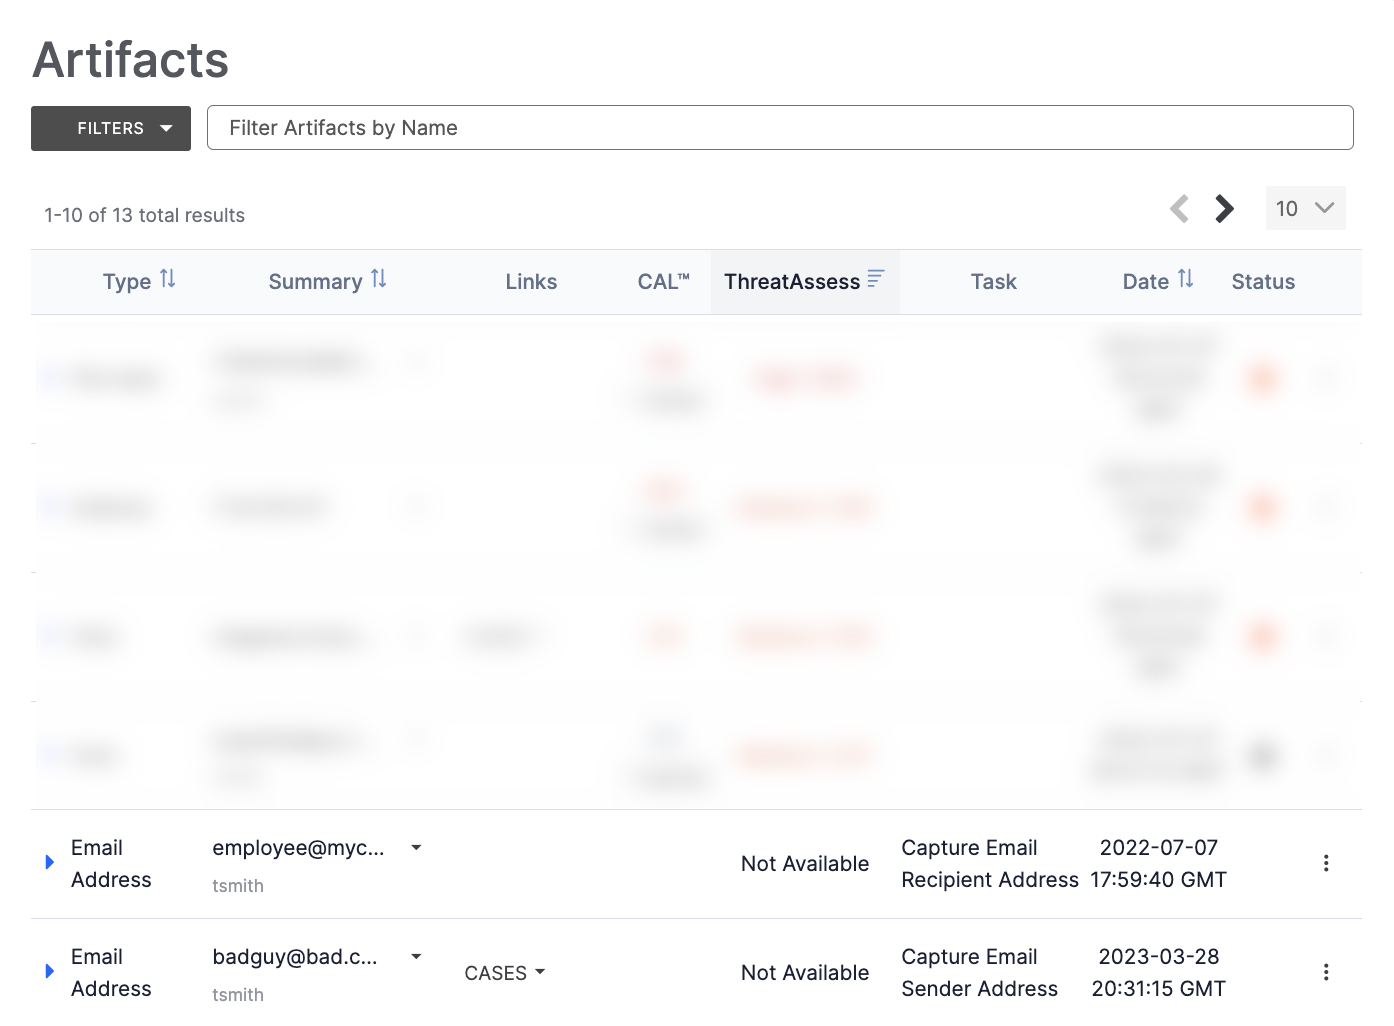
After you create an Artifact, it will be displayed in the Case’s Artifacts card. If you associated the Artifact with a Task and Task input field, the Task column of the Artifacts card will display the name of each item (Figure 2). The Artifact will also be populated in the associated input field for the associated Task.
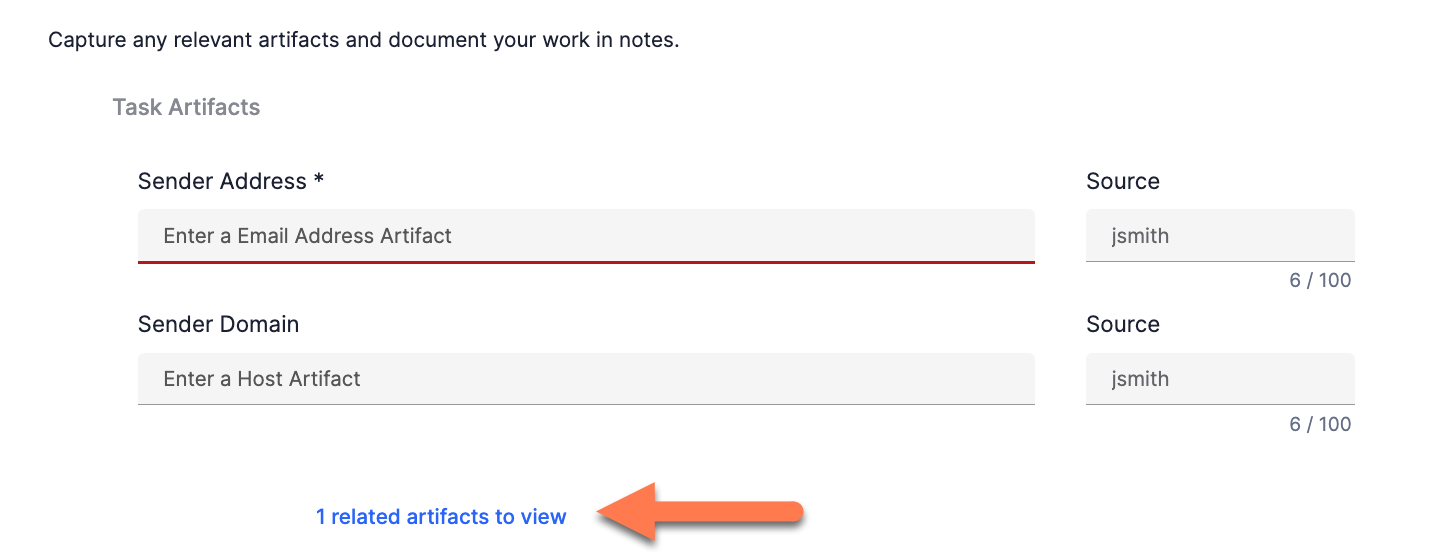
If you selected No Field from the Associated Fields dropdown, only the associated Task will be displayed in the Task column of the Artifacts card, and a link to view the related Artifact will be added at the bottom of the Task Artifacts section of the associated Task (Figure 3).
If no associated Task is selected, no value will be displayed in the Task column of the Artifacts card.
ThreatConnect® is a registered trademark of ThreatConnect, Inc.
20123-03 v.02.C