Overview
A Trigger is an event that initiates the actions defined within a Playbook. The UserAction Trigger in ThreatConnect® lets you run Playbooks on demand from the Details screen or drawer for threat intelligence data objects (Groups, Indicators, Intelligence Requirements, and Victims). You can also run UserAction Trigger–based Playbooks for Indicators while using Threat Graph. This Trigger is contextually aware and user driven, and it allows a customized response.
Before You Start
User Roles
- To view a Playbook with a UserAction Trigger, your user account can have any Organization role.
- To add the UserAction Trigger to a Playbook, your user account must have an Organization role of Standard User, Sharing User, Organization Administrator, or App Developer.
- To execute UserAction Trigger–based Playbooks for threat intelligence data objects, your user account must have an Organization role of Standard User, Sharing User, Organization Administrator, or App Developer.
Prerequisites
- To have access to Playbooks on your ThreatConnect instance, turn on the playbooksEnabled system setting (must be a System Administrator to perform this action).
- To have access to Playbooks in your Organization, turn on the Enable Playbooks permission on the Permissions tab of the Organization Information window when editing your Organization on the Organizations tab of the Account Settings screen (must be a System Administrator, Operations Administrator, or Accounts Administrator to perform this action).
Adding a UserAction Trigger to a Playbook
Follow these steps to add a UserAction Trigger to a Playbook and configure the Trigger:
- Click Playbooks on the top navigation bar in ThreatConnect to open the Playbooks screen.
- Create a new Playbook or open an existing one.
- Click
 Triggers on the side navigation bar of the Playbook Designer and select UserAction in the External menu to add a UserAction Trigger to the design pane (Figure 1).
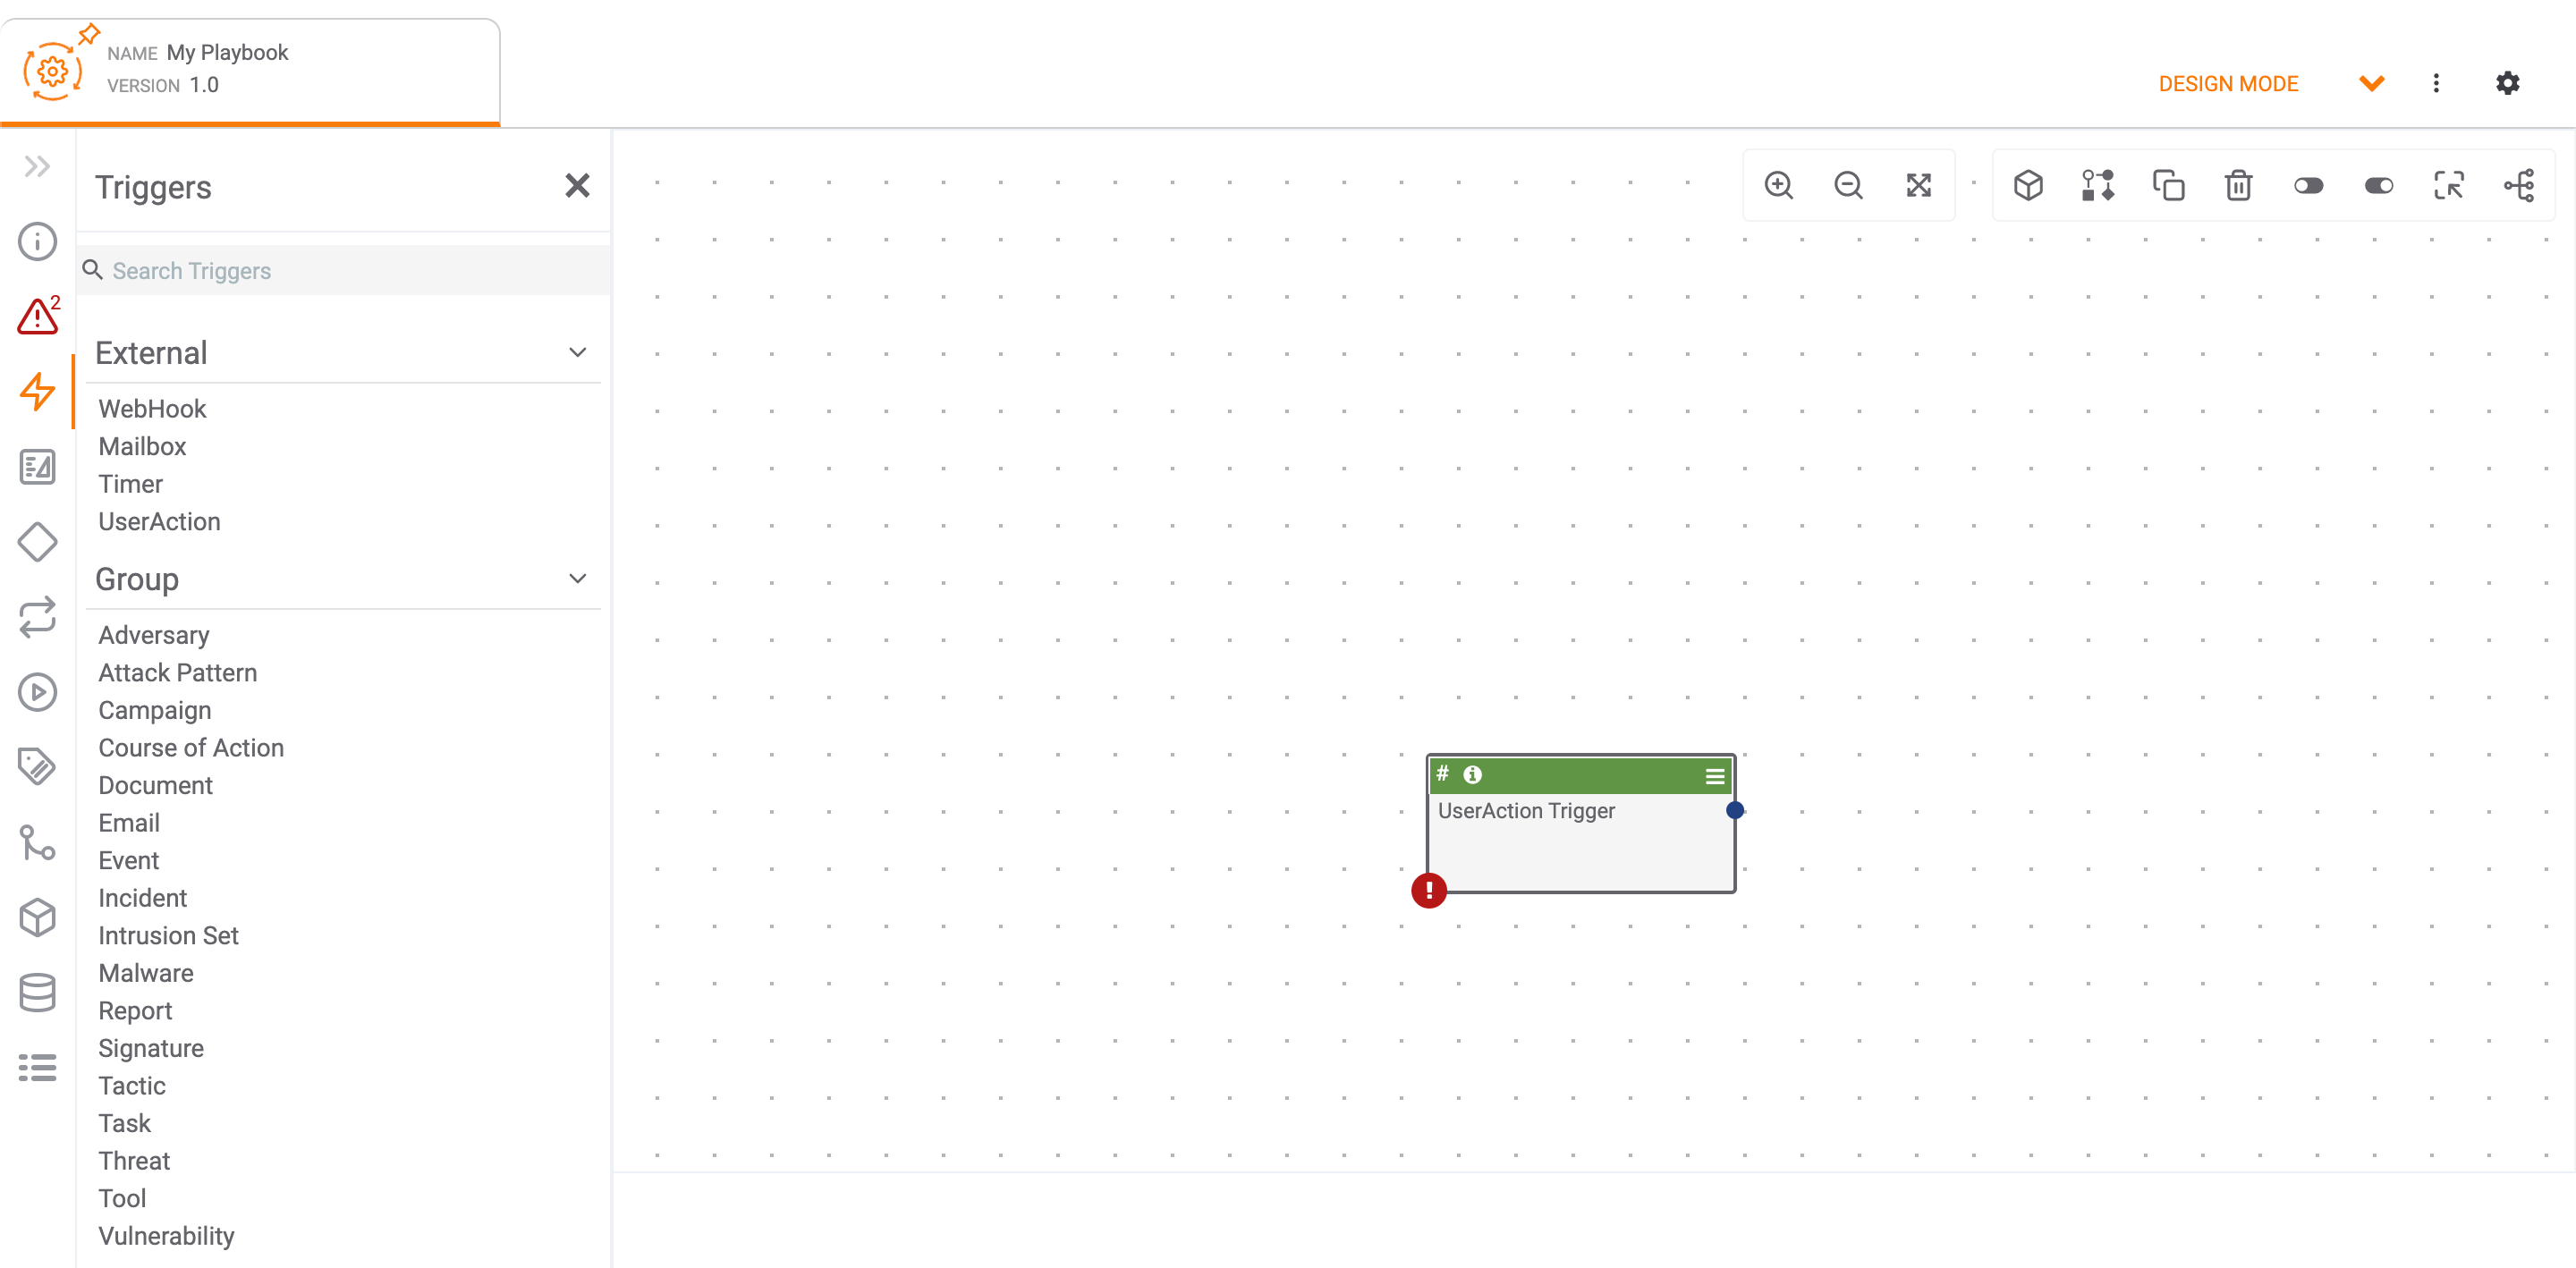
- Double-click the UserAction Trigger to edit it.
- Fill out the fields on Step 1 (Configure) of the Edit Trigger drawer (Figure 2) as follows:HintClick Display Documentation
 at the upper-right corner of the Edit Trigger pane to view information about the Trigger, including a description of the Trigger, its input parameters, and its output variables.
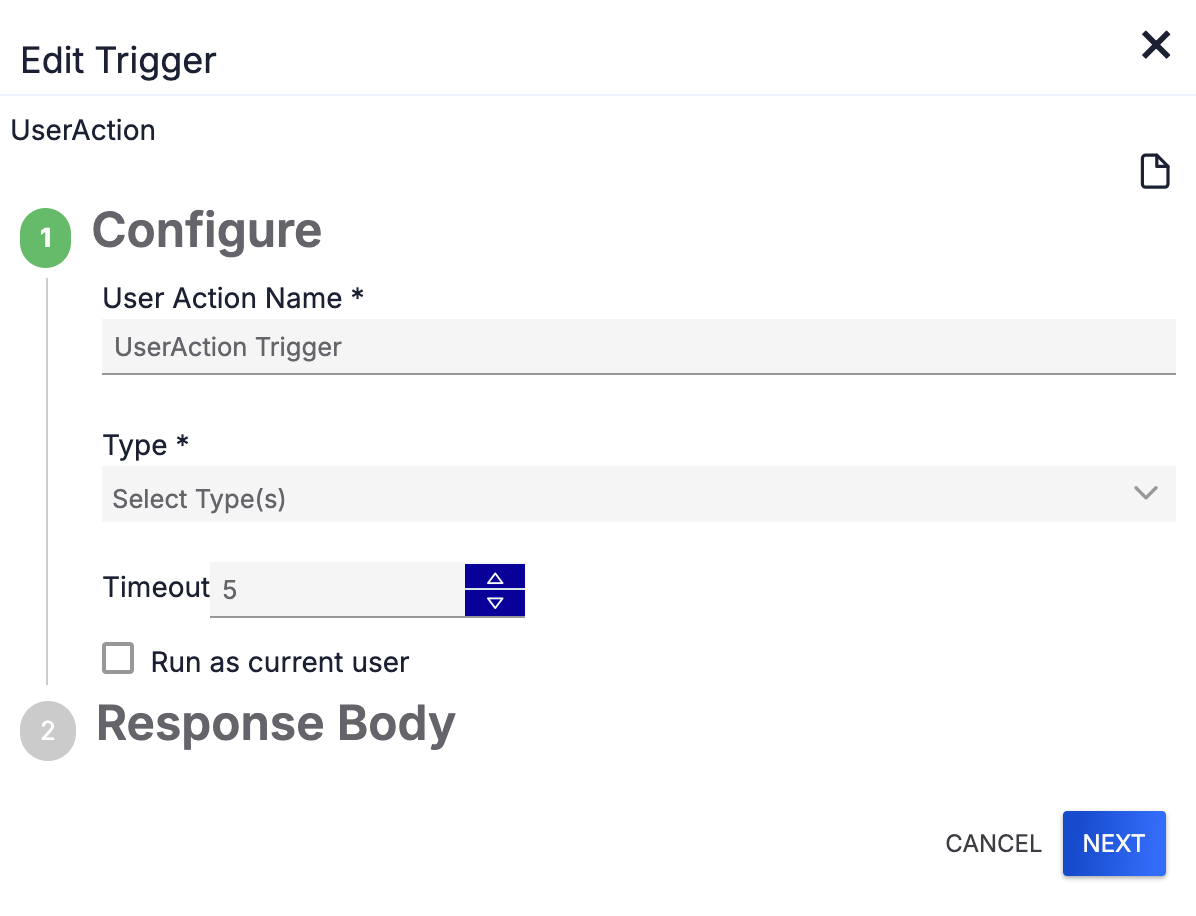
- User Action Name: Enter a name for the Trigger. This name will represent the Playbook on the Playbooks card (Details screen and drawer) and Playbook Actions card (legacy Details screen) and in the Select Playbook window (Threat Graph) for the object types selected in the Type dropdown.HintIt may be helpful to give the Trigger the same name as the Playbook so that it is clear which Playbook the Trigger belongs to.
- Type: Select the object types for which the Playbook will be available.NoteAlthough the Type dropdown includes a Case option, the UserAction Trigger is not supported for Workflow Cases.
- Timeout: Enter the amount of time, in minutes, that the Playbook will be allowed to run before timing out. The minimum value is 5 minutes.
- Run as current user: (Optional) Select this checkbox to execute the Playbook under the user account that initiates the Playbook's execution rather than the user selected in the Run As dropdown list of the Settings
 menu at the upper-right corner of the Playbook Designer.
 - Click NEXT.NoteIf you select the Run as current user checkbox, the Run As dropdown on the Settingsmenu at the upper-right corner of the Playbook Designer will be grayed out and display the text “Overridden by UserAction.”
- User Action Name: Enter a name for the Trigger. This name will represent the Playbook on the Playbooks card (Details screen and drawer) and Playbook Actions card (legacy Details screen) and in the Select Playbook window (Threat Graph) for the object types selected in the Type dropdown.
- Fill out the fields on Step 2 (Response Body) on the Edit Trigger drawer (Figure 3) as follows:
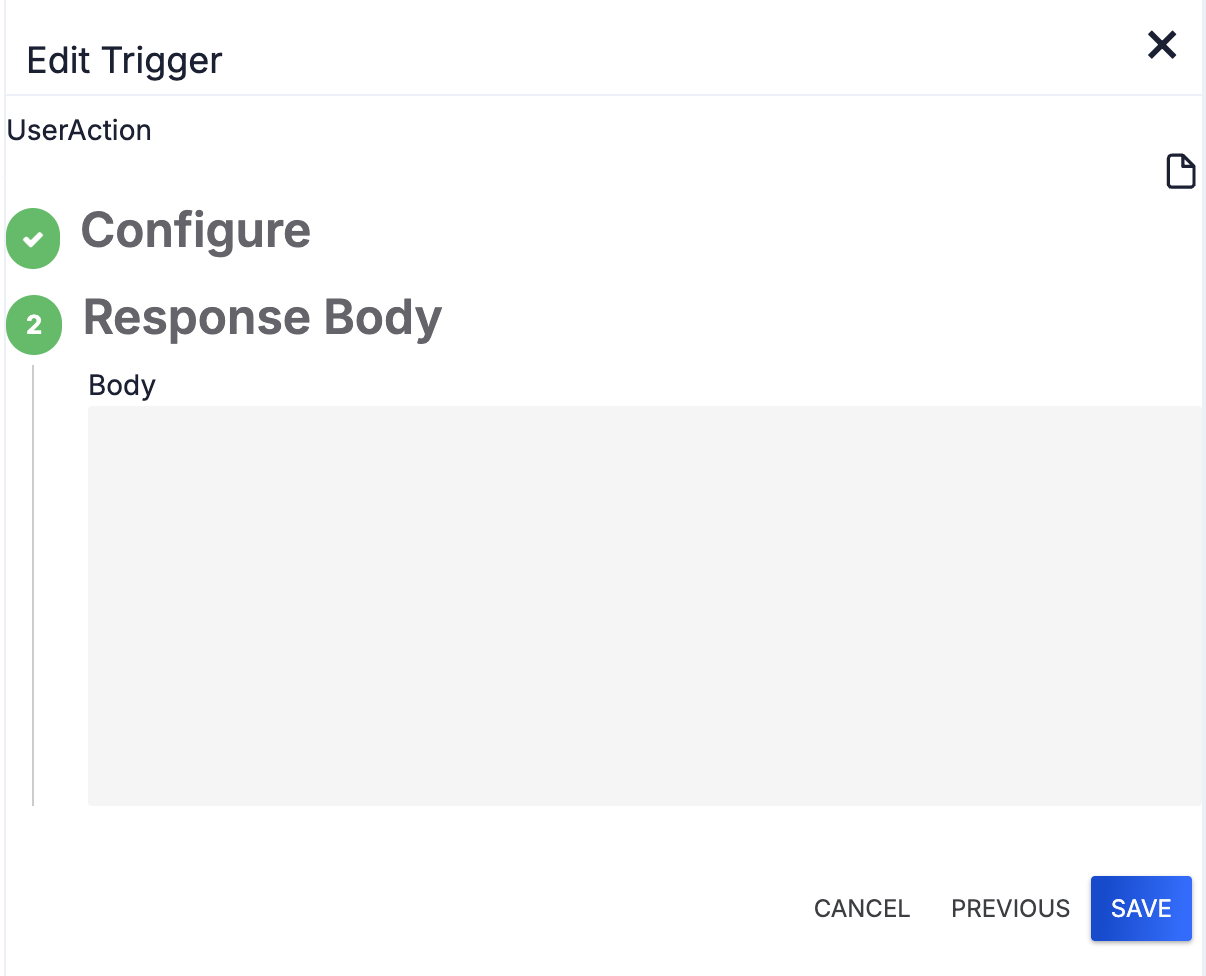
- Body: (Optional) Enter the message to display to the user after the Playbook's execution is complete. HintYou can use variables in the Response Body.
- Click SAVE to save the Trigger’s configuration.
- Hover over the Hashtag
 icon at the upper-left corner of the Trigger to view a scrollable list of output variables, which are values that the Trigger can send to other Apps and Operators in the Playbook.
 - Hover over the Information
 at the upper-left corner of the Trigger to view the object types the Playbook is available for, the Trigger’s timeout length, and whether the Playbook is configured to run under the user account that initiated the Playbook’s execution (true) rather than the Run As user (false).
 - Click the Menu
 at the upper-right corner of the Trigger to view a menu with options to edit, disable, clone, and delete the Trigger.HintEnsure the Playbook has an informative description, as its description will accompany the Trigger’s name on the Playbooks card (Details screen and drawer) and in the Select Playbook window (Threat Graph). You can edit a Playbook’s description in the Summary
.png) drawer in the Playbook Designer.WarningAssociating a midstream App to the Trigger to generate a faster response (i.e., before the Playbook workflow is complete) is not supported.
drawer in the Playbook Designer.WarningAssociating a midstream App to the Trigger to generate a faster response (i.e., before the Playbook workflow is complete) is not supported.
- Body: (Optional) Enter the message to display to the user after the Playbook's execution is complete.
Execute a Playbook With a UserAction Trigger
Details Screen and Drawer
The Playbooks card on an object's Details screen and drawer displays all active Playbooks with a UserAction Trigger configured for the object's type (Figure 4):
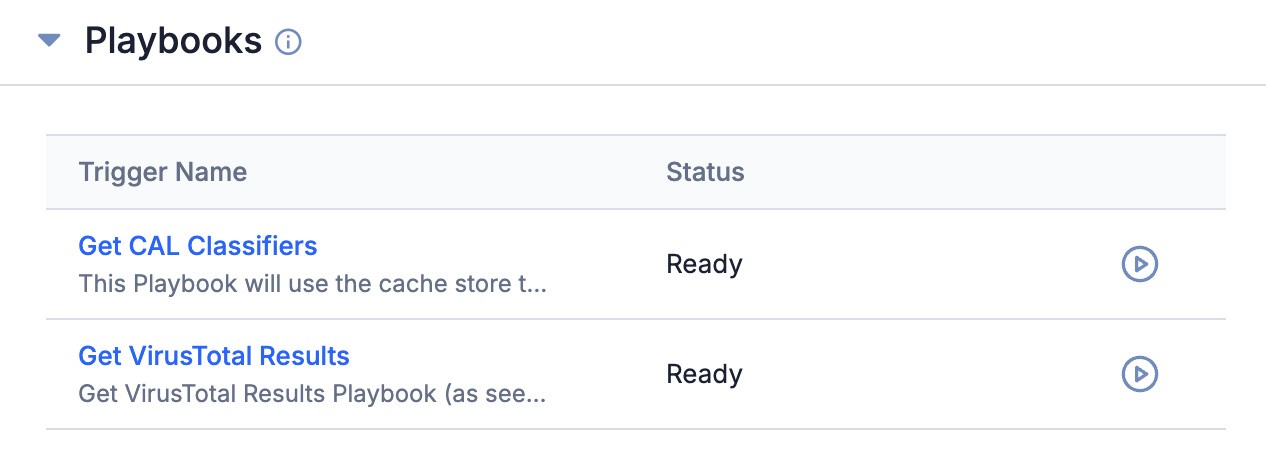
Click Run playbook in a Playbook’s row to execute the Playbook. If the Playbook executes successfully, the Playbook’s status will update to Completed, and a
.png) icon displaying the Trigger’s response body in a tooltip will be added in the Playbook’s row (Figure 5).
icon displaying the Trigger’s response body in a tooltip will be added in the Playbook’s row (Figure 5).
icon will still be present, but nothing will happen if you click or hover over it.(i.e no tooltip will be displayed).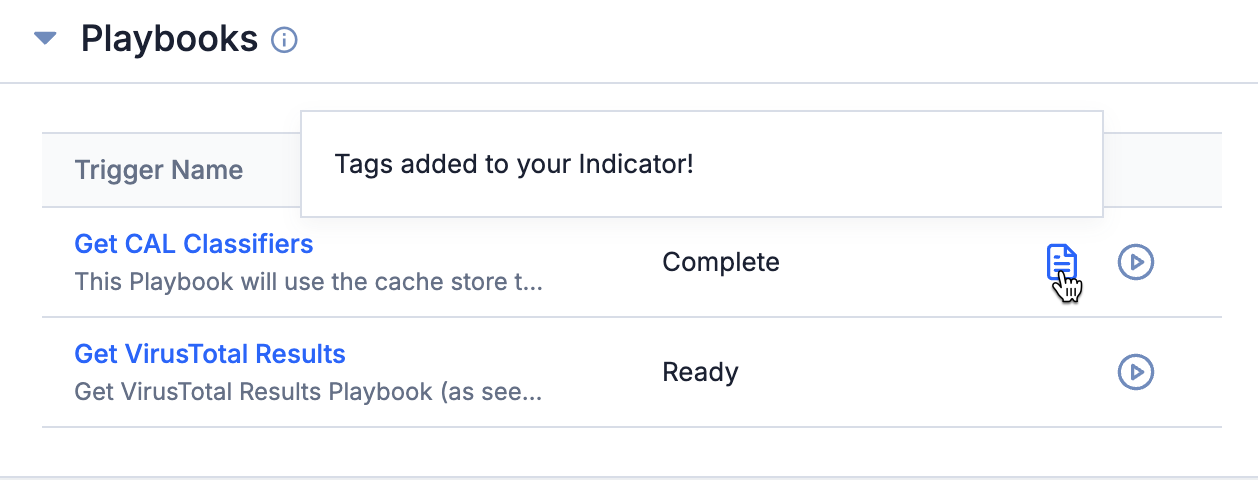
Legacy Details Screen
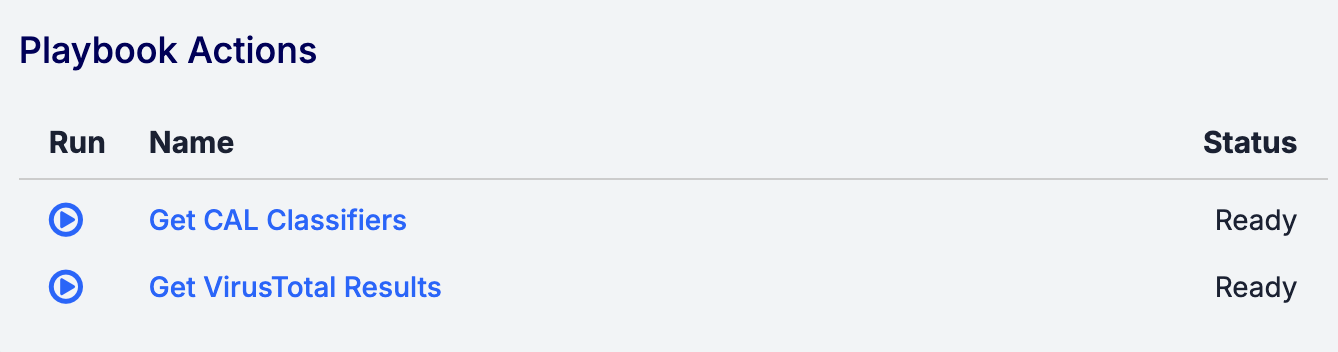
The Playbook Actions card on an object's legacy Details screen displays all active Playbooks with a UserAction Trigger configured for the object's type (Figure 6).
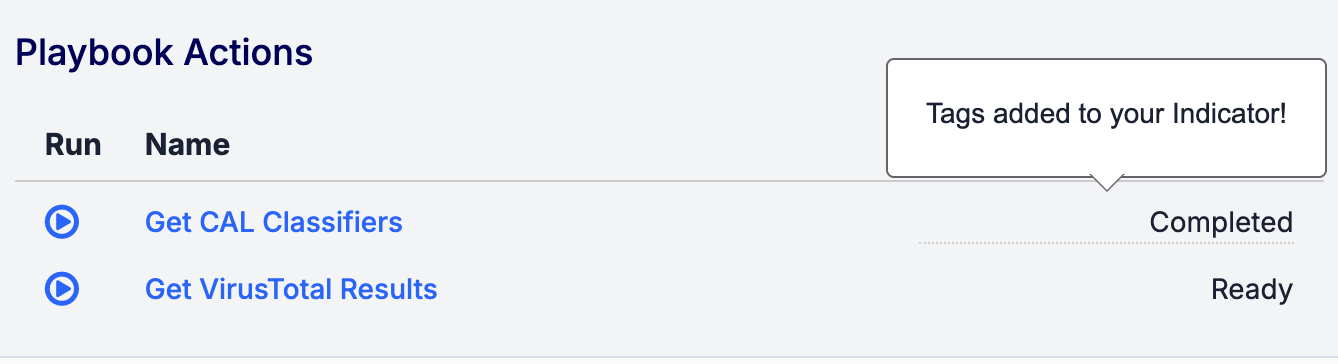
Click Click to run this playbook  in a Playbook’s row to execute the Playbook. If the Playbook executes successfully, the Playbook’s status will update to Completed, and a tooltip displaying the Trigger’s response body will be added in the Playbook’s row (Figure 7). If the Playbook’s execution fails, the Playbook’s status will update to Error – 500.
Threat Graph
ThreatConnect® is a registered trademark of ThreatConnect, Inc.
VirusTotal™ is a trademark of Google, Inc.
20055-01 v.09.C