Overview
The ThreatConnect® import engine can extract Indicators from unstructured documents, create them in ThreatConnect, and associate them to a Group. If desired, the source file used to upload Indicators can be saved as a Document Group and associated to the newly created Indicators.
IMPORTANT
Before performing the import, create a Group with which to associate the imported Indicators, as it will not be possible to create the Group during the import process.
Before You Start
| Minimum Role(s) | Organization role of Standard User |
|---|---|
| Prerequisites | None |
Performing an Unstructured Indicator Import
- On the top navigation bar, hover the cursor over Import and select Indicators. The Import Indicator screen will be displayed (Figure 1).
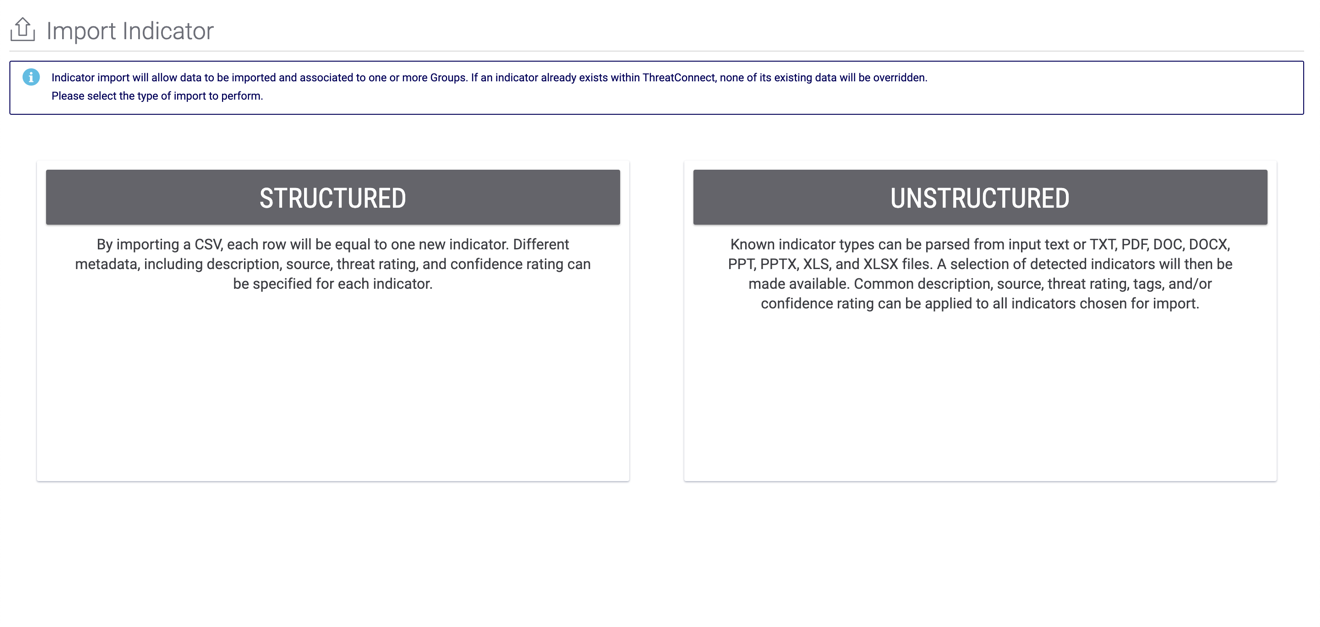
- Select UNSTRUCTURED to display the Import Indicators - Unstructured screen (Figure 2).
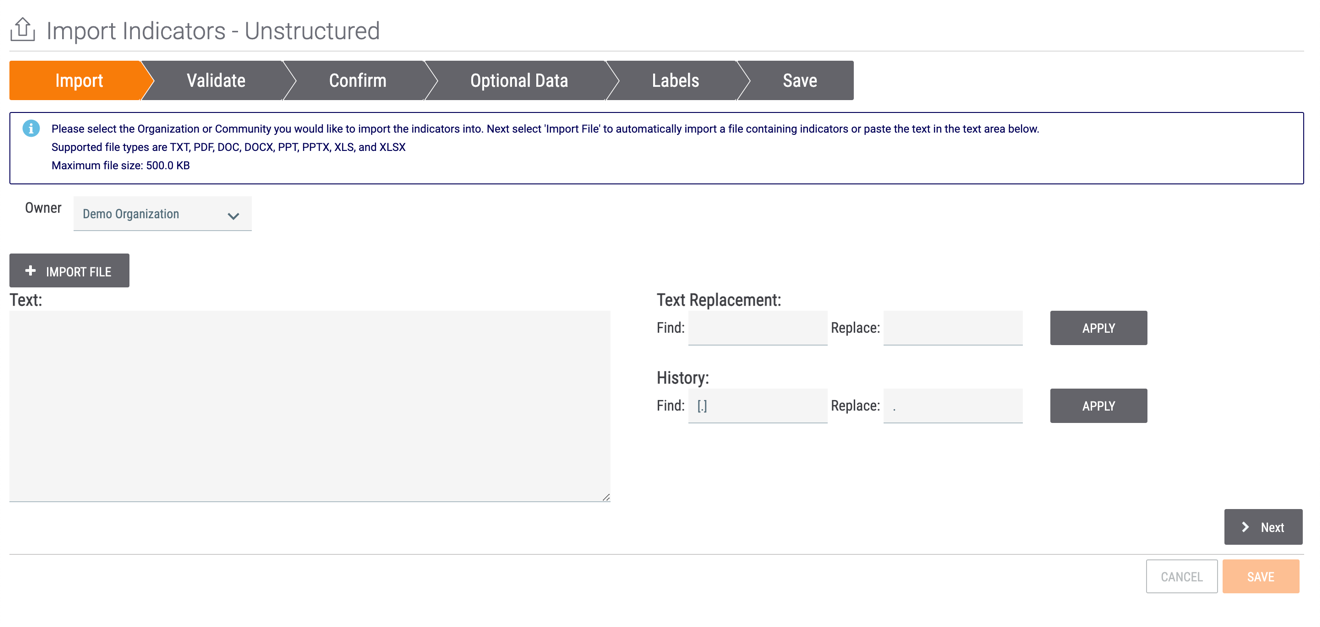
- Owner: Select an owner (i.e., Organization, Community, or Source) into which the Indicators will be imported.
- + IMPORT FILE: Click this button to locate and select a file containing Indicators to upload.
- Text: After a file has been uploaded, its contents will be displayed in this box. You may also enter text directly into the box.
- Text Replacement: Use the Find: and Replace: fields to make multiple changes of the same kind to contents in the Text: box (e.g., replacing text such as “hxxp” and “[.]”to re-fang Indicators).
- Find: Enter the text you want to locate in the Text: box.
- Replace: Enter the new text that will replace text in the Text: box that matches the text entered in the Find: field.
- Click the APPLY button to perform the text replacement operation.
- History: If you performed a text replacement operation during a previous Indicator import, the values entered in the Find: and Replace: fields will be displayed in this section. Click the APPLY button to perform a text replacement operation using those same values.
- Click the Next button.
- The Validate screen will be displayed (Figure 3).NoteIf an Indicator has been placed on an Indicator Exclusion List, the text “(excluded)” will be displayed to the right of its name in the Value column. You will also not be able to select the Indicator for import, as no checkbox will be displayed in the leftmost column.NoteThreatConnect's import engine uses regular expressions to parse Indicators from the supplied text and thus may include false positives in the list (e.g., google.com as a valid host).
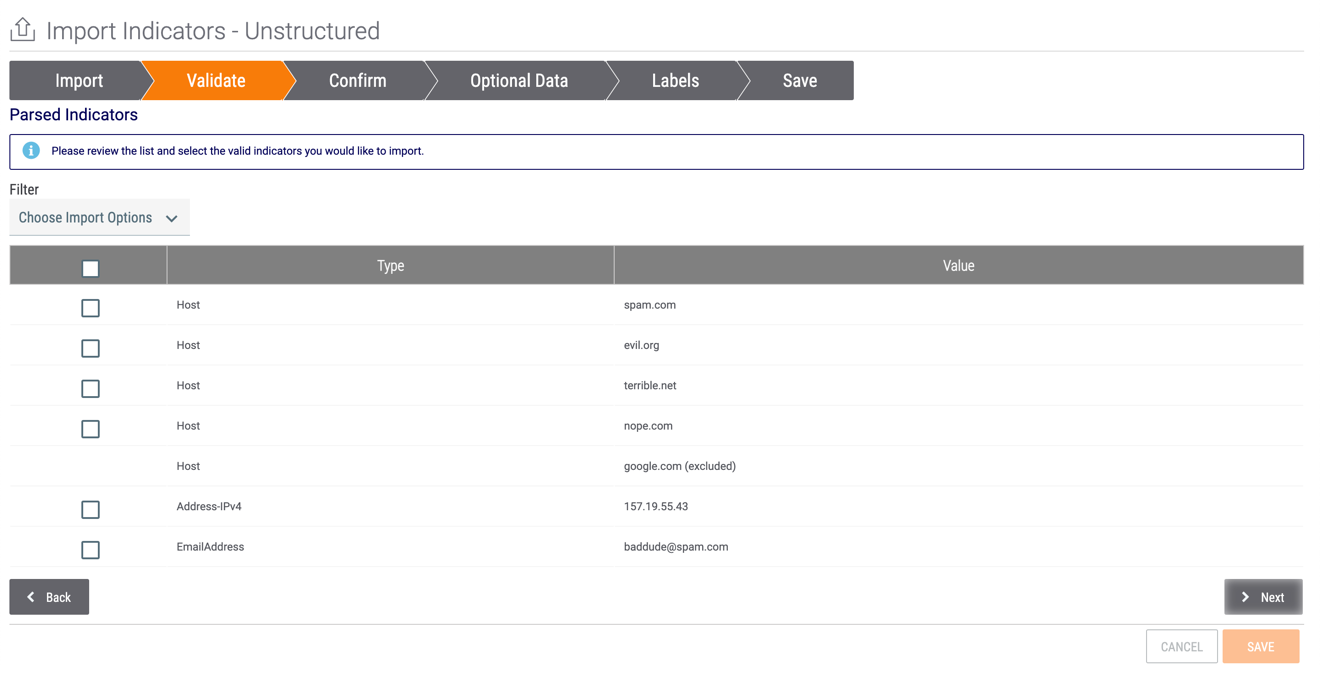
- Choose Import Options: If desired, use this dropdown menu to filter Indicators by type.
- Select the checkbox in the leftmost column for each Indicator that you want to import.
- Private: If a System Administrator has enabled private Indicators in your ThreatConnect instance, a Private column will be displayed to the right of the Value column. Select the checkbox for each Indicator that you want to be marked as private.
- Click the Next button.
- The Confirm screen will be displayed (Figure 4).
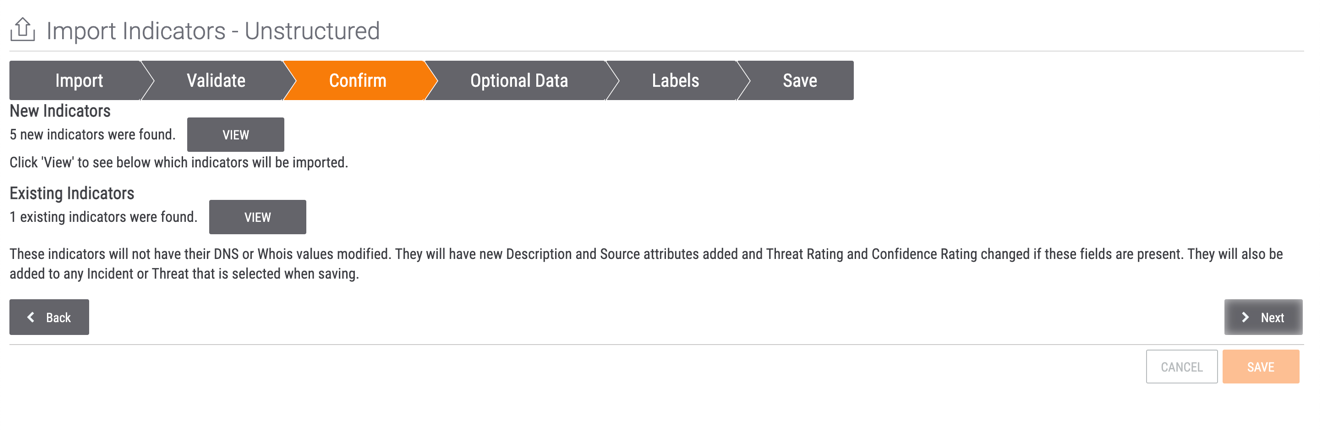
- VIEW: Click the VIEW buttons in the New Indicators and Existing Indicators sections to view the new and existing Indicators, respectively, that you selected for import.
- Click the Next button.
- The Optional Data screen will be displayed (Figure 5).NoteThe information entered on the Optional Data screen will be applied to all imported Indicators. There is currently no way to enter separate information for individual Indicators.
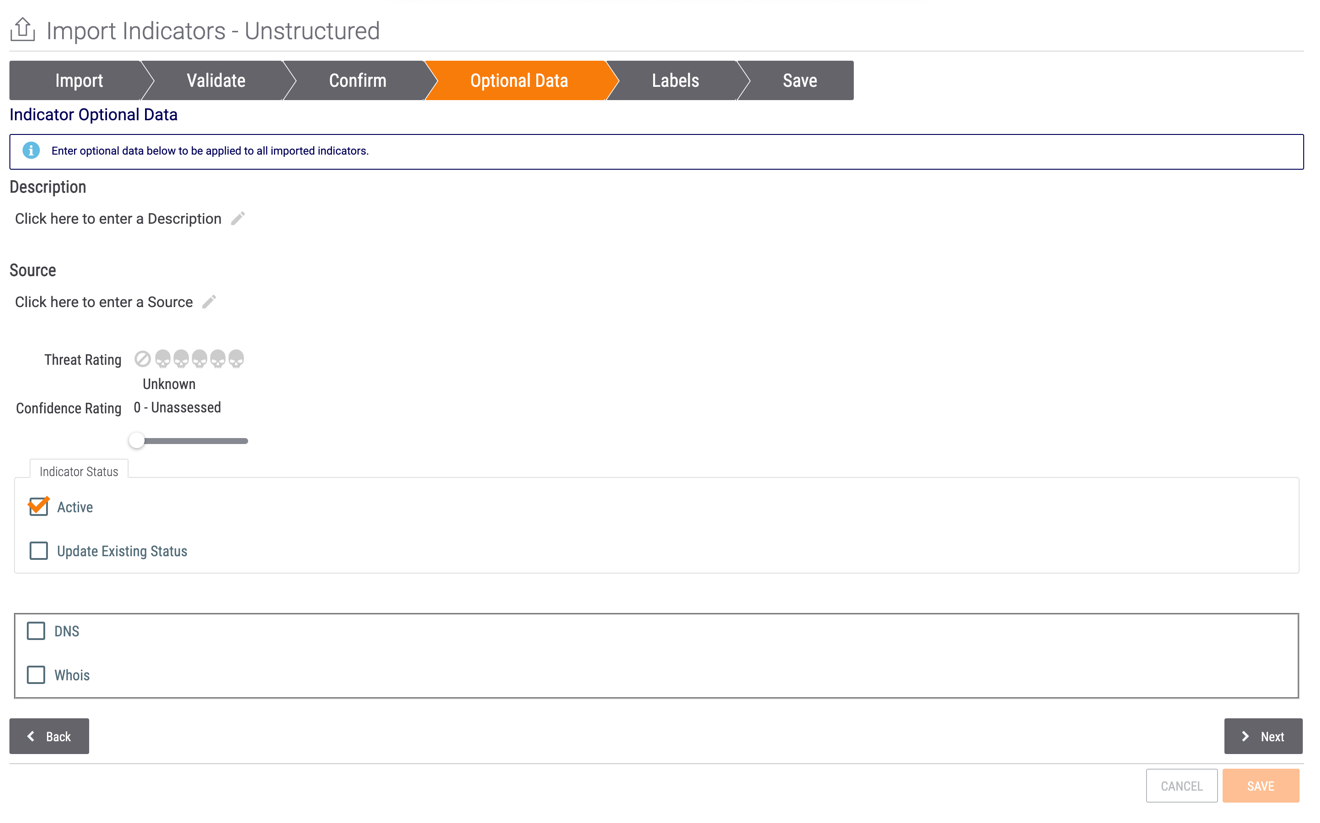
- Description: Enter a Description for all imported Indicators.
- Source: Enter a Source for all imported Indicators.
- Threat Rating: Set the Threat Rating for all imported Indicators.
- Confidence Rating: Set the Confidence Rating for all imported Indicators.
- Active: Select this checkbox to set the Indicator Status of all imported Indicators as active, or clear the checkbox to set the Indicator Status of all imported Indicators as inactive.
- Update Existing Status: Select this checkbox to update the Indicator Status of any imported Indicators that already exist in ThreatConnect to the status indicated by the Active checkbox. If you do not select the Update Existing Status checkbox, the Indicator Status of imported Indicators that already exist in ThreatConnect will be left unchanged.NoteAll imported Indicators must have the same Indicator Status. There is currently no way to set Indicator Status for individual Indicators in the unstructured-import process.
- DNS: Select this checkbox to enable DNS resolution tracking for all imported Host Indicators.
- Whois: Select this checkbox to enable Whois lookups for all imported Host Indicators.
- Click the Next button.
- The Labels screen will be displayed (Figure 6).
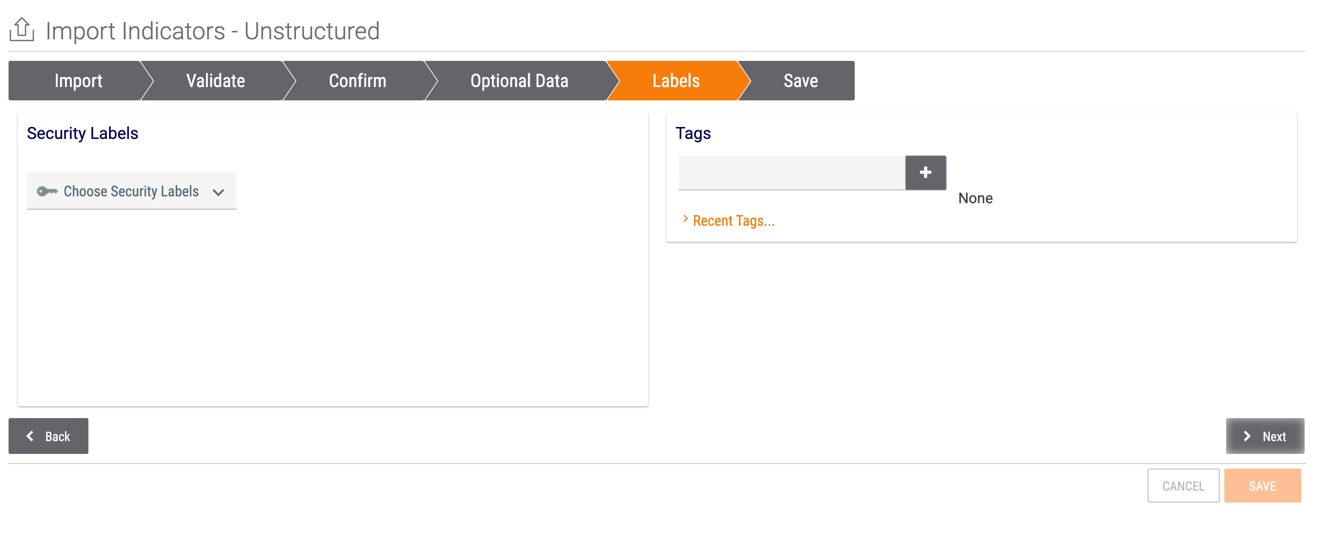
- Security Labels: Select Security Labels to apply to all imported Indicators.
- Tags: Enter Tags to apply all imported Indicators.
- Click the Next button.
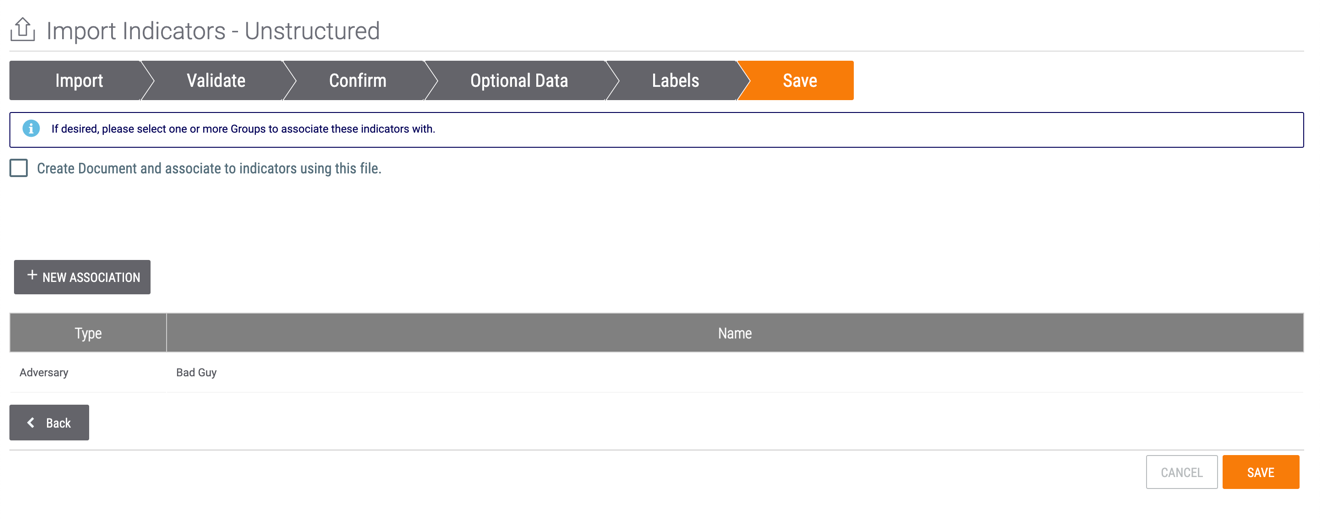
- The Save screen will be displayed (Figure 7).

- Create Document and associate to indicators using this file.: Select this checkbox to create a Document Group containing the source file and associate it to all imported Indicators.NoteThis checkbox will not be displayed if you manually entered Indicators into the Text: box in Figure 2 instead of importing them from a file, as there is no imported file with which to associate them.
- Document Name: If you selected the Create Document and associate to indicators using this file. checkbox, a Document Name: field will be displayed automatically. Enter the name for the Document Group.
- + NEW ASSOCIATION: Click this button to associate all imported Indicators to existing Groups. It is highly recommended that Indicators be associated to a Group; otherwise, they are orphaned and provide minimal value to future analysis.
- If you do not want to associate all imported Indicators to existing Groups, click the SAVE button to complete the import process. Otherwise, follow Steps 8–10.
- Create Document and associate to indicators using this file.: Select this checkbox to create a Document Group containing the source file and associate it to all imported Indicators.
- Clicking the + NEW ASSOCIATION button will display the Select an Association window (Figure 8).
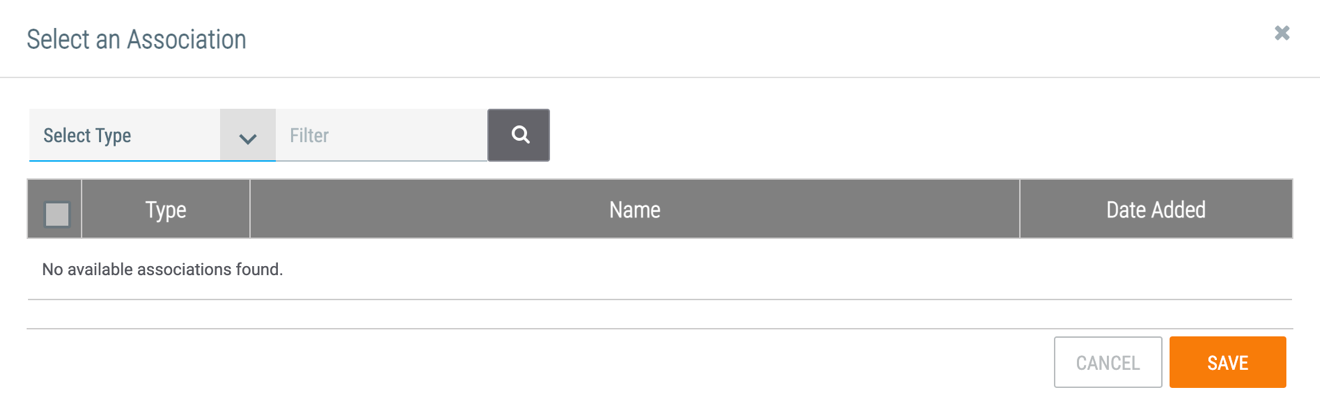
- Use the Select Type dropdown to select the type of Group to associate with all imported Indicators. After a Group type is selected (Adversary in this example), the Select an Association window will display all Groups of that type (Figure 9).

- Filter: If desired, enter a search term in this field and click the magnifying glass
 to narrow the results.
 - Select the checkbox for each Group to associate to all imported Indicators.
- Click the SAVE button.NoteWhen associating Groups to imported Indicators, you can only associate Groups of a single type at a time. To associate more than one Group type to all imported Indicators, repeat Step 9 for each Group type.
- Filter: If desired, enter a search term in this field and click the magnifying glass
- The Save screen will display the selected Group(s) to associate to the imported Indicators (Figure 10). Click the SAVE button to complete the import process.
 NoteOnce you have added a Group to the table, it cannot be removed. The only way to remove a Group from the table is to click the CANCEL button and restart the Indicator import process.
ThreatConnect® is a registered trademark of ThreatConnect, Inc.
20008-01 v.09.C