Tracking Adversary Activity
- 27 Mar 2024
- 3 Minutes to read
-
Print
-
DarkLight
-
PDF
Tracking Adversary Activity
- Updated on 27 Mar 2024
- 3 Minutes to read
-
Print
-
DarkLight
-
PDF
Article summary
Did you find this summary helpful?
Thank you for your feedback!
Overview
Reverse Whois Tracks in ThreatConnect® leverage DomainTools®, an external data service that interfaces with ThreatConnect to actively detect and issue alerts about new associations discovered in Whois records between Adversary assets and hosts. After the initial execution, when all current Whois records are examined, the Track searches daily for new Whois records to analyze.
Tracks are created through two methods. The first method uses the Create option on the top navigation bar. While this method offers more options to customize a Track via the Contains/Does Not Contain fields, Hosts imported from Track results will not be automatically associated to an Adversary. The second method, detailed in this article, creates a Track based on an Adversary’s assets.
Before You Start
| Minimum Role(s) | Organization role of Standard User |
|---|---|
| Prerequisites |
|
Tracking from Adversary Assets
- Navigate to the legacy Details screen for an Adversary Group.
- Click the Assets tab. The Assets screen will be displayed (Figure 1).
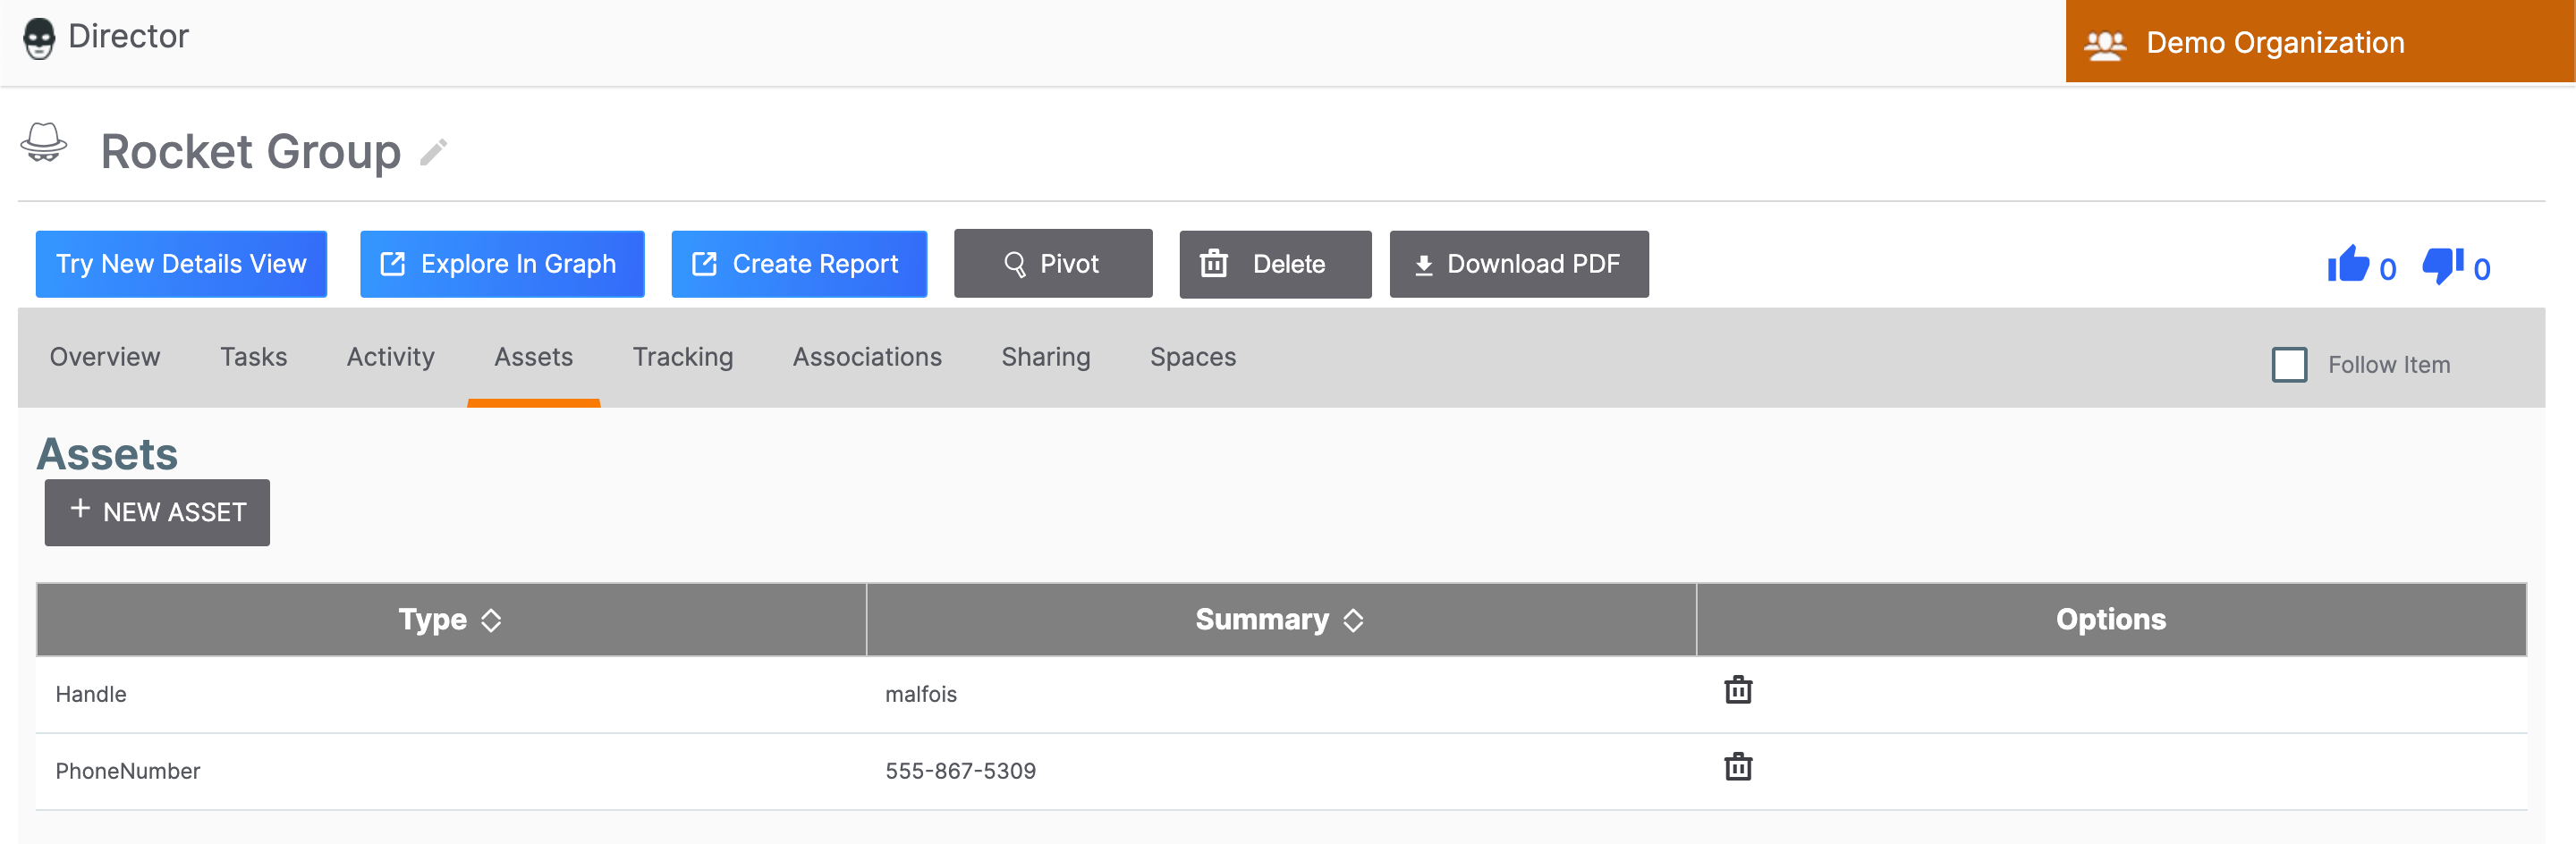
- Verify that at least one asset is listed in the table. If the table shows No Assets Found, follow the steps outlined in Adding Adversary Assets to add an asset to the selected Adversary.
- Click the Tracking tab. The Tracking screen will be displayed with a results table of assets (Figure 2).
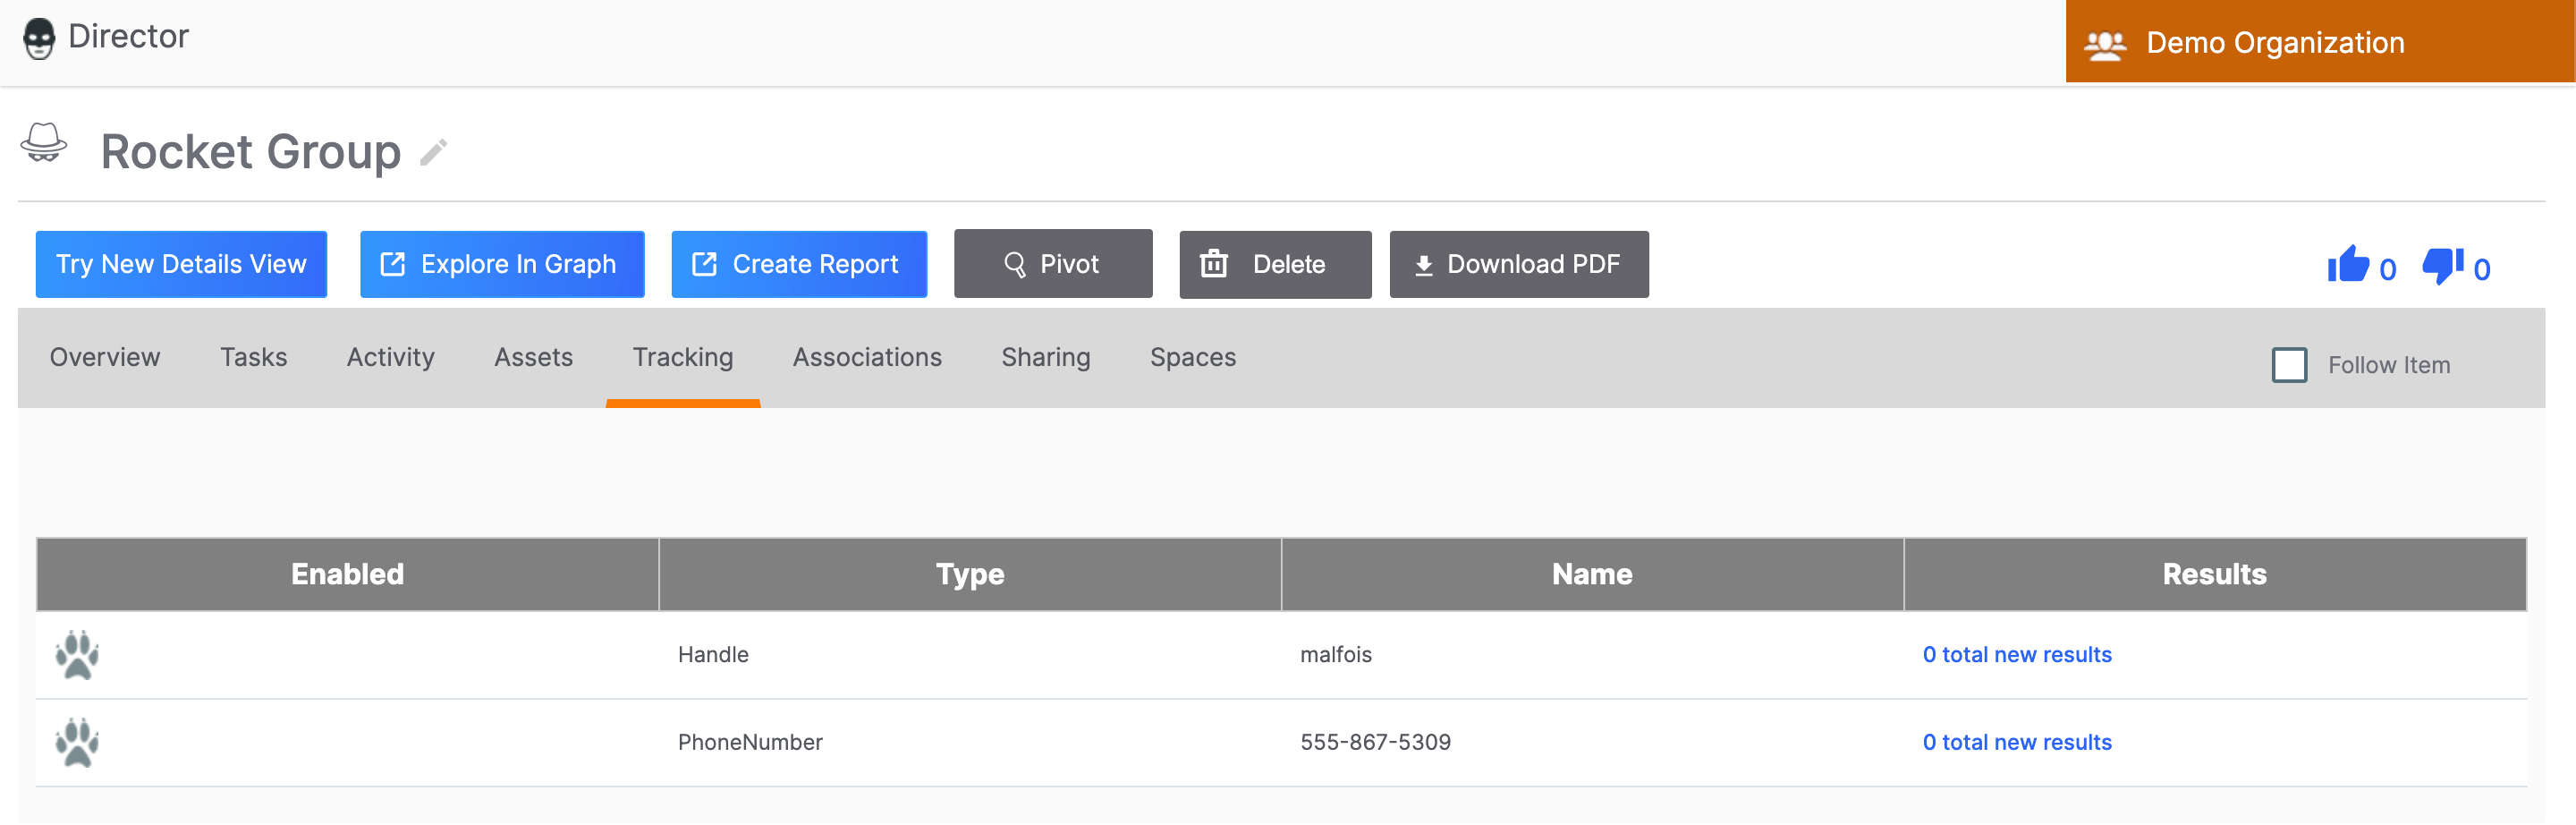
- Click the gray paw print in the Enabled column. The paw print will turn orange, and the Results column will display results of the initial Reverse Whois lookup (Figure 3).

- Click the link in the Results column displaying the results total (11 total new results in this example). The Overview tab of the Details screen for the Track will be displayed (Figure 4).NoteYou can also access the Overview tab of the Details screen for a Track by viewing Tracks on the Browse screen, selecting a Track, and clicking the View full details
 icon at the upper-right corner of its Details drawer or hovering over the Track’s entry in the results table and clicking the View full details
 icon displayed to the right of its Summary cell.
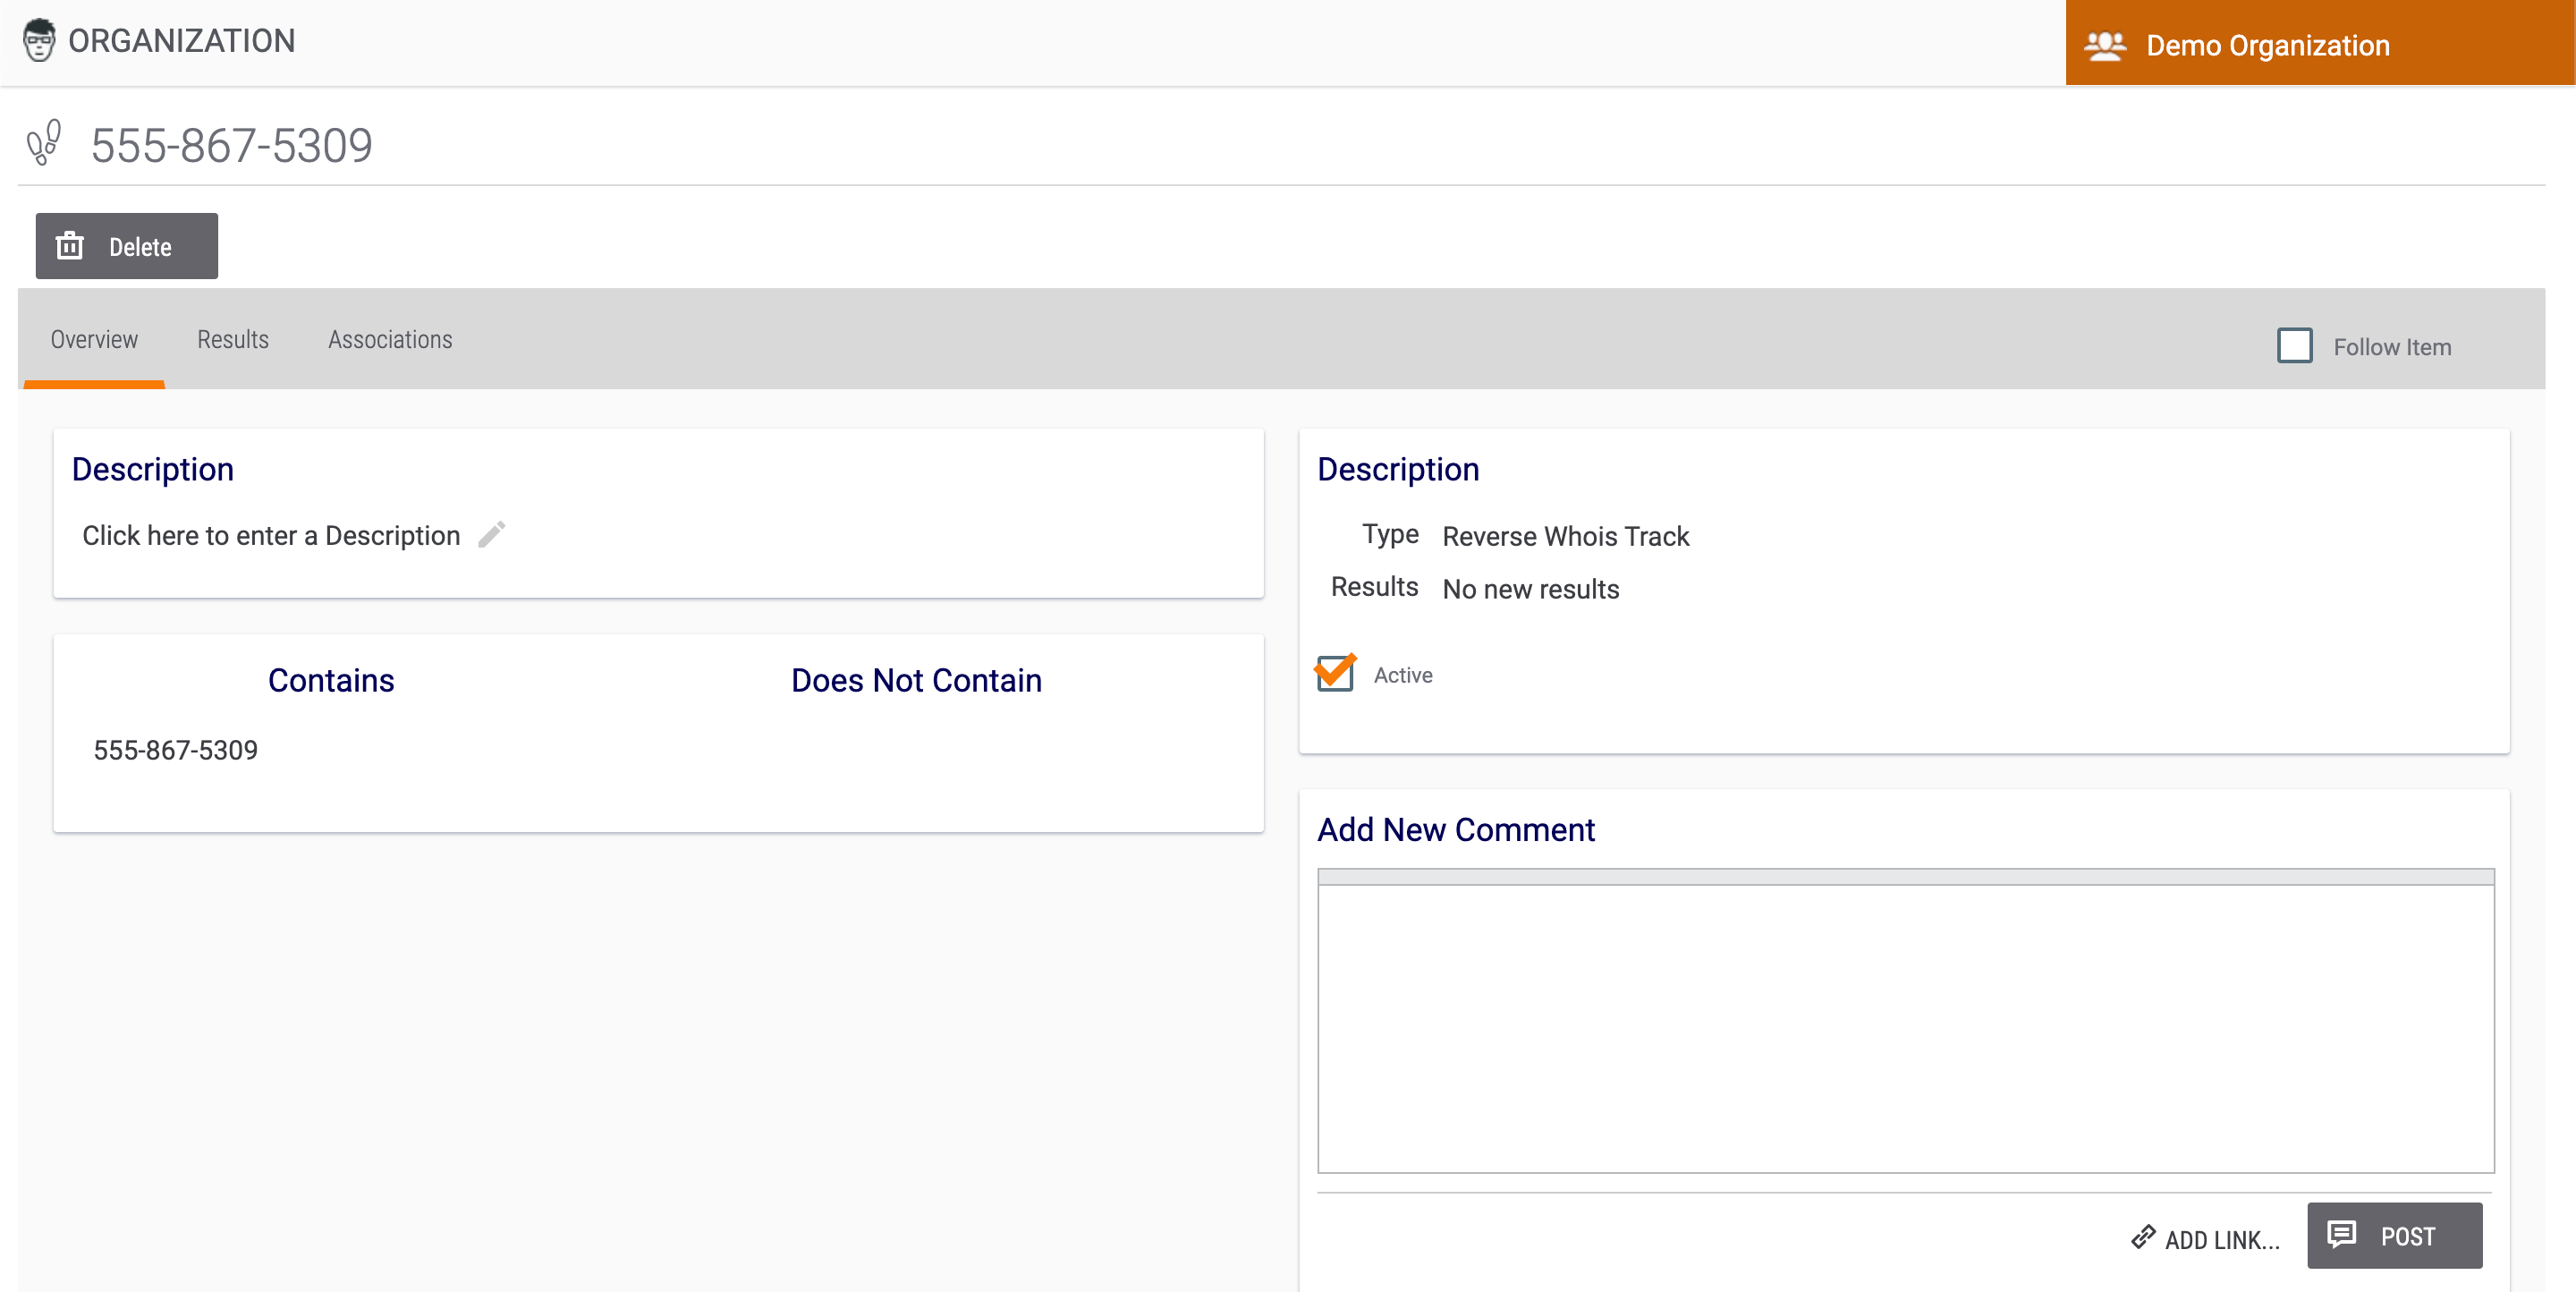
- Select the Follow Item checkbox at the top right to receive push-notification or email updates when changes are made to the Track, if desired.
- Click the Results tab. The Results screen will be displayed with a results table of domains found in the lookup (Figure 5).
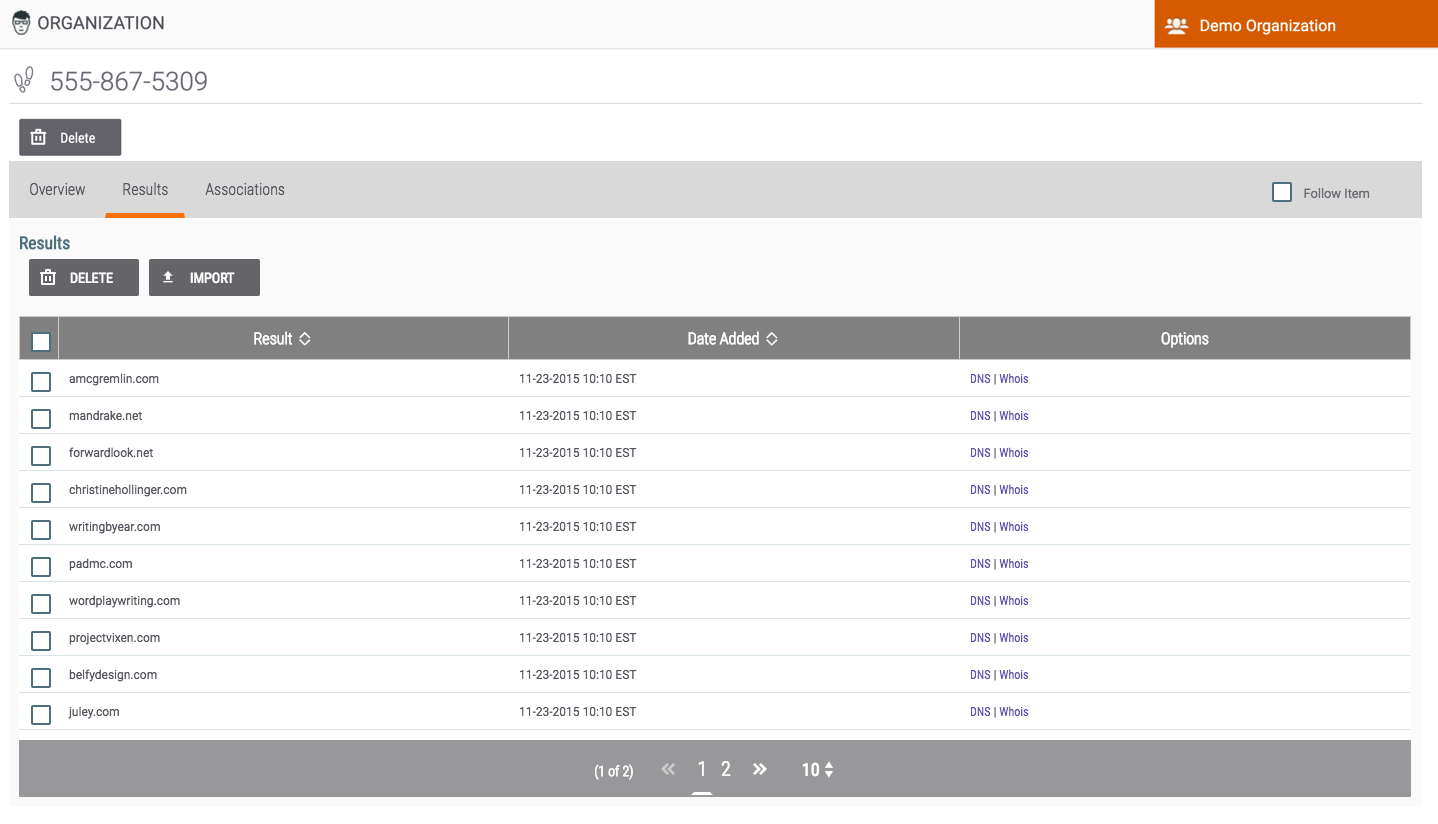
- Click the DNS or Whois link in the Options column for a given domain to display DNS or Whois information, respectively, for that domain.
- To import domains as Host Indicators into one or more Groups of a selected type, select the desired domains and click the IMPORT button. The Import window will be displayed (Figure 6).
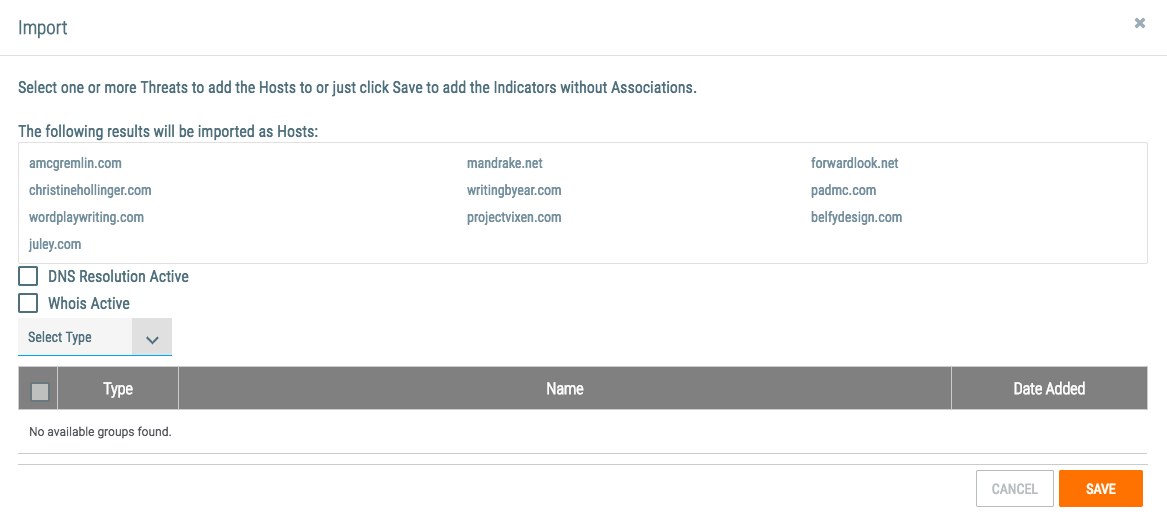
- DNS Resolution Active: Select this checkbox to activate DNS resolutions for the imported Hosts.
- Whois Active: Select this checkbox to activate Whois registration information for the imported Hosts.
- Select Type: To add the Hosts as associated Indicators to one or more Groups, select a Group type from the dropdown menu. The table will display all available Groups of that type. Select the Groups to which the Hosts should be added as associated Indicators. Only one Group type may be selected at a time, but multiple Groups within that type may be selected, even if those Groups are displayed on different pages. After all Groups are selected, click the SAVE button.
- To save the Host Indicators without association, click the SAVE button without selecting any Groups.
- Click the Associations tab to view the associated Indicators (Figure 7).
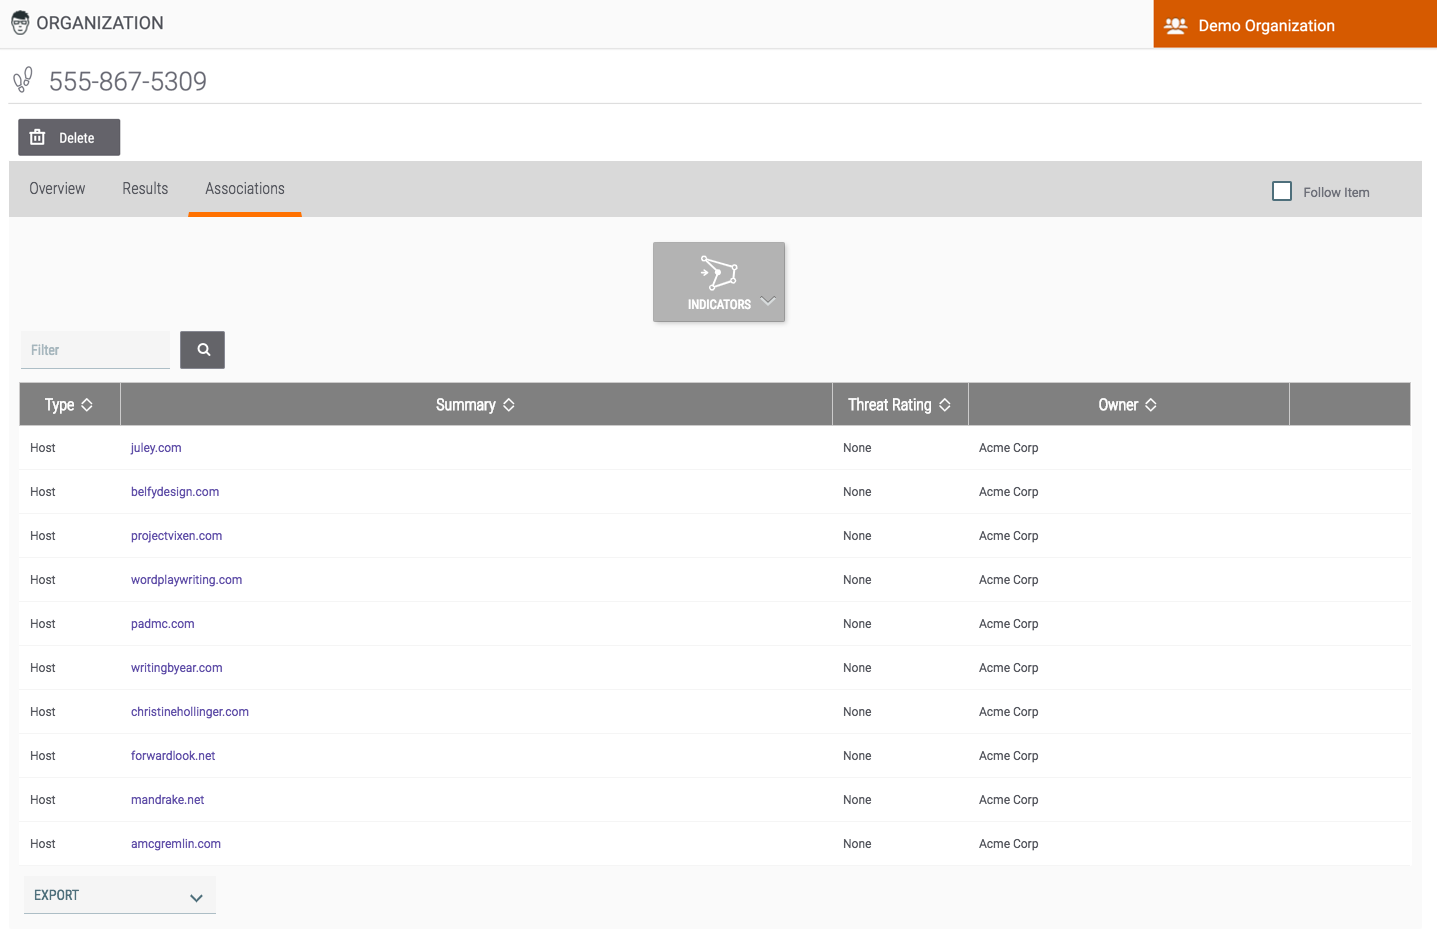
- To export the associated Indicators into a comma-separated values (CSV) file, select ThreatConnect CSV from the EXPORT menu at the lower-left corner of the screen. The Export Data window will be displayed (Figure 8).
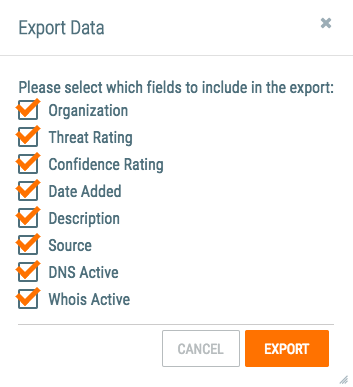
- Please select which fields to include in the export: Each checkbox represents a piece of data that can be included in the CSV file. By default, all checkboxes are selected. Clear any checkboxes for data not to be included in the CSV file, if desired.
- Click the EXPORT button. A file named ThreatConnectExport.csv will be downloaded to the default download location on your computer.
ThreatConnect® is a registered trademark of ThreatConnect, Inc.
DomainTools®is a registered trademark of DomainTools, LLC.
20041-01 v.06.D
Was this article helpful?
