Important
Spaces Apps are no longer supported by ThreatConnect, but legacy Spaces Apps may be used on a case-by-case basis.
The Spaces option on the top navigation bar also serves as a centrally located menu of installed App profiles. Apps listed in the Spaces menu are called Menu Spaces. An Organization Administrator must create an App profile for an App before you can add the App as a Menu Space.
Adding a Menu Space
- Hover the cursor over Spaces on the top navigation bar and select Add Menu Space. The Add App window will be displayed (Figure 1).
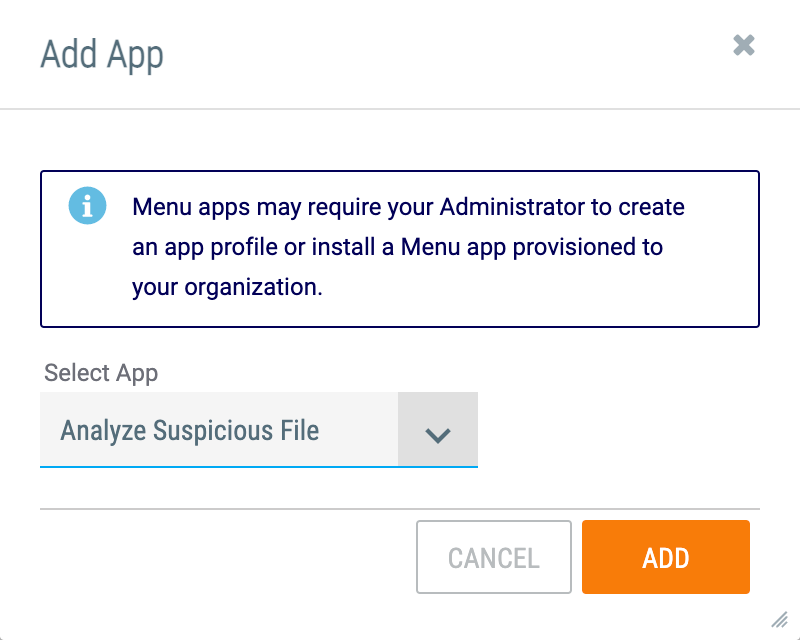
- Select App: Select an App profile.
- Click the ADD button.
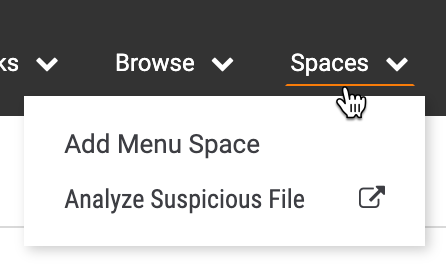
- The App profile will now be displayed when you hover the cursor over Spaces on the top navigation bar (Figure 7).
Deleting a Menu Space
- Hover the cursor over Settings
 on the top navigation bar and select My Profile. The My Profile screen will be displayed.
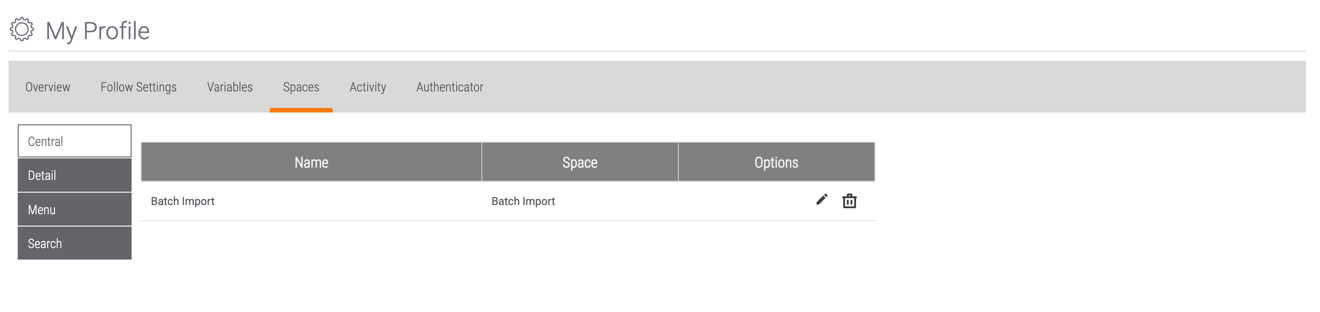
 - Click the Spaces tab. The Spaces screen will be displayed with the Central option selected from the menu on the left side of the screen (Figure 3).
- Select Menu from the menu on the left side of the screen. A list of all Menu Spaces added to your account will be displayed (Figure 4).
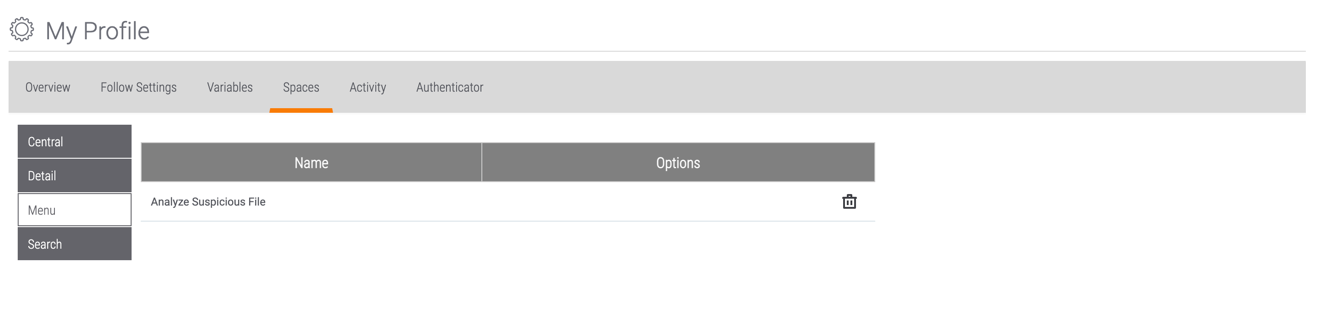
- Click Delete
 in the Options column for the Menu Space you want to delete. The Delete App window will be displayed.
 - Click the YES button to delete the Menu Space.
ThreatConnect® is a registered trademark of ThreatConnect, Inc.
20042-04 v.08.B