- 18 Mar 2024
- 4 Minutes to read
-
Print
-
DarkLight
-
PDF
File Post App
- Updated on 18 Mar 2024
- 4 Minutes to read
-
Print
-
DarkLight
-
PDF
Overview
The File Post App uploads a file and posts it to a WebHook Trigger within a Playbook. It can then receive a response from the Playbook. Essentially, it is a utility that passes a binary to a Playbook for analysis, the results of which can be passed back to the App.
Before You Start
| Minimum Role(s) |
|
|---|---|
| Prerequisites | An active Playbook with a WebHook Trigger; TCM – File Post v1.0 App installed by a System Administrator |
Playbook Example
To use the File Post App, you must first create a Playbook that contains a WebHook Trigger. If desired, the Playbook’s output can then be returned to the Trigger, based on the results of the Playbook execution.
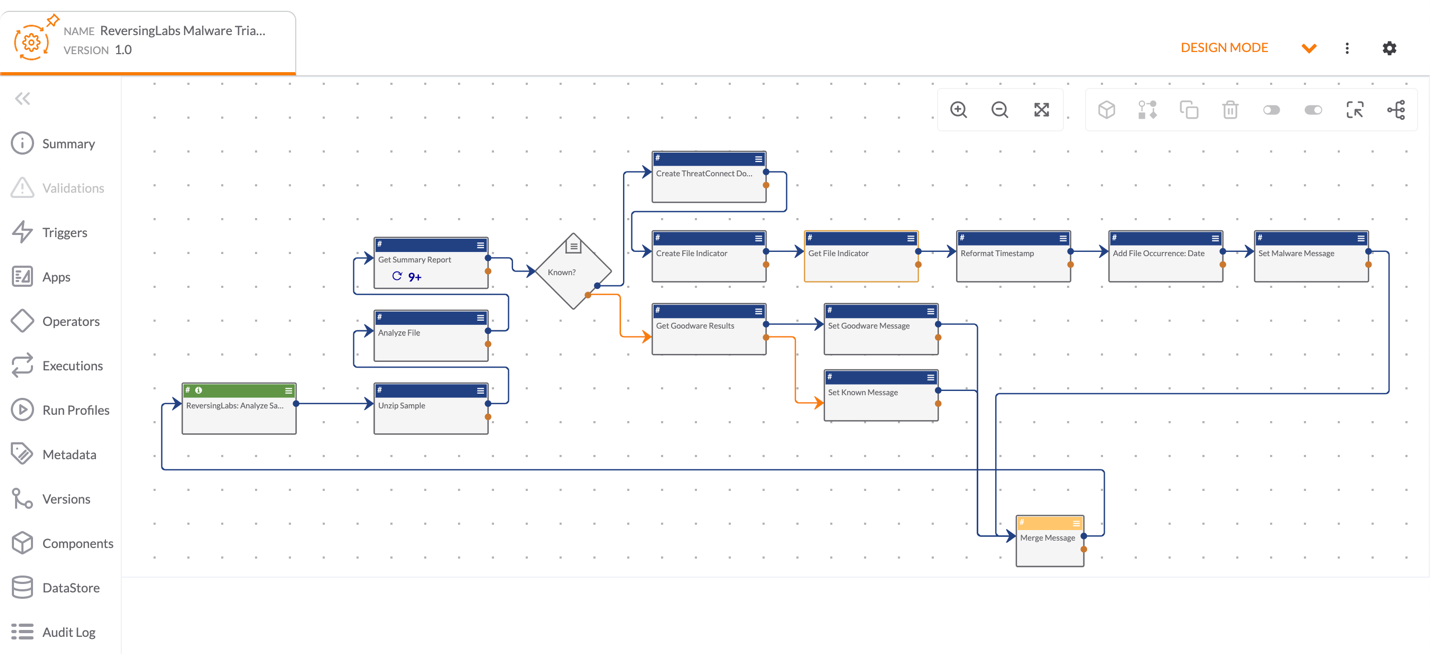
Figure 1 shows the example Playbook used in this article. This Playbook receives a file, unzips it, and uses ReversingLabs™ Playbook Apps to analyze it and determine whether it is a known threat. If it is, the Playbook returns a message stating that the file is malware, and it creates a Document and File Indicator in ThreatConnect. If not, it returns information from ReversingLabs containing an assessment of the file as goodware or unknown.
Creating an App Profile and Menu Space
- Copy the URL endpoint of the Playbook to which the binary is to be posted by navigating to the Playbooks screen, hovering the cursor over the row for the Playbook, and clicking the Copy
 icon displayed to the right in the Namecolumn.ImportantThe Playbook must be active for the Copy
 icon to be displayed and for the File Post App to function properly.
 - Follow the steps in Adding App Profiles to open the App Profile window. The Profile tab will be displayed (Figure 2).
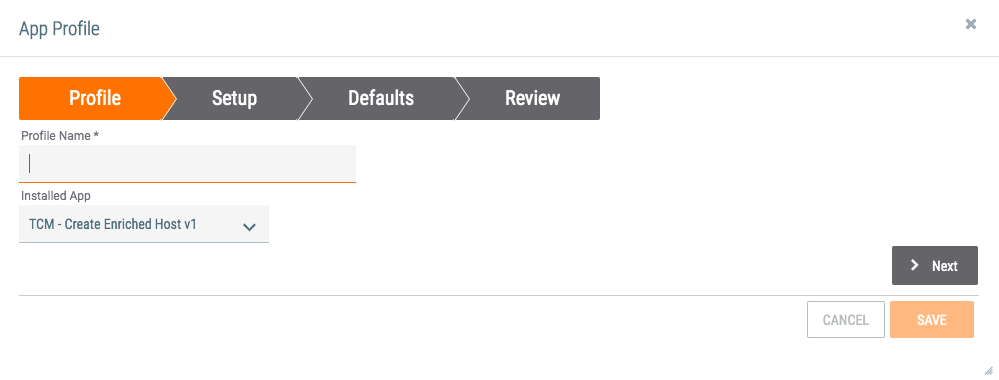
- Profile Name: Enter a profile name for the App, such as “Analyze Suspicious File.” A good profile name provides information about the intended use case for the App. The profile name is what will display in a user’s Spaces dropdown menu. (See Figure 7.)
- Installed App: Select TCM - FilePost v1.0.
- Click the Next button.
- The Setup tab of the App Profile window will be displayed (Figure 3).
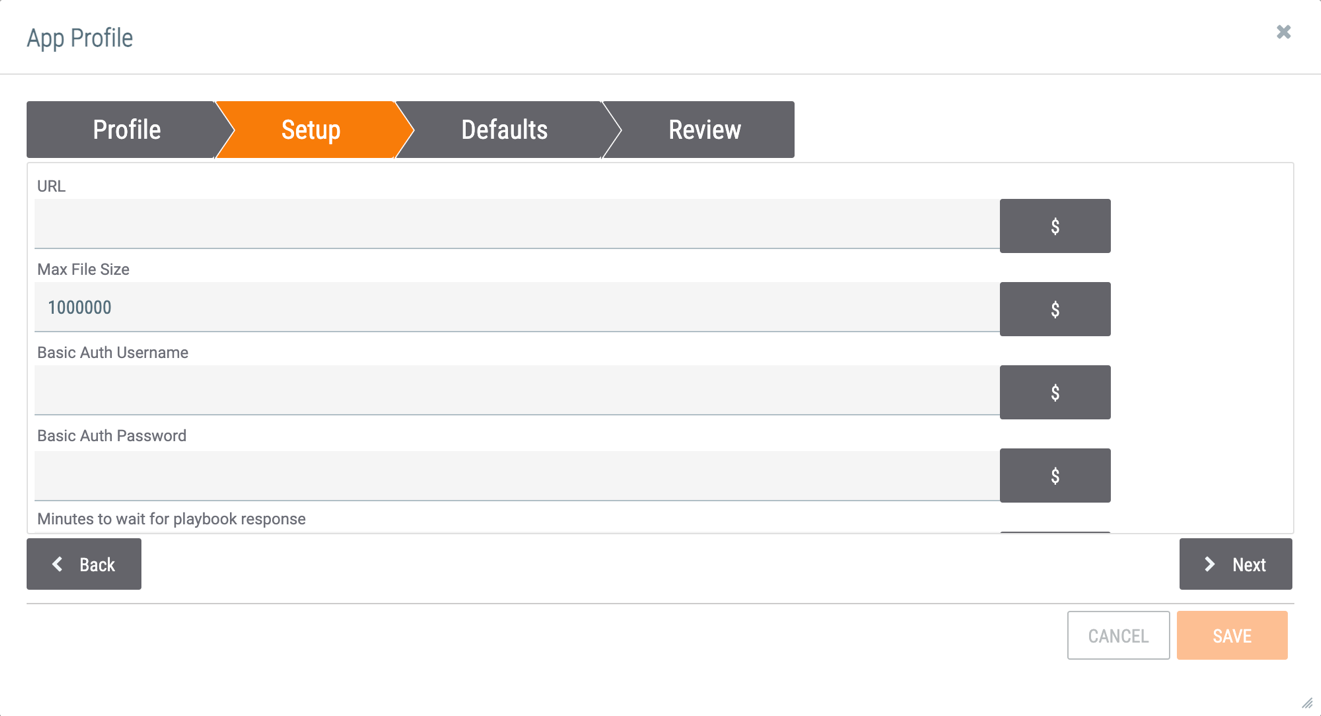
- URL: Paste the URL endpoint that was copied in Step 1.
- Max File Size: Enter the maximum file size that a user can upload to the App.
- Basic Auth Username: If the Playbook to which the App is connecting requires basic authentication, enter the username. If no authentication is required, this field may be left blank.
- Basic Auth Password: If the Playbook to which the App is connecting requires basic authentication, enter the password associated with the username in the Basic Auth Username field. If no authentication is required, this field may be left blank.
- Minutes to wait for playbook response: Enter the maximum amount of time for the App to wait for a response before timing out.
- Click the Next button.
- The Defaults tab of the App Profile window will be displayed (Figure 4).
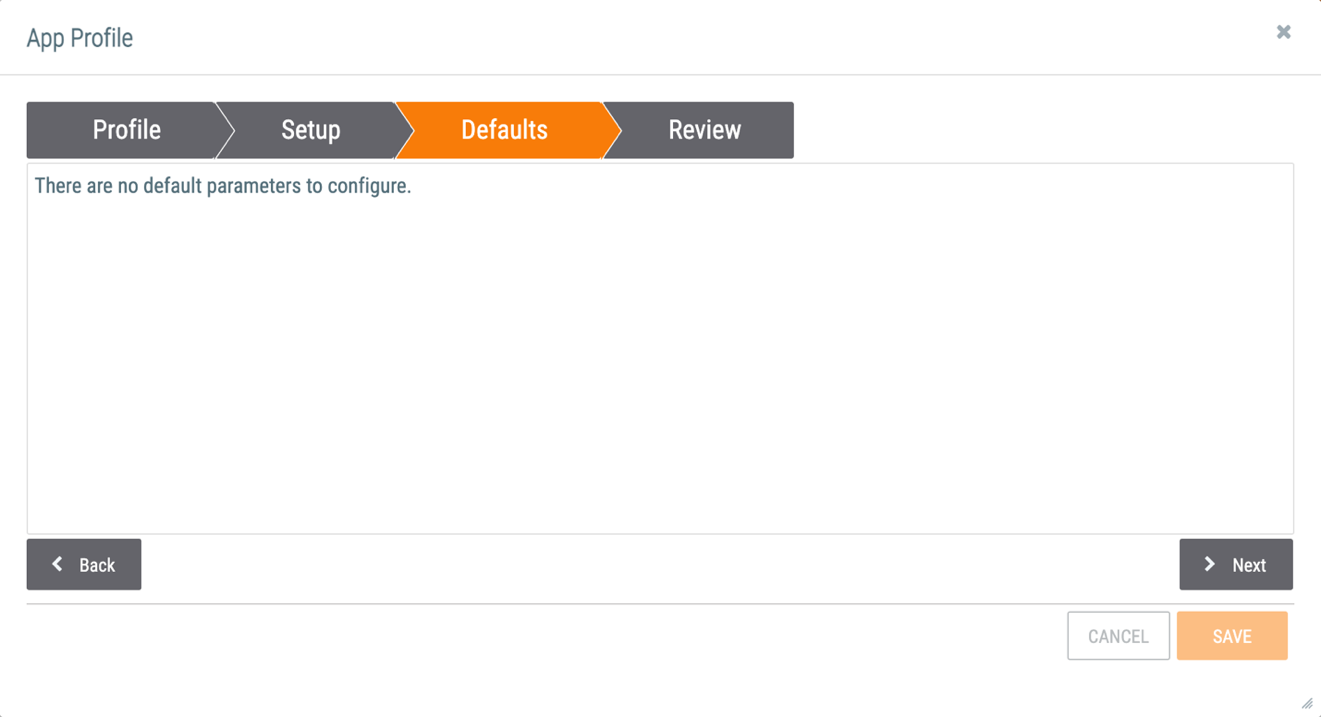
- A message will be displayed stating that there are no default parameters to configure.
- Click the Next button.
- The Review tab of the App Profile window will be displayed (Figure 5).
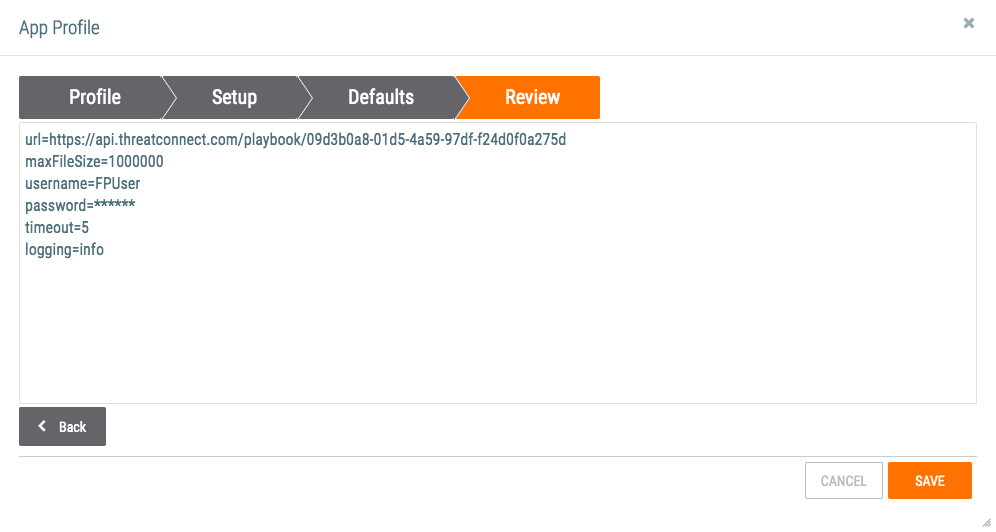
- Review the configuration of the App profile.
- Click the SAVE button to save the App profile.
- To create a Menu Space for the App, hover the cursor over Spaces on the top navigation bar and select Add Menu Space. The Add App window will be displayed (Figure 6).
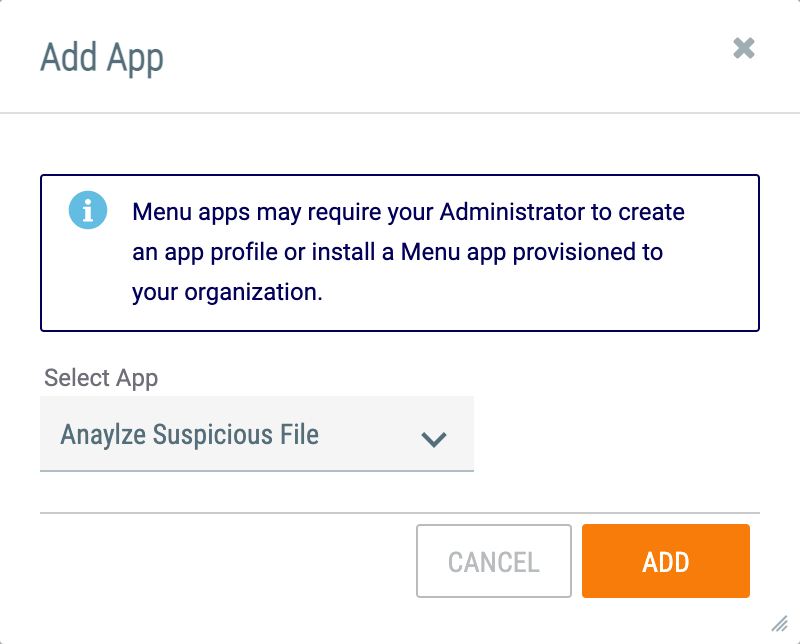
- Select App: Select the App profile that you just created.
- Click the ADD button.
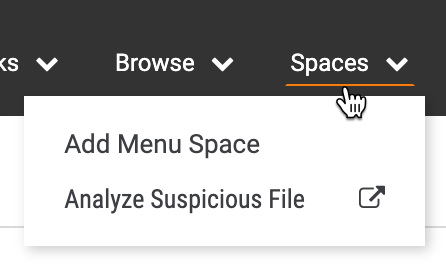
- The App profile will now be displayed when you hover the cursor over Spaces on the top navigation bar (Figure 7).
Using the File Post App
- Hover the cursor over Spaces on the top navigation bar and select the App profile created in the previous section (Figure 7). A window for the App will be displayed (Figure 8). To open the App window in a new browser tab, click Open in New Tab
 to the right of the App name in the Spaces menu.
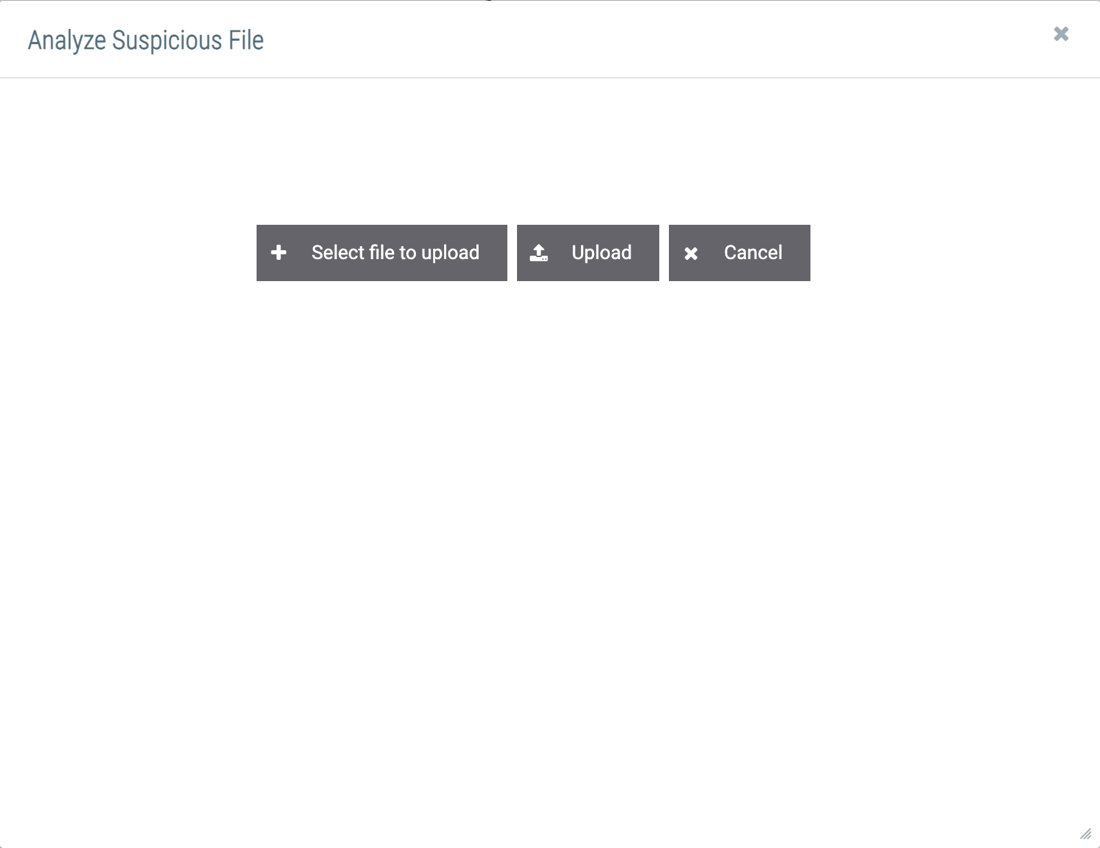
- Click the Select file to upload button to select a file using your computer’s file manager. The selected file will be displayed in the App window (Figure 9). Note that you can select only one file for upload at a time.
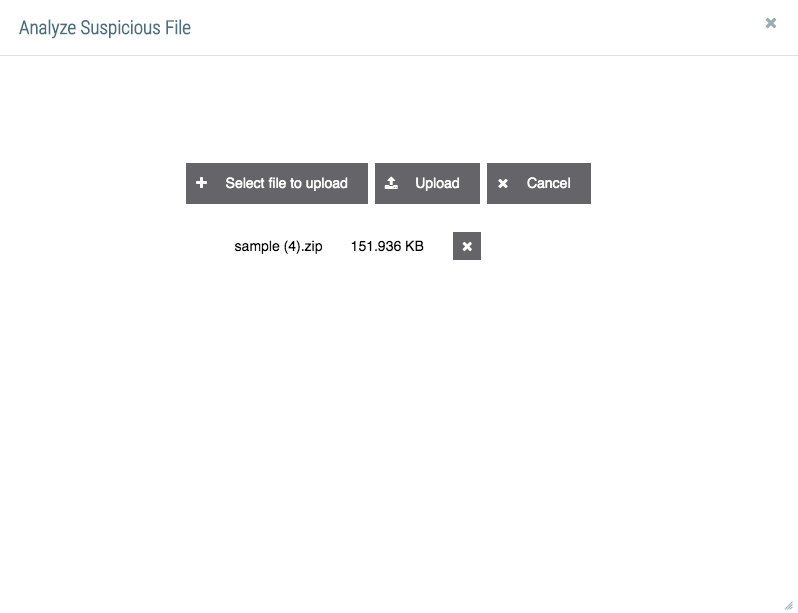
- Click the Upload button to upload the file to the Playbook. There may be a delay while the Playbook runs and analyzes the file.
- To remove the file without uploading it, click the X next to the file or click the Cancel button.
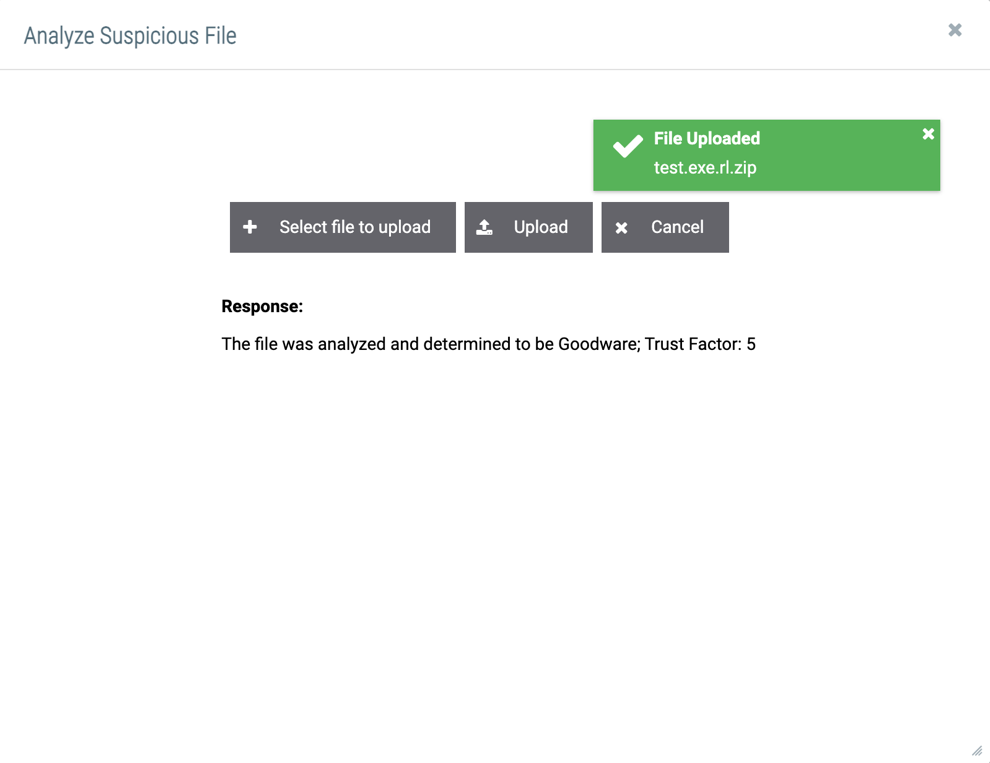
- If the upload completes, a green box confirming that the upload was successful will be displayed temporarily at the upper-right corner of the window, and the results of the analysis from the Playbook will be displayed in the Response: section. Figure 10 shows the results for a non-malicious file, whereas Figure 11 shows the results for a file that was determined to be malicious and saved in the ThreatConnect malware vault.
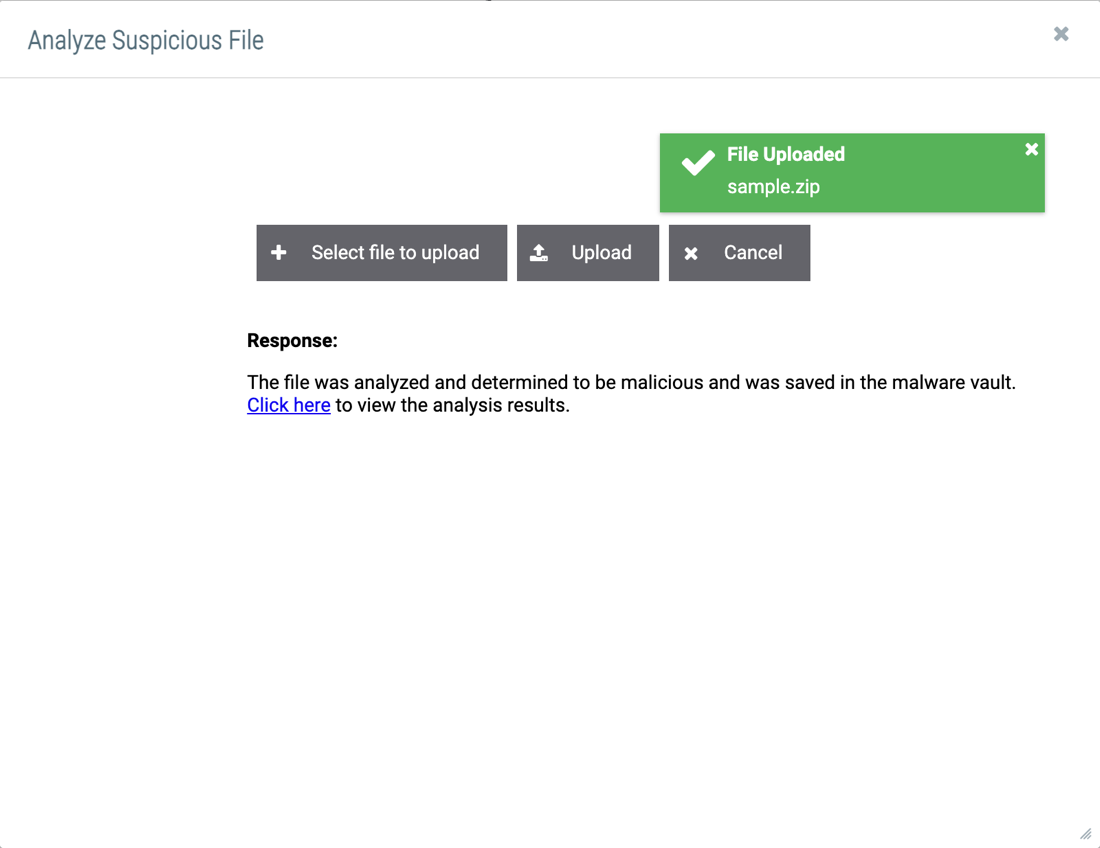
- For files that were determined to be malicious and saved in the ThreatConnect malware vault, a Click here link will be displayed in the Response: section of the App window (Figure 11). Click this link to view the File Indicator in ThreatConnect.NoteThe content and functionality of the response, including the link to the File Indicator that is created in ThreatConnect, are generated by the Playbook, not by the File Post App. The App only passes the file to the Playbook and receives output from the Playbook.
ThreatConnect® is a registered trademark of ThreatConnect, Inc.
ReversingLabs™ is a trademark of ReversingLabs International GmbH.
20067-01 v.04.C


