Creating Groups
- 11 Jan 2026
- 5 Minutes to read
-
Print
-
DarkLight
-
PDF
Creating Groups
- Updated on 11 Jan 2026
- 5 Minutes to read
-
Print
-
DarkLight
-
PDF
Article summary
Did you find this summary helpful?
Thank you for your feedback!
Overview
A Group represents a collection of related behavior and intelligence. You can create individual Groups in your ThreatConnect® owners using the + Create & Import option on the Search: Groups screen.
Before You Start
User Roles
- To create Groups in an Organization, your user account must have an Organization role of Standard User, Sharing User, Organization Administrator, or App Developer.
- To create Groups in a Community or Source, your user account must have a Community role of Contributor, Editor, or Director for that Community or Source.
Creating a Group
Follow these steps to create a Group:
- From the Search & Create dropdown on the top navigation bar, select Groups.
- Click + Create & Import at the upper right of the Search: Groups screen.
- Select Create, and then select a Group type.
- Proceed through the steps on the Create screen to create the Group. There are three steps in the Group creation process: Details (required), Associations (optional), and Attachments (optional).
Step 1: Enter Details About the Group
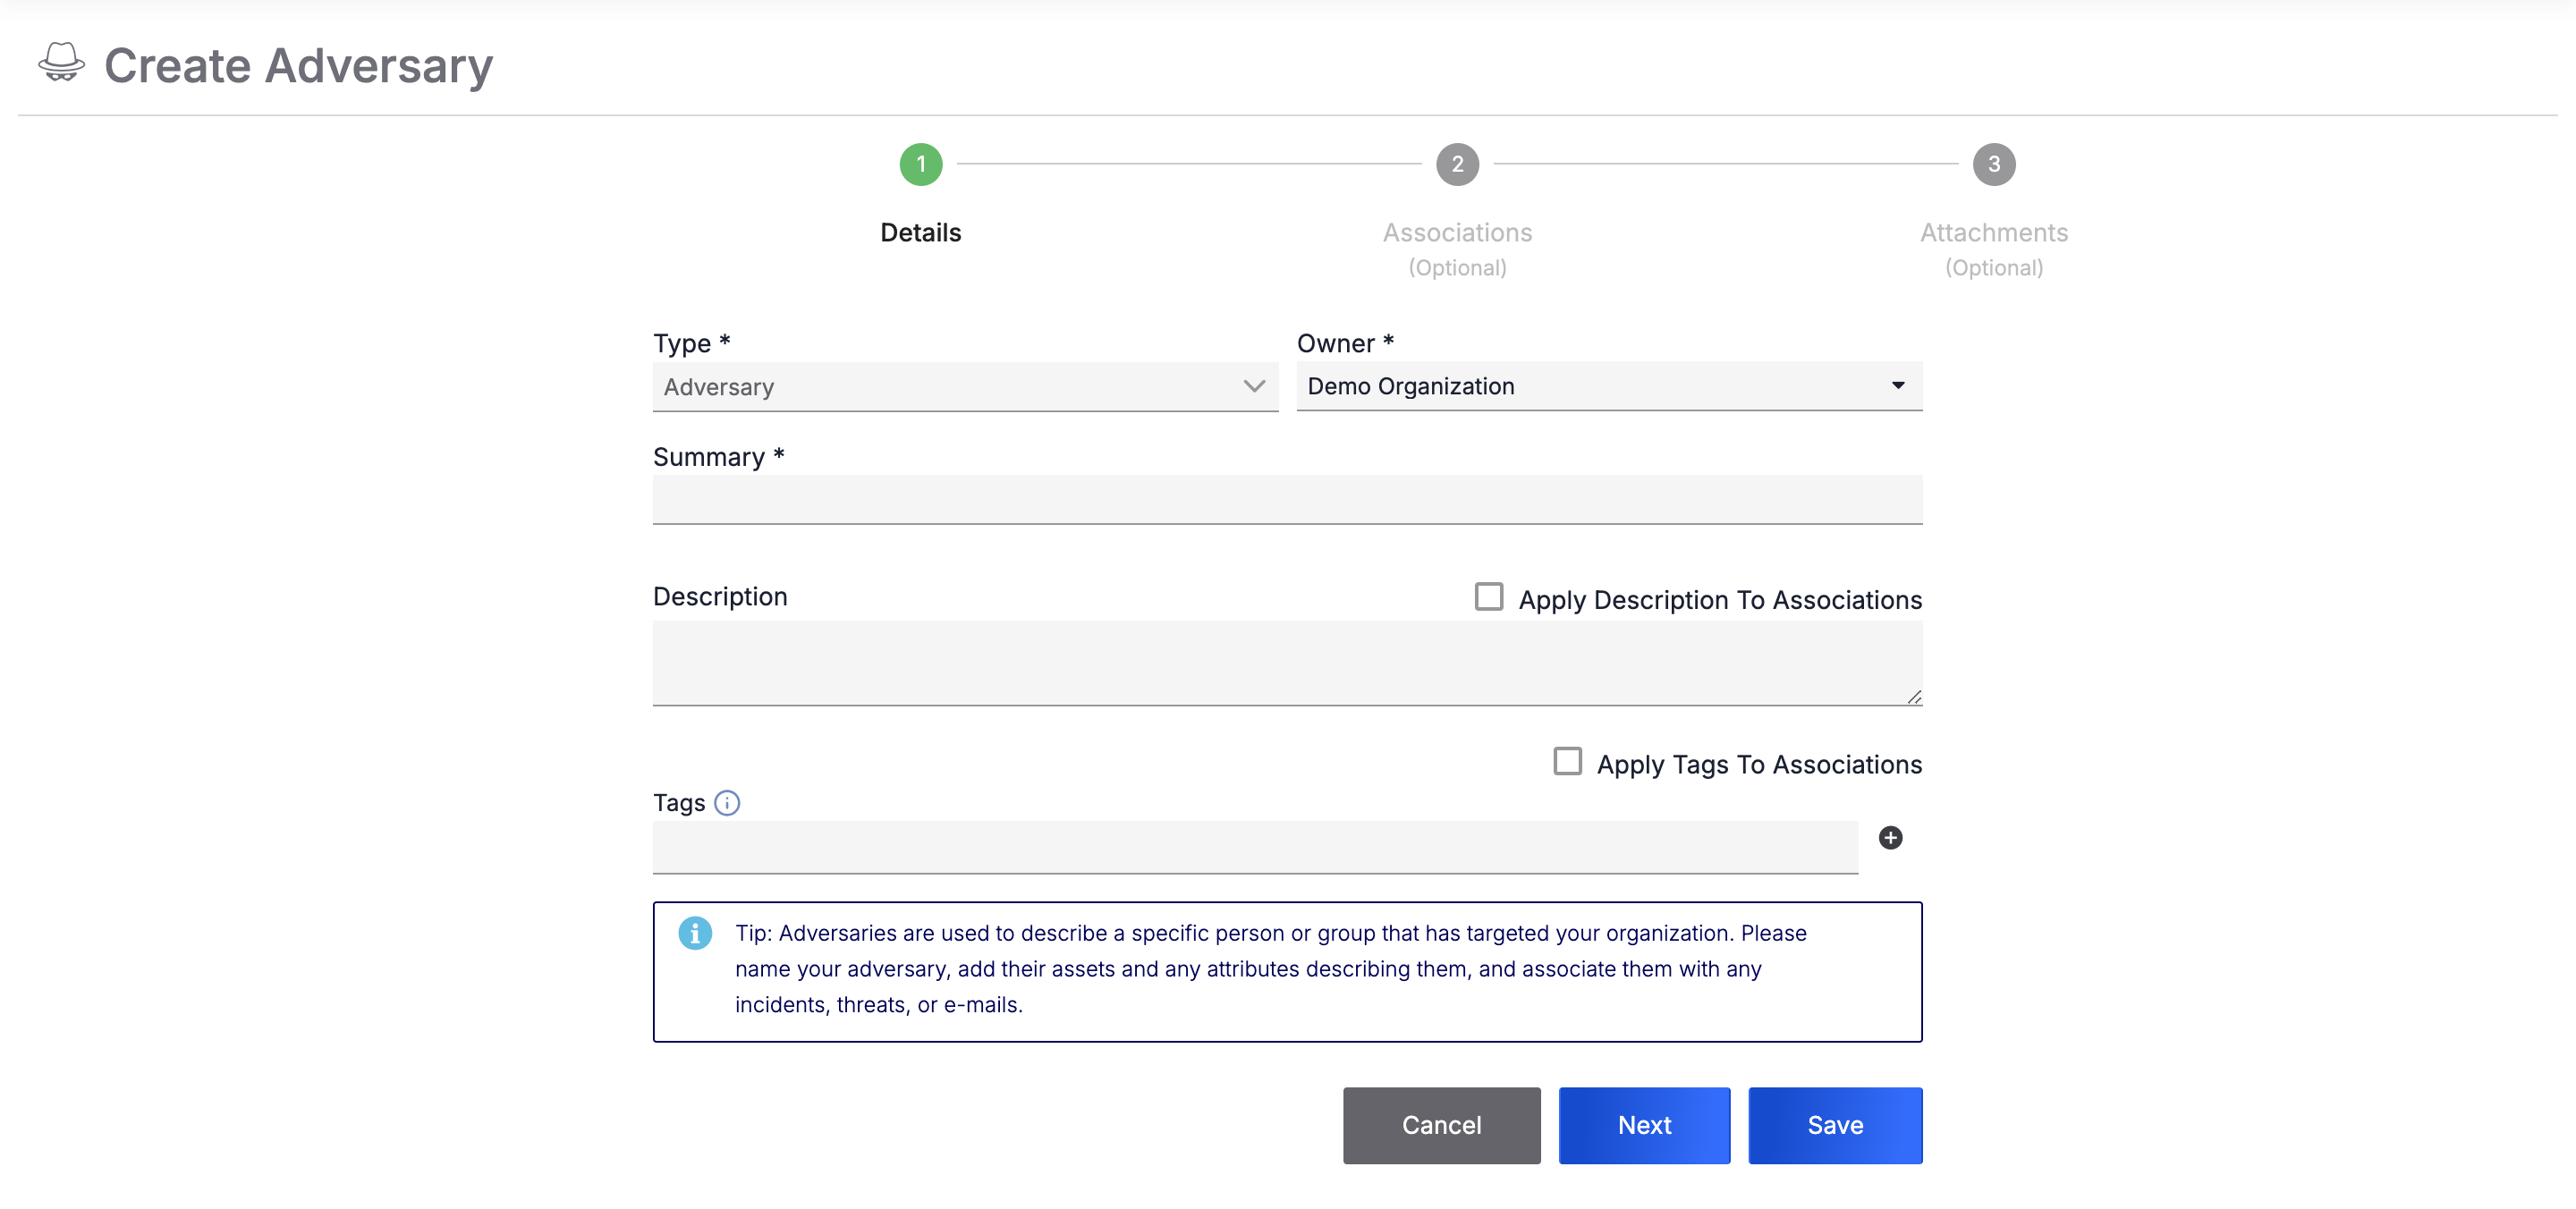
The Details step of the Create screen (Figure 1) is a required step where you enter basic information about the Group you are creating.
Follow these steps to fill out the fields on the Details step:
- Provide the following details for the Group:
- Type: By default, the selected value matches the Group type you selected from the + Create & Import menu. If you select a different Group type from the Type dropdown, the fields on the Details step will change based on the new Group type.
- Owner: Select the owner in which to create the Group.
- Summary: Enter a name for the Group.
- Description: (Optional) Enter a Description for the Group. To apply the Description to the Indicators provided in the Associations step, select Apply Description To Associations.
- Tags: (Optional) Enter one or more Tags to apply to the Group. To apply the Tags to the Indicators provided in the Associations step, select Apply Tags To Associations.NoteDepending on the type of Group you are creating, the Details step may display additional options.
- Click Next to proceed to the optional Associations step, or click Save to create the Group.
Additional Details Step Options
Depending on the type of Group you are creating, the Details step may display additional options. See Table 1 for a description of each additional option that the Details step may display for select Group types.
| Field Name | Description | Required? |
|---|---|---|
| Campaign | ||
| First Seen | Enter or select the date when the Campaign was first observed. | Optional |
| Document | ||
| Upload Document | Upload the file that the Document Group will represent. After the file is uploaded, the filename and Add to Malware Vault checkbox display below the orange malware warning. | Required |
| Add to Malware Vault | Select this checkbox if you are uploading a malware file. | Optional |
| Event, Incident | ||
| Status | Select the current status of the Event or Incident. | Optional |
| Event Date | Enter or select the date when the Event or Incident occurred. | Optional |
| Report | ||
| Upload Document | Upload the file that the Report Group will represent. After the file is uploaded, the filename displays below the orange malware warning. | Optional |
| Publish Date | Enter or select the date when the Report was published. | Optional |
| Task | ||
| Status | Select the current status of the Task. | Optional |
| Reminder Date | Enter or select the date when a reminder about the Task will be sent. | Optional |
| Assign To | Select one or more users to whom the Task will be assigned. | Optional |
| Due Date | Enter or select the due date for the Task. | Optional |
| Escalation Date | Enter or select the escalation date for the Task. | Optional |
| Escalate To | Select one or more users to whom the Task will be escalated. If the escalation date is met and the Task has not been completed, the system will assign the Task to the selected users. | Optional |
| Follow | Select this checkbox to follow the Task (i.e., receive notifications about changes and updates), and then select a notification level from the Notification Level dropdown. | Optional |
Step 2: Create Associations for the Group (Optional)
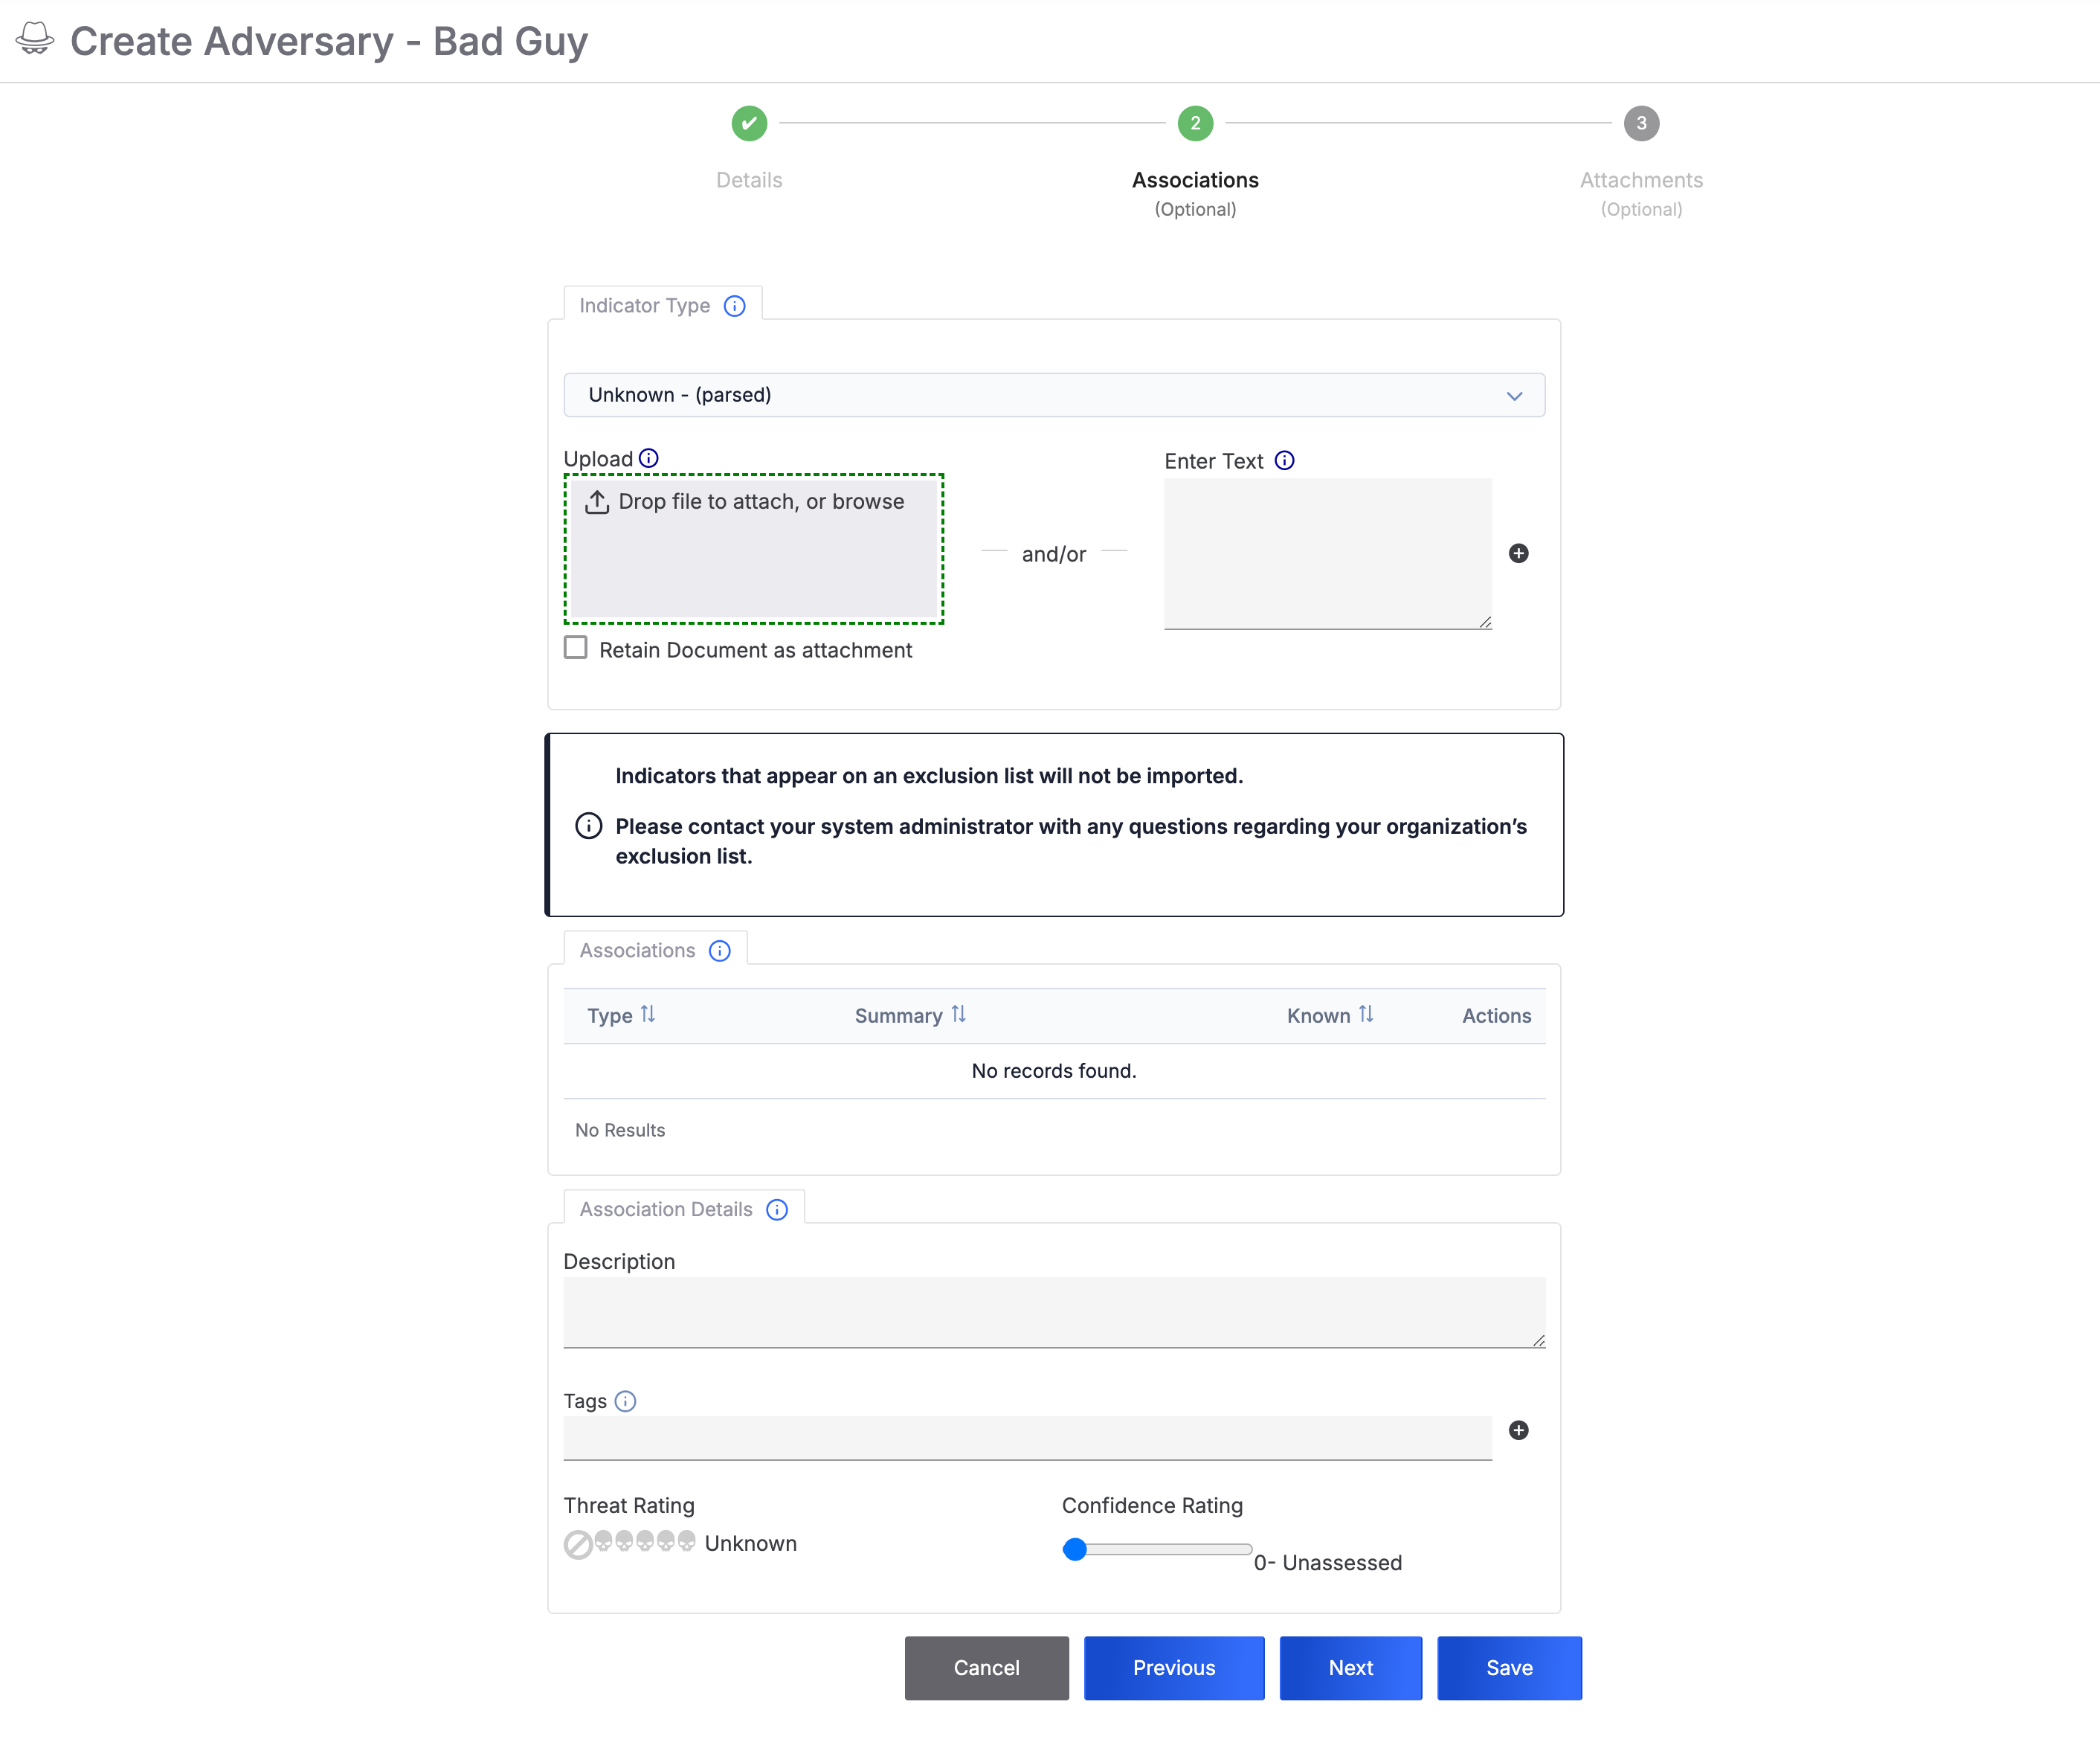
If you click Next on the Details step, you will proceed to the optional Associations step (Figure 2). Here, you can enter details about Indicators to create and associate to the Group.
Follow these steps to fill out the fields on the Associations step:
- In the Indicator Type card, select an Indicator type from the dropdown. Available choices include Unknown - (parsed), File, Email Subject, Hashtag, Mutex, Registry Key, and User Agent. After you select an Indicator type, the Indicator Type card displays fields that you can use to enter values for Indicators of the selected type. If you select Unknown - (parsed), the Indicator Type card will display the following options:
- Upload: Upload a file containing Indicators. To view upload requirements, hover over the Information
 icon to the right of the Upload heading. To create a Document Group that contains the uploaded file and associate it to the Group you are creating, select Retain Document as attachment.
 - Enter Text: If you are not uploading a file, enter the text to parse for Indicators, and then click Add
 . Parsable Indicator types include Address, Email Address, Host, URL, ASN, and CIDR.Note
Custom Indicator types may also be parsed if the following conditions are met:
- a System Administrator selected the Parsable checkbox when configuring the custom Indicator type;
- the custom Indicator type accepts a single value;
- a System Administrator created an import rule for the custom Indicator type.
For more information on custom Indicator types and Indicator import rules, see the “Custom Indicator Types” and “Indicator Import Rules” sections, respectively, of ThreatConnect System Administration Guide.
ImportantIndicators included on an Indicator Exclusion List will not be imported or associated to the Group.
- Upload: Upload a file containing Indicators. To view upload requirements, hover over the Information
- (Optional) On the Associations card, review the table containing the Indicators that will be created and associated to the Group. To remove an Indicator from the table, click Delete
 in the Actions column.NoteThe table in the Associations card will include a Private column if your System Administrator turned on private Indicators for your ThreatConnect instance. To mark an Indicator as private, select the corresponding checkbox in the Private column.NoteA checkmark in the Known column indicates that the Indicator already exists in the owner in which the Group will be created.
 - (Optional) On the Association Details card, provide the following details for allIndicators that will be created and associated to the Group:
- Description: (Optional) Enter a Description for the Indicators. If you entered a Description for the Group on the Details step and selected Apply Descriptions to Associations, the text box will contain that Description.
- Tags: (Optional) Enter one or more Tags to apply to the Indicators. If you entered Tags for the Group on the Details step and selected Apply Tags to Associations, the text box will contain those Tags.
- Threat Rating: (Optional) Set the Threat Rating for the Indicators.
- Confidence Rating: (Optional) Set the Confidence Rating for the Indicators.
- Click Next to proceed to the optional Attachments step, or click Save to create the Group.
Step 3: Upload File Attachments to the Group (Optional)
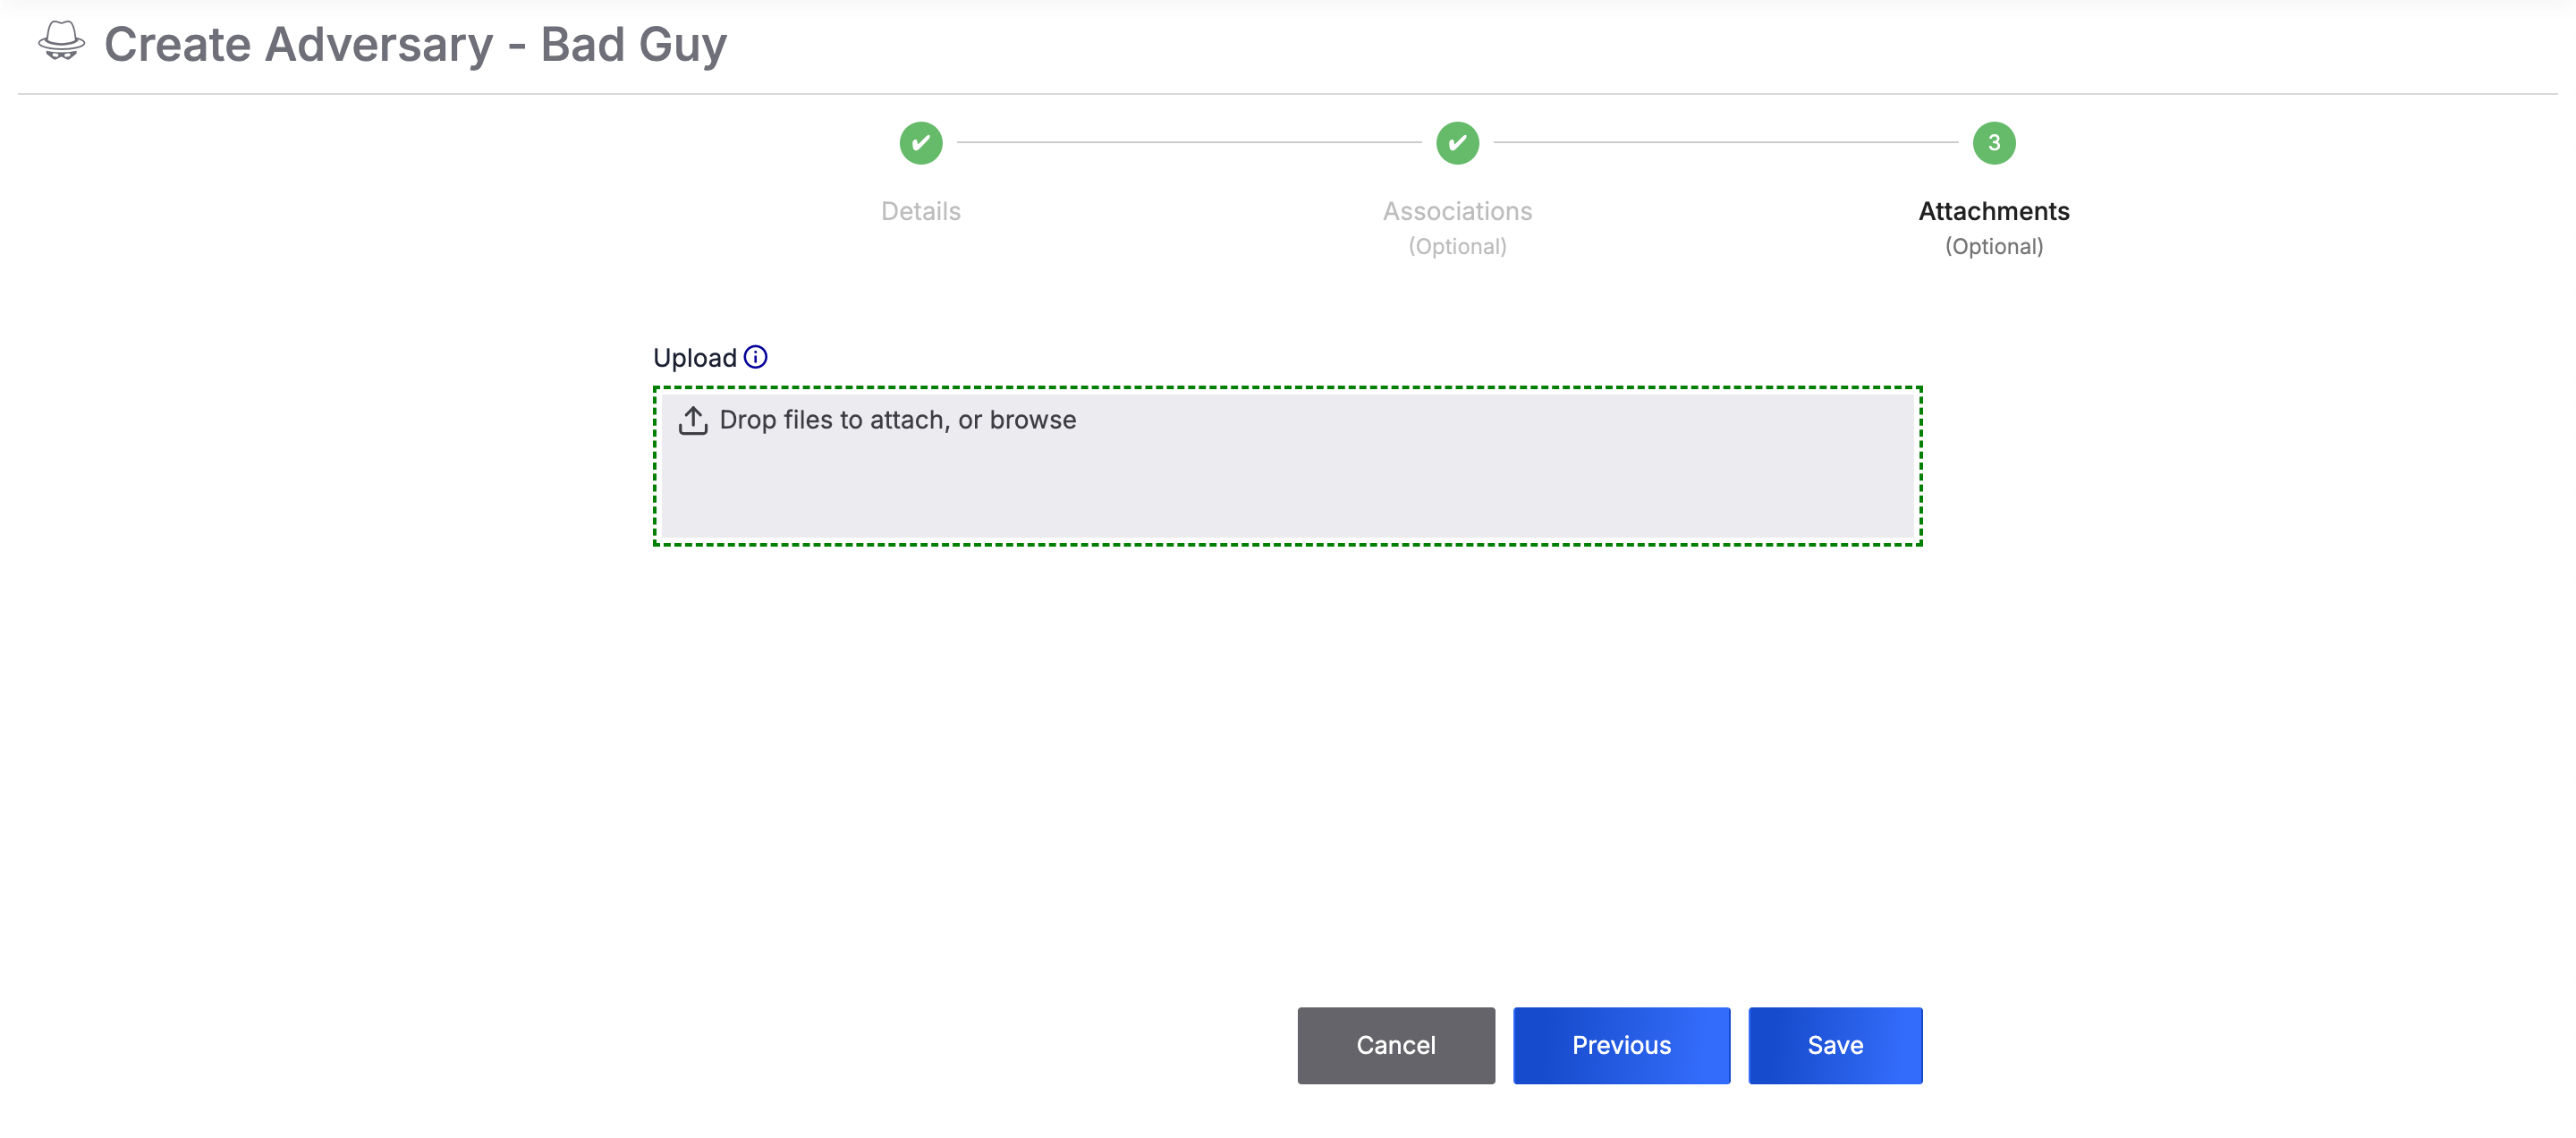
If you click Next on the Associations step, you will proceed to the optional Attachments step (Figure 3). Here, you can upload and attach related files to the Group.
Follow these steps to fill out the fields on the Attachments step:
- Upload one or more files. For each uploaded file, a Document Group that contains the file will be created and associated to the Group being created.
- After a file is uploaded, the filename and Add to Malware Vault checkbox display below the file upload area. Leave the Add to Malware Vault checkbox cleared unless you are uploading a malware file.
- Click Save to create the Group.
ThreatConnect® is a registered trademark of ThreatConnect, Inc.
20003-03 v.01.C
Was this article helpful?
