Case Notes
- 06 Nov 2024
- 4 Minutes to read
-
Print
-
DarkLight
-
PDF
Case Notes
- Updated on 06 Nov 2024
- 4 Minutes to read
-
Print
-
DarkLight
-
PDF
Article summary
Did you find this summary helpful?
Thank you for your feedback!
Overview
A Note in Workflow is freeform information entered by a user (e.g., in a Workflow Case or attached to a Task or Artifact). Notes can be used to provide commentary, directives to another user, additional details, or any information that cannot be captured elsewhere. They enable security teams to journal key data findings in an unstructured format.
The Notes card of a Case displays all Notes added to the Case. This article describes how to add Notes to a Case and manage existing ones, as well as how to link Notes to a Task or Artifact in a Case.
Before You Start
| Minimum Role(s) |
|
|---|---|
| Prerequisites |
|
Notes Card
Figure 1 shows an example of the Notes card for a Case, which is located below the Artifacts card on the right side of the screen displaying the Case.
Note
To collapse or expand the Notes card, hover the cursor anywhere in the card and click the arrow displayed at the upper-right corner of the card.
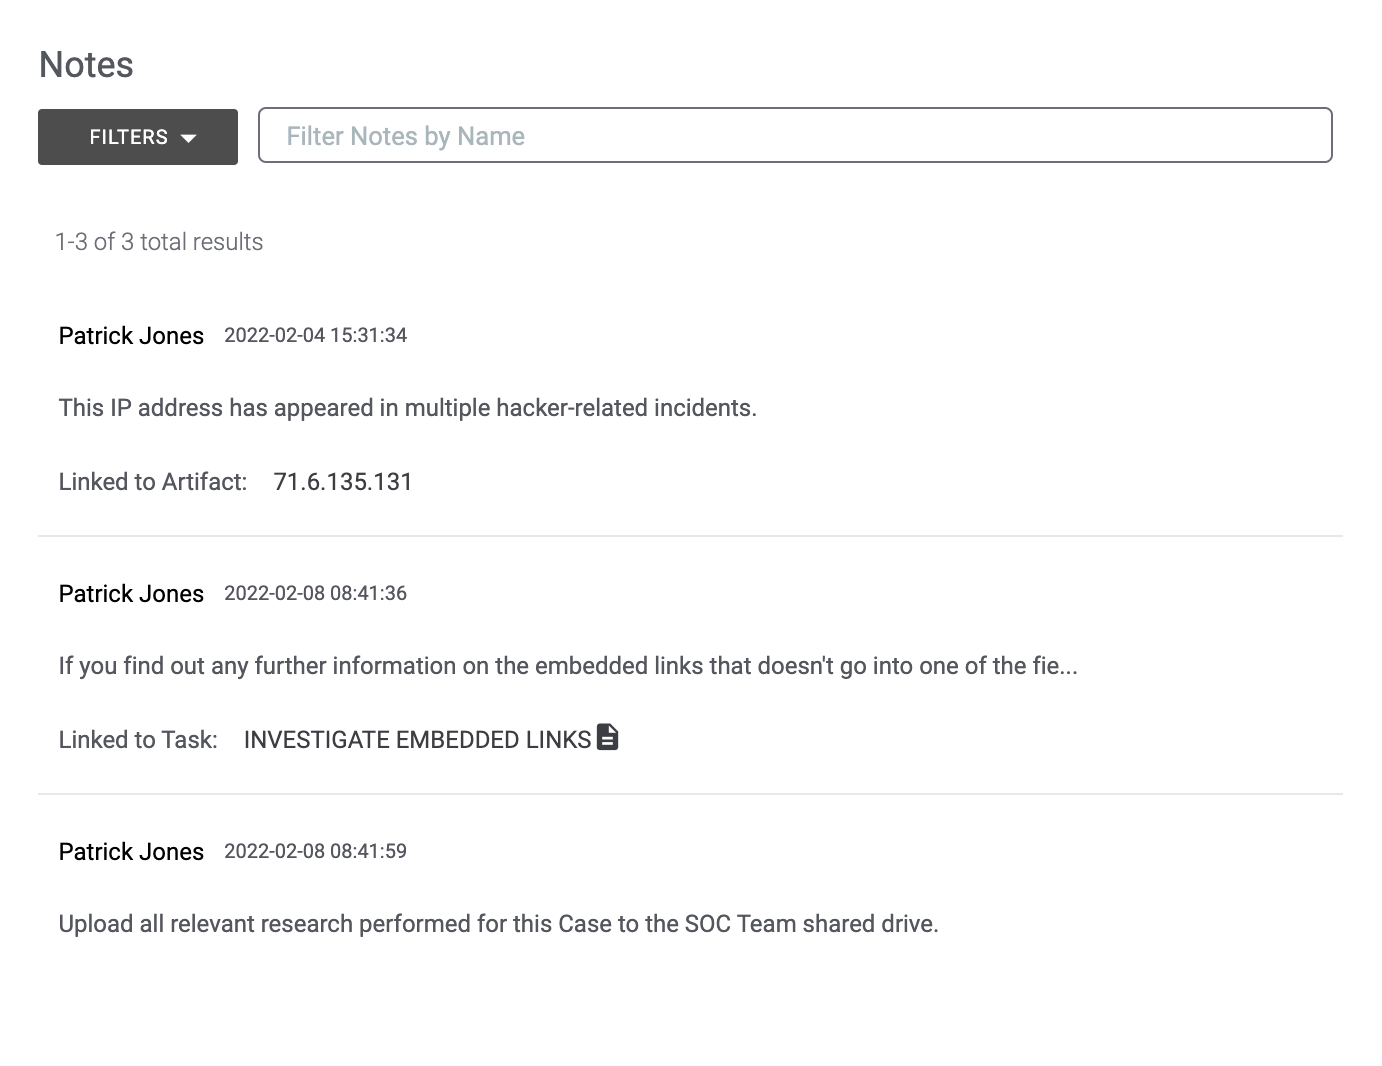
Each Note lists the user who added the Note, the date and time when the Note was added, the contents of the Note, and, if relevant, information about other elements of the Case to which the Note is linked.
Adding Notes
To add a Note to the Case, click the New…  button at the upper-right corner of the Case select Note, or hover the cursor over the Notes card and click New Note
 at the upper-right corner of the card. The Create Note drawer will be displayed (Figure 2).
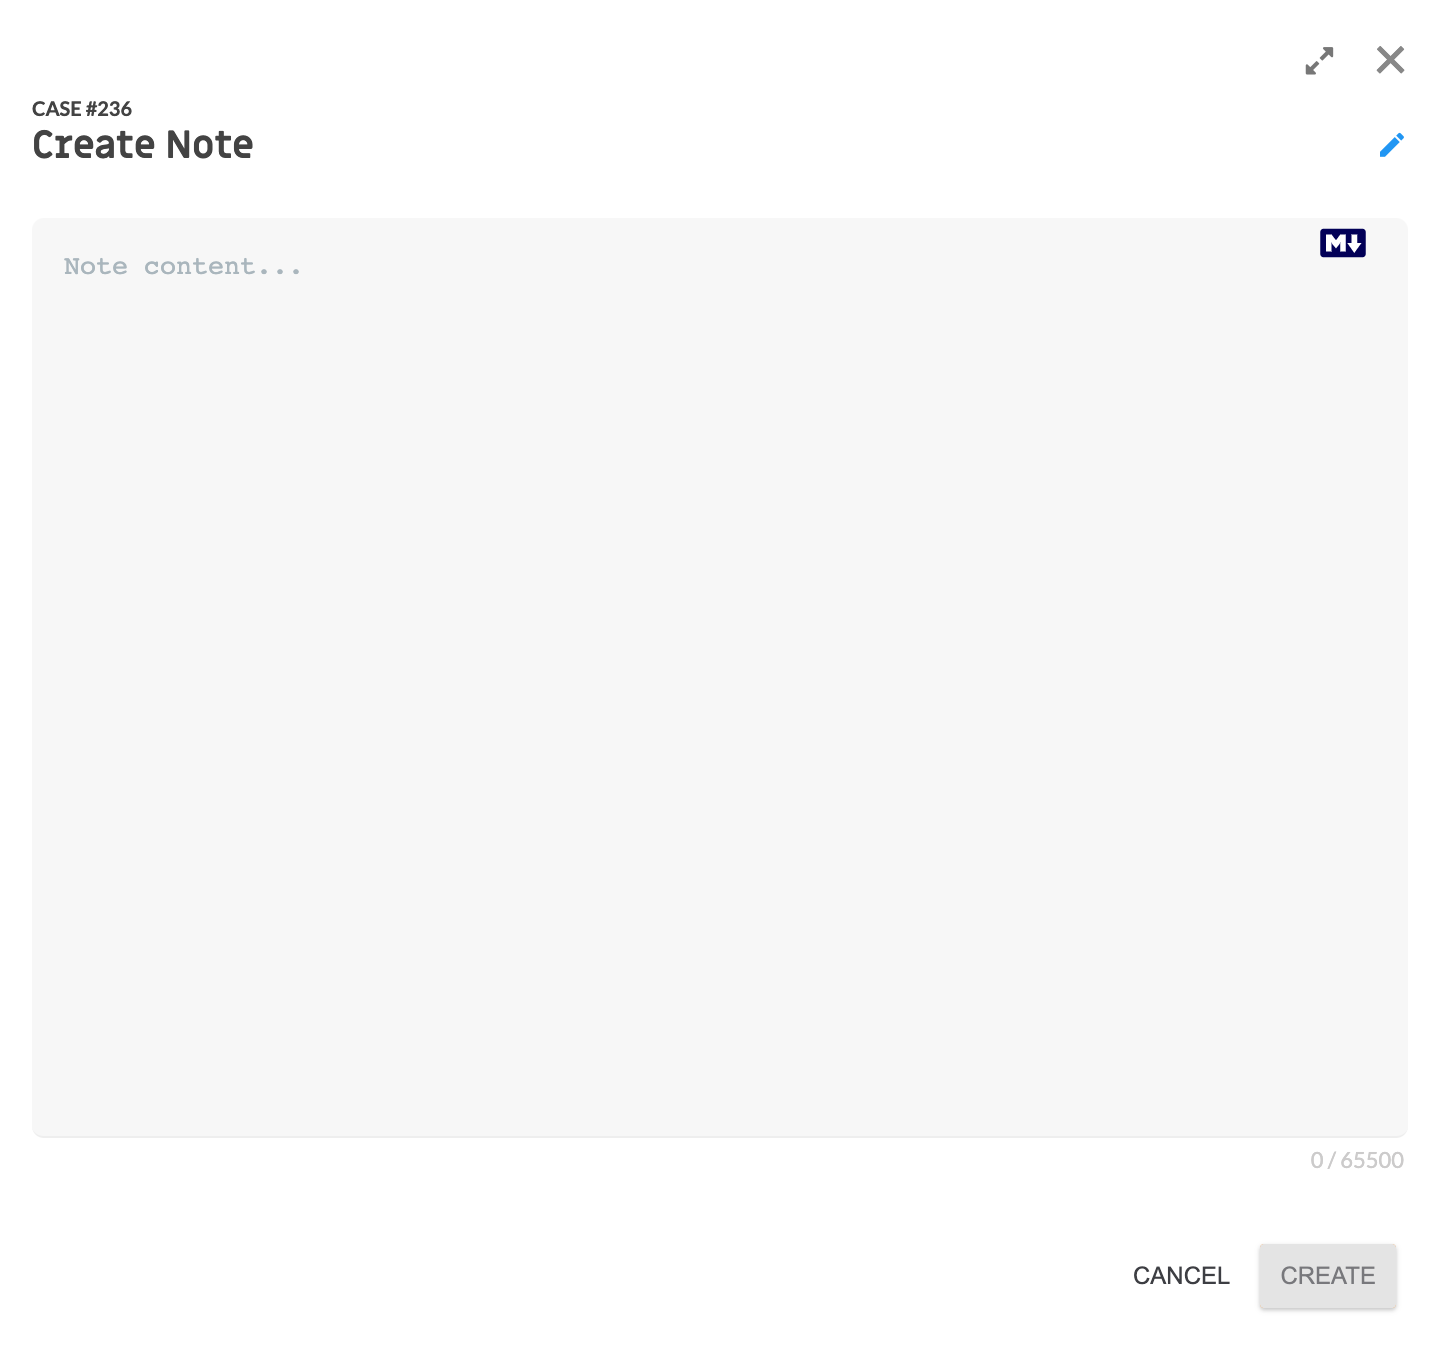
- Enter the contents of the Note in the text box, which supports Markdown.NoteThe text box supports the Marked library (https://marked.js.org/).
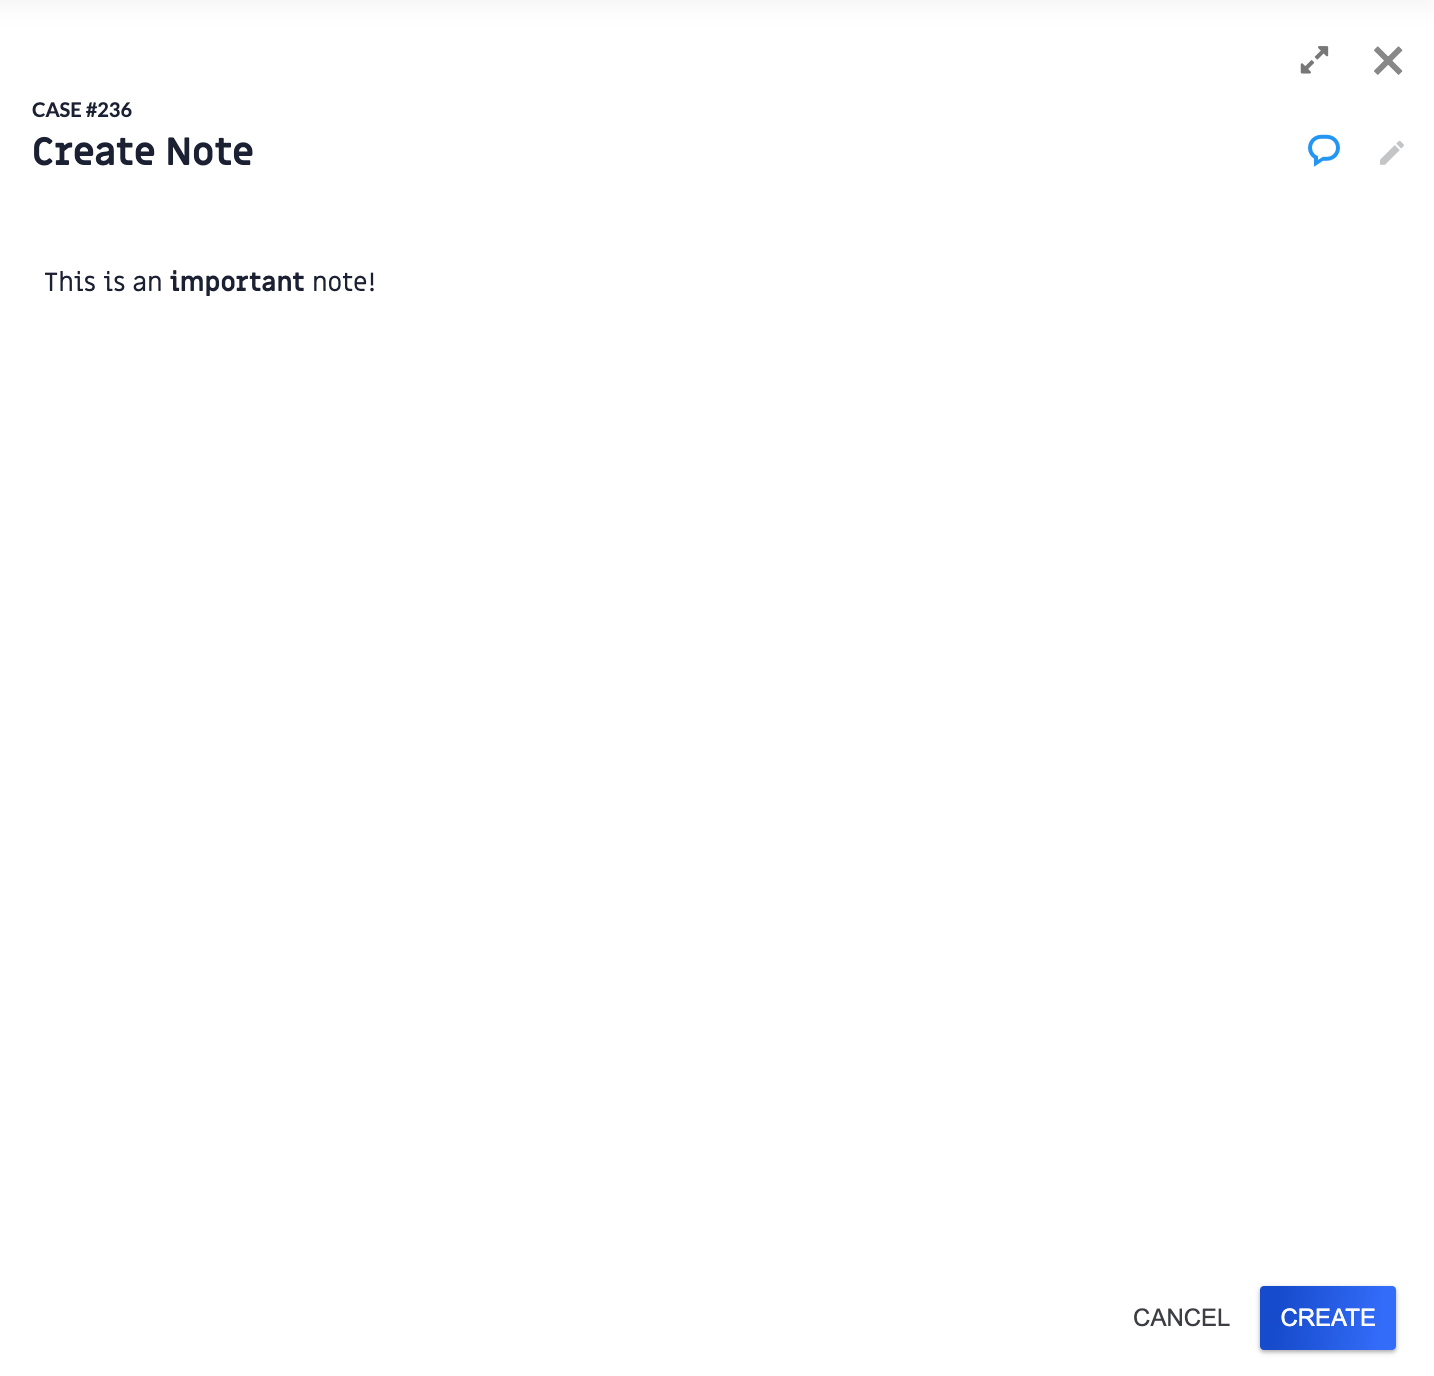
- Once you have entered text in the text box, a word bubble
 icon will be displayed at the top right of the Create Note drawer. Click this icon to preview the Note, if desired (Figure 3).
- Use the word bubbleand pencil
 icons to toggle between edit and preview mode.
 - Click the Expand
 icon to view the Note in full-screen mode.
 - Click the CREATE button to save the Note. The Note will be added to the Case and displayed at the bottom of the Notes card.
Managing Notes
Hovering over a Note will display three icons on its right side (Figure 4).

Removing Notes
To remove a Note, click the ⋮ menu in Figure 4 and select Remove.
Previewing Notes
Click the Expand icon in Figure 4 to view the full Note. The Preview Note drawer will be displayed (Figure 5).

- : Click this icon to edit the Note. See the “Editing Notes” section for more information.
- : Click this icon to view the Note in full-screen mode.
Editing Notes
Click the Edit icon in Figure 4 to edit the Note. The Edit Note drawer will be displayed (Figure 6).
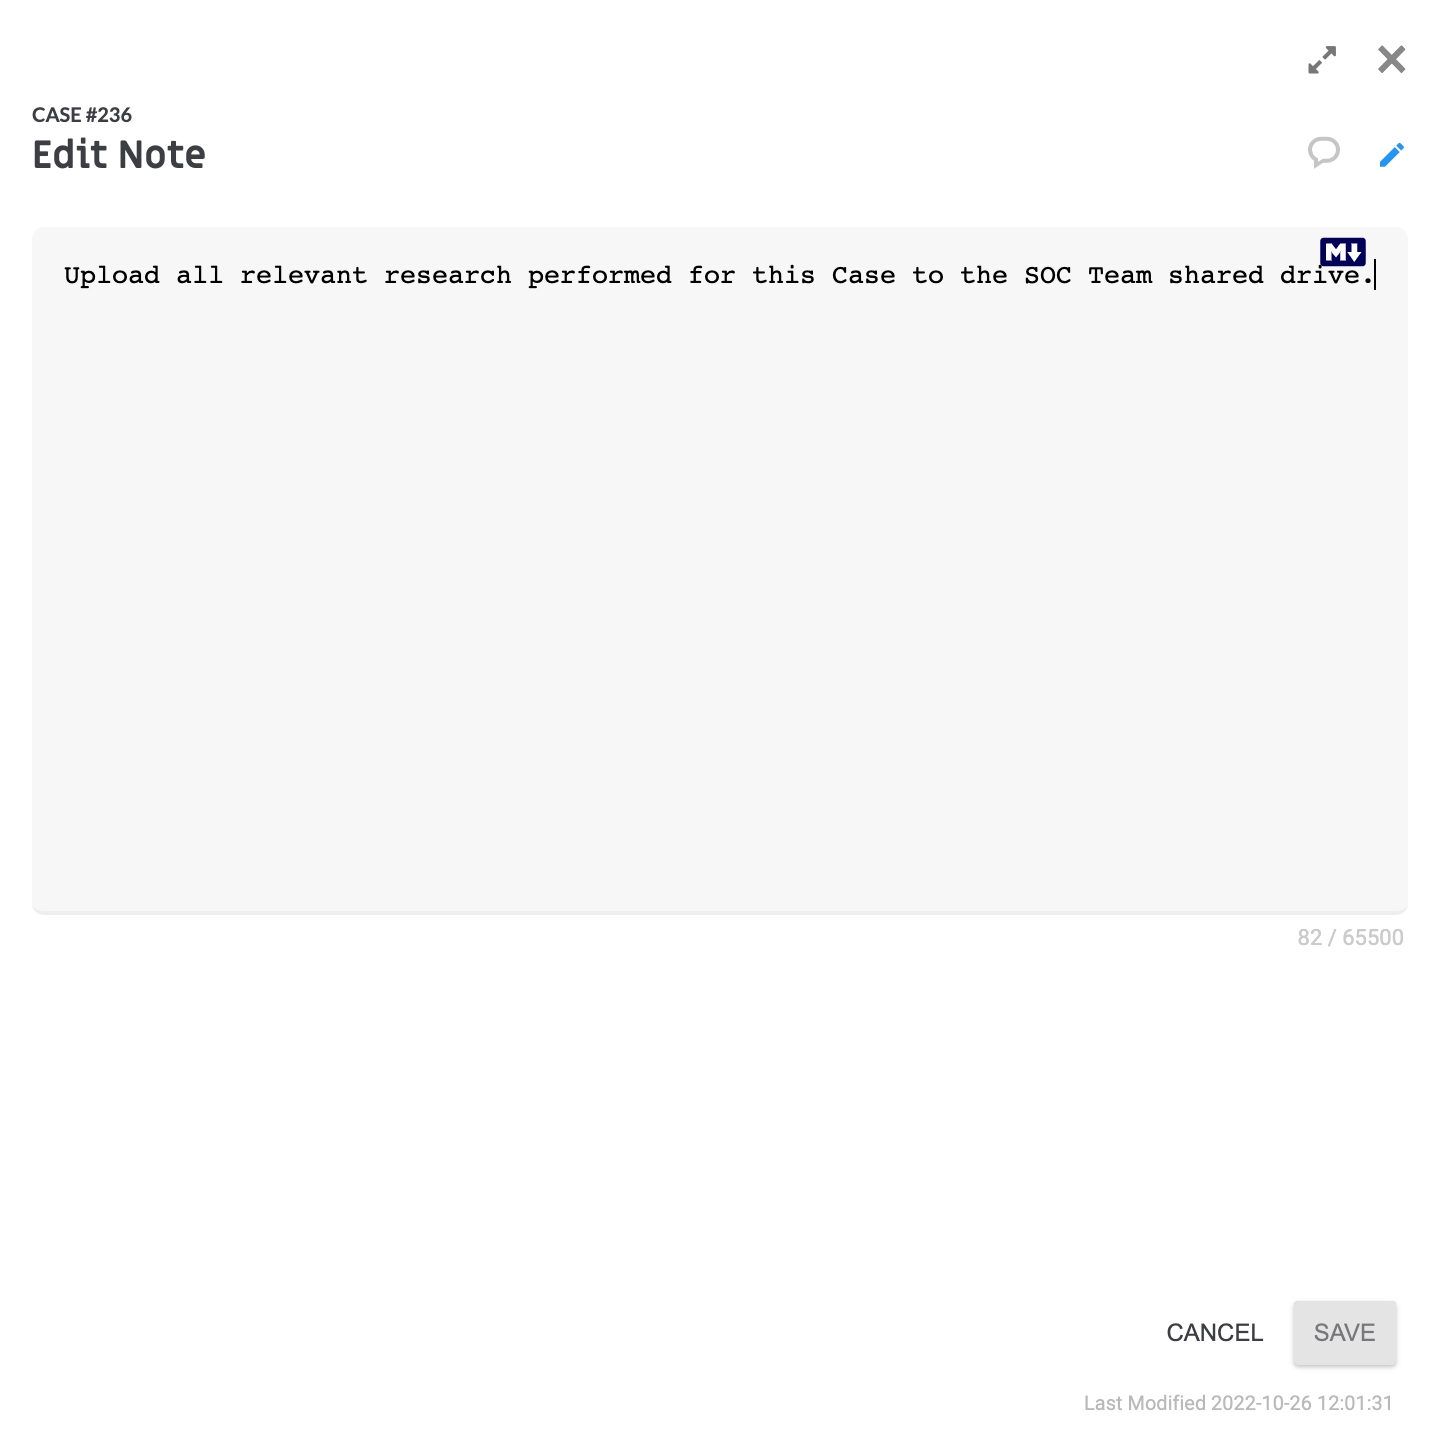
- Click in the text box to edit the contents of the Note.
- : Click this icon to preview the Note. See the “Previewing Notes” section for more information.
- : Click this icon to view the Note in full-screen mode.
- Click the SAVE button to save any changes made to the Note.
Note Links
When a Note is linked to a specific Task or Artifact, a Note link is displayed at the bottom of the Note, as shown for the first and third Notes in Figure 1.
For Notes linked to Tasks, hovering the cursor over the name of the Task to the right of the Linked to Task: text will display the full description of the Task, the Task assignee, and information on the Task’s dependency, if any (Figure 7).
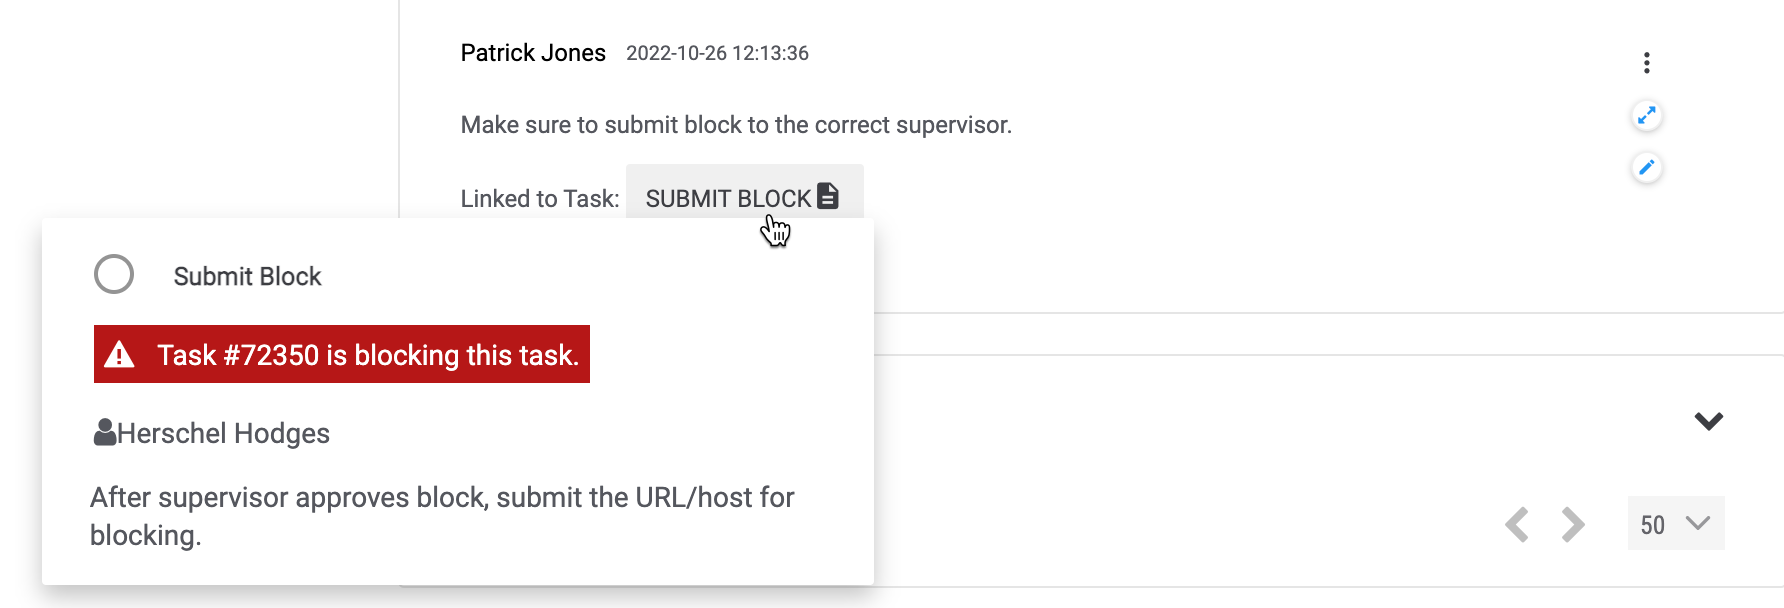
Note
All Tasks on a given instance of ThreatConnect are assigned a unique identification number. These numbers are typically not displayed in the user interface, with the exception of this window.
Notes that are linked to completed Tasks also show that the Task has been completed, as well as the date on which the Task was completed (i.e., the date to the right of the Due: text) (Figure 8).
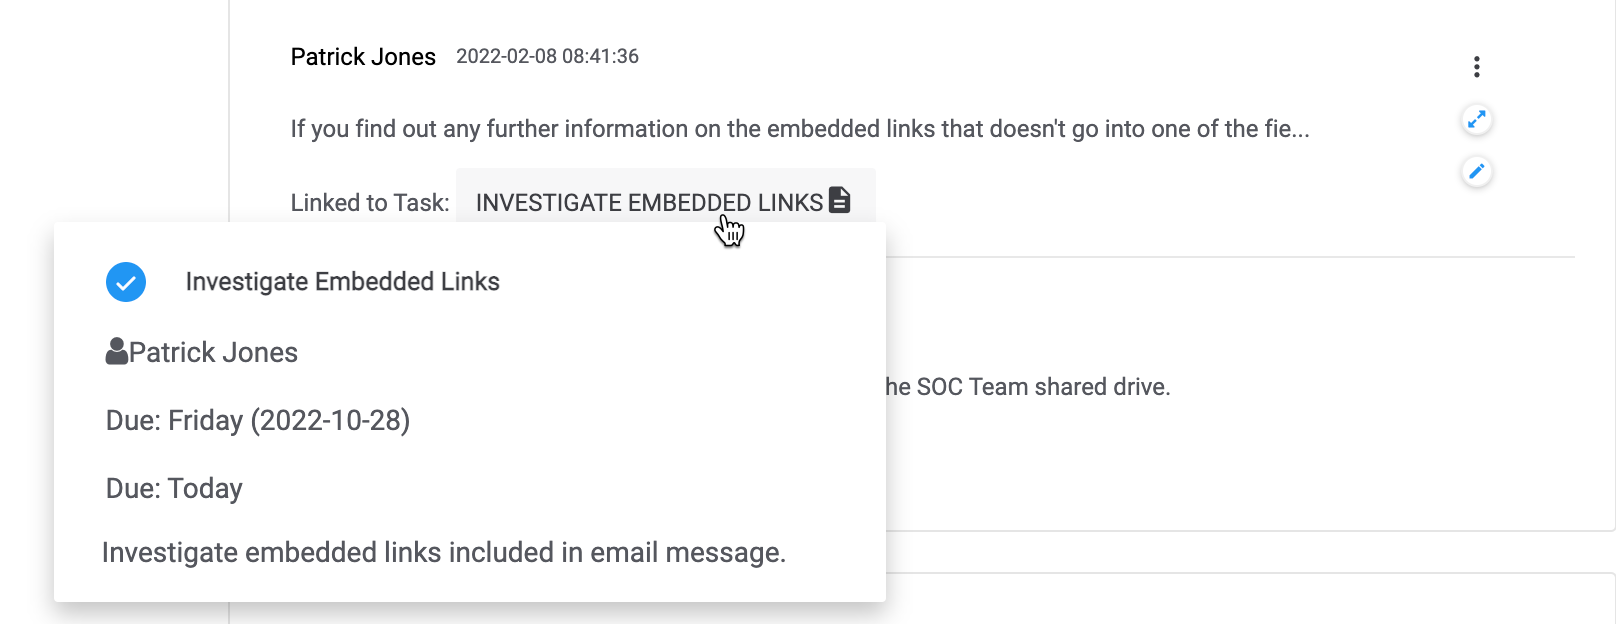
For instructions on creating a Note linked to a Task, see the “Add Note” section of Task Administrative Options.
For Notes linked to Artifacts, hovering the cursor over the name of the Artifact to the right of the Linked to Artifact: text will display the contents of the Artifact and its type (Figure 9).
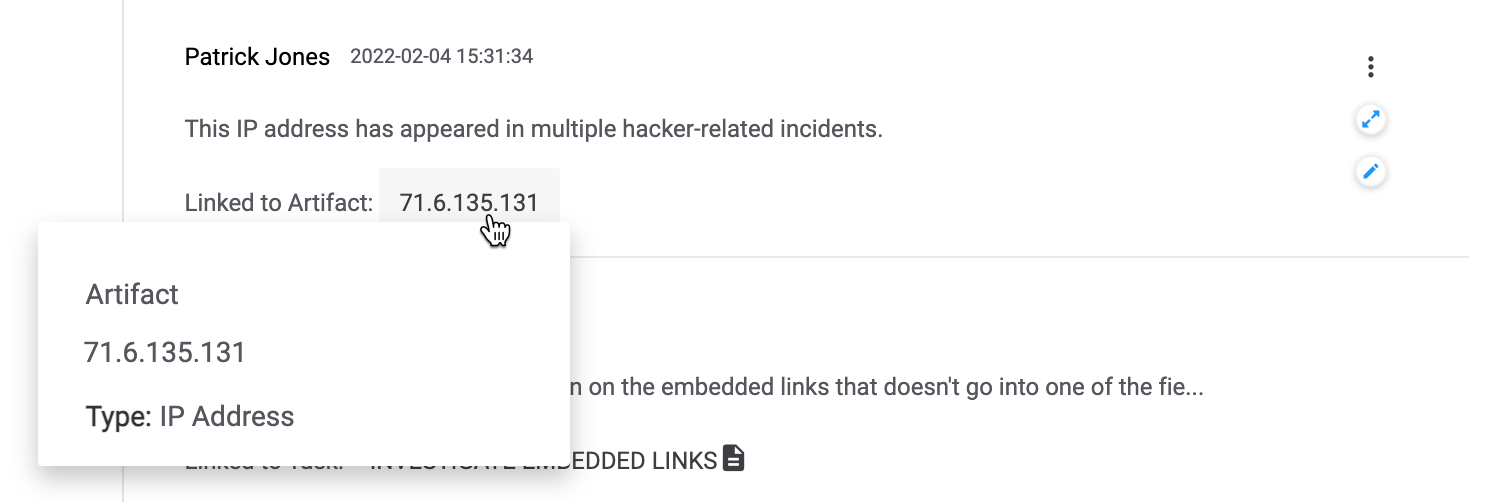
For instructions on creating a Note linked to an Artifact, see the “Add Note” section of Artifact Administrative Options.
Filtering Notes
FILTERS Selector
Use the FILTERS selector at the top left of the Notes section to filter Notes by date added and the user who added the Note. After making your selections, click APPLY in the FILTERS selector to apply the filters to the Notes.
When filters have been applied, an orange circle will be displayed at the upper-left corner of the FILTERS selector. This element alerts you to the fact that you might be viewing an “incomplete” set of data.
Filtering Notes by Name
Use the search bar to the right of the FILTERS selector to filter Notes by name (i.e., the contents of the Note).
ThreatConnect® is a registered trademark of ThreatConnect, Inc.
20127-01 v.01.E
Was this article helpful?
