Overview
A Trigger is an event that initiates the actions defined within a Playbook in ThreatConnect®. The WebHook Trigger creates an HTTPS endpoint that can process nearly any piece of information that can be sent via HTTP. This functionality is useful for building integrations and getting disparate systems to interact via Playbooks. For example, a SIEM can post a series of Indicators to the URL provided by the WebHook Trigger, the Playbook containing the Trigger can enrich the Indicators with additional context, and then the context can be sent back to the same URL.
You can view a WebHook Trigger’s endpoint URL on the Playbooks screen under the name of the Playbook containing the Trigger. You can also view this URL in the Playbook Designer by hovering the cursor over the Information icon on the Trigger box in the design pane.
Before You Start
User Roles
- To view Playbooks with a WebHook Trigger, your user account can have any Organization role.
- To add the WebHook Trigger to Playbooks, your user account must have an Organization role of Standard User, Sharing User, Organization Administrator, or App Developer.
- To execute Playbooks with a WebHook Trigger, your user account must have an Organization role of Standard User, Sharing User, Organization Administrator, or App Developer.
- To configure the Playbook IP Filter for an Organization, your user account must have an Organization role of Organization Administrator.
Prerequisites
- To have access to Playbooks, turn on the Playbooks system setting for your ThreatConnect instance on the System Settings screen (must be a System Administrator to perform this action).
Adding a WebHook Trigger to a Playbook
Follow these steps to add a WebHook Trigger to a Playbook and configure the Trigger:
- Click Playbooks on the top navigation bar in ThreatConnect to open the Playbooks screen.
- Create a new Playbook or open an existing one.
- Click
 Triggers on the side navigation bar of the Playbook Designer to view all available Triggers. Then select WebHook in the External menu to add a WebHook Trigger to the design pane (Figure 1).
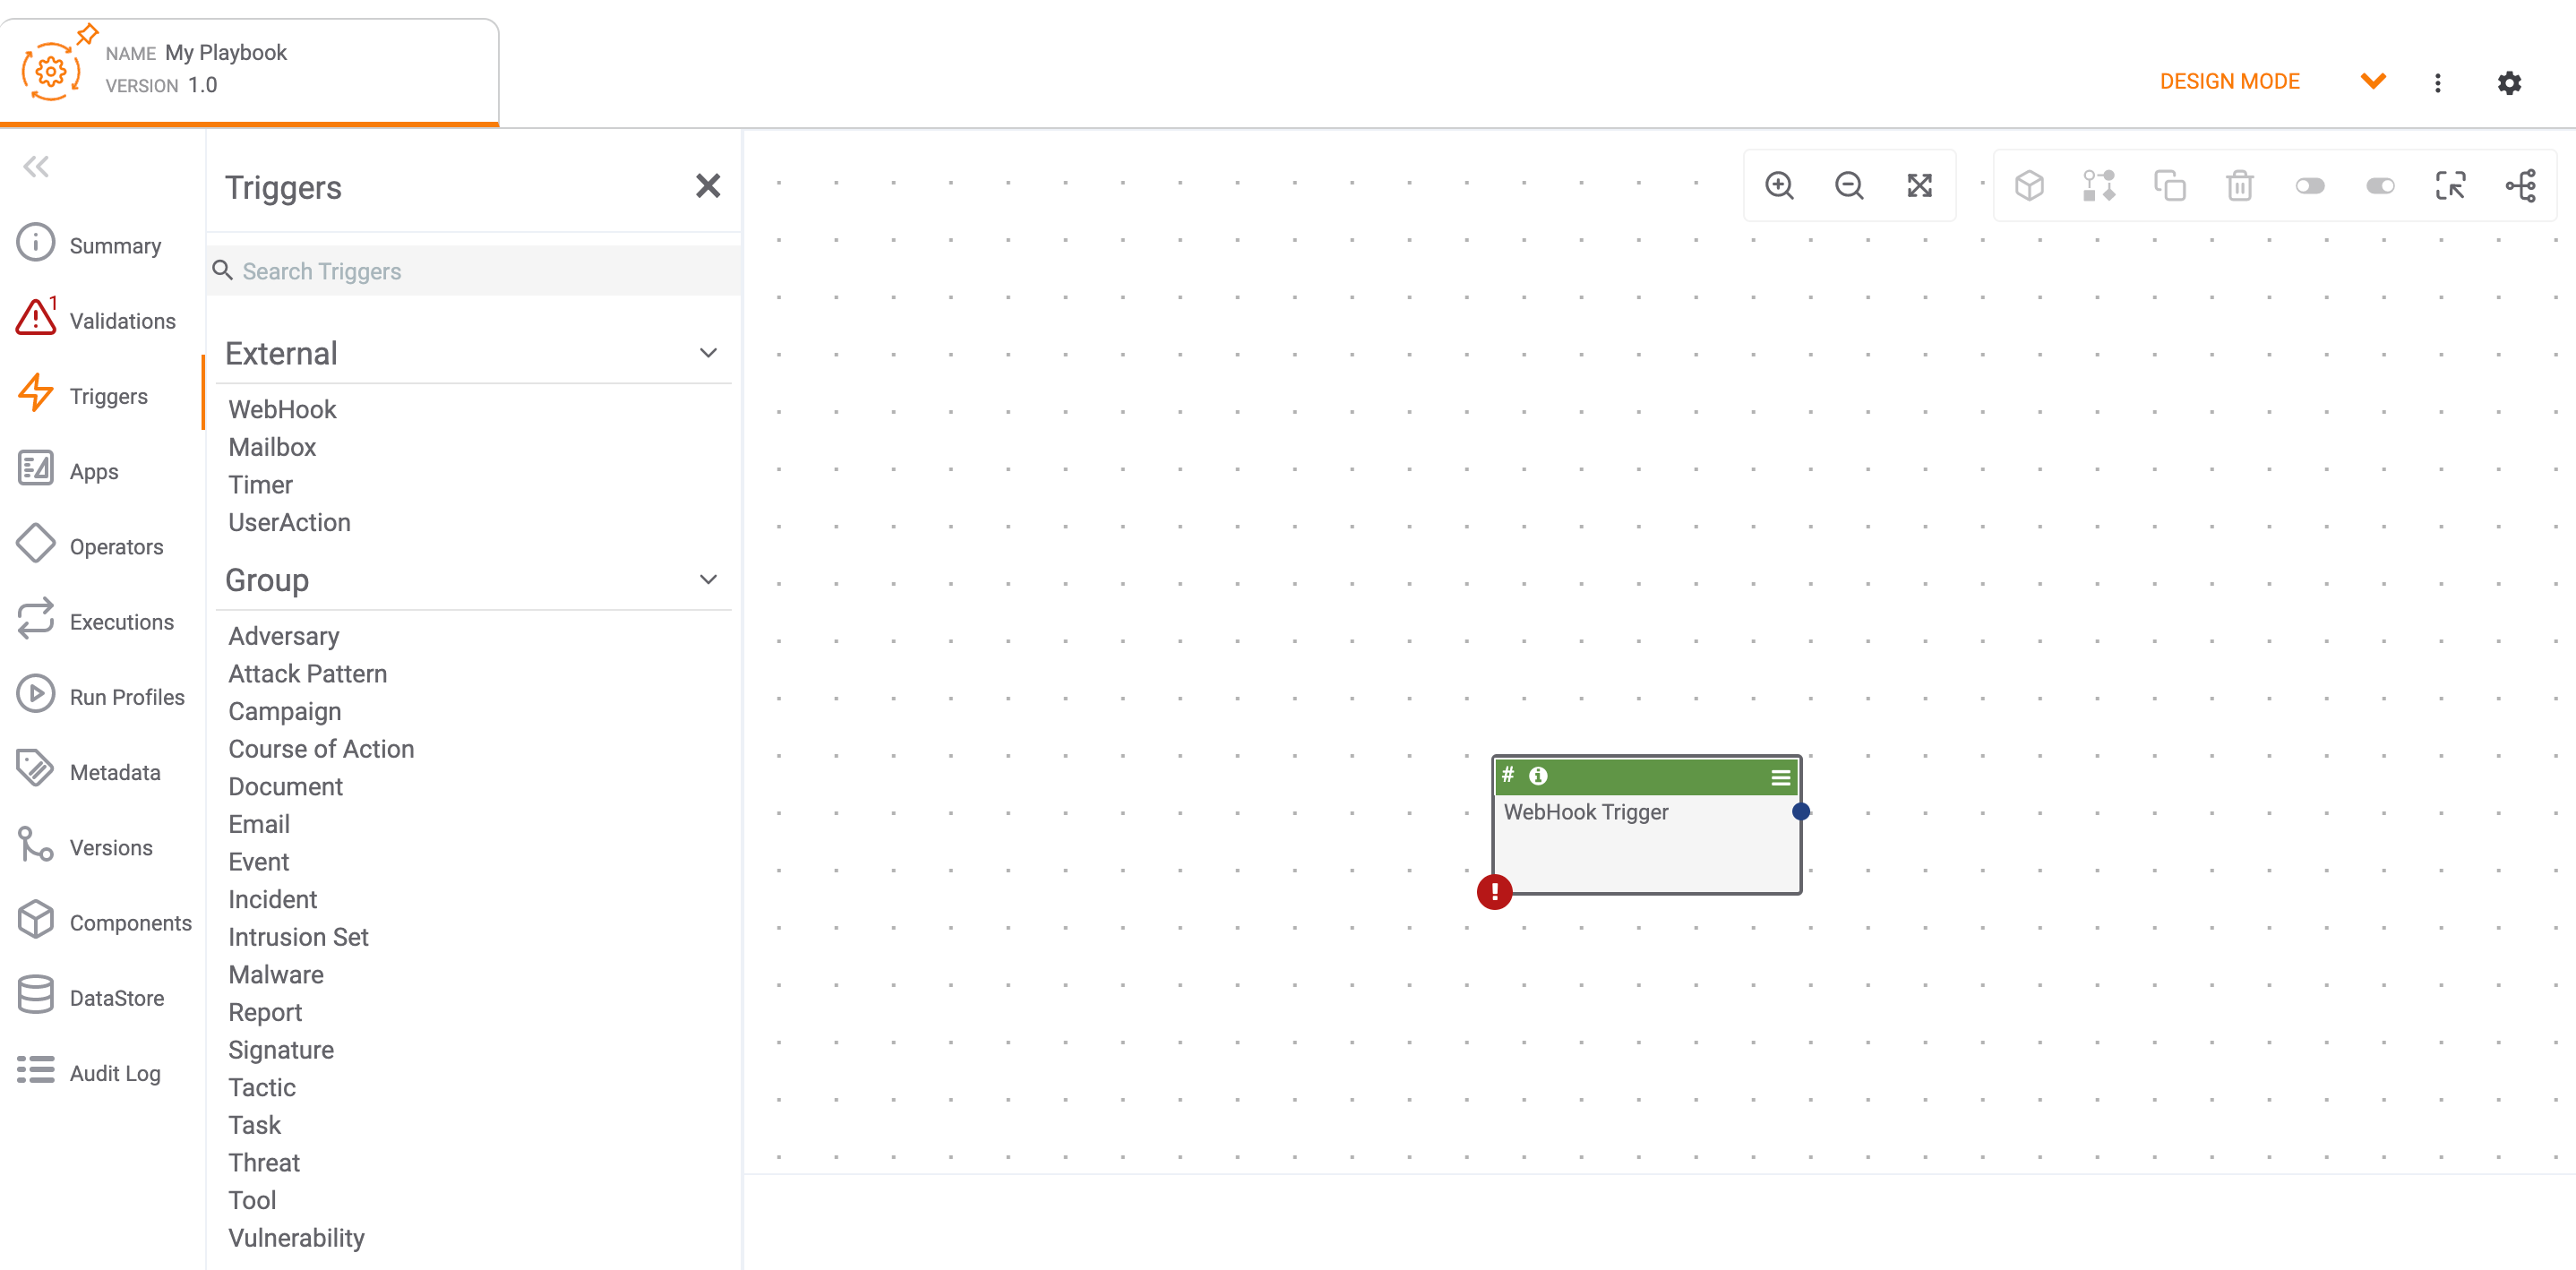
- Double-click the WebHook Trigger in the design pane to open the Edit Trigger pane.
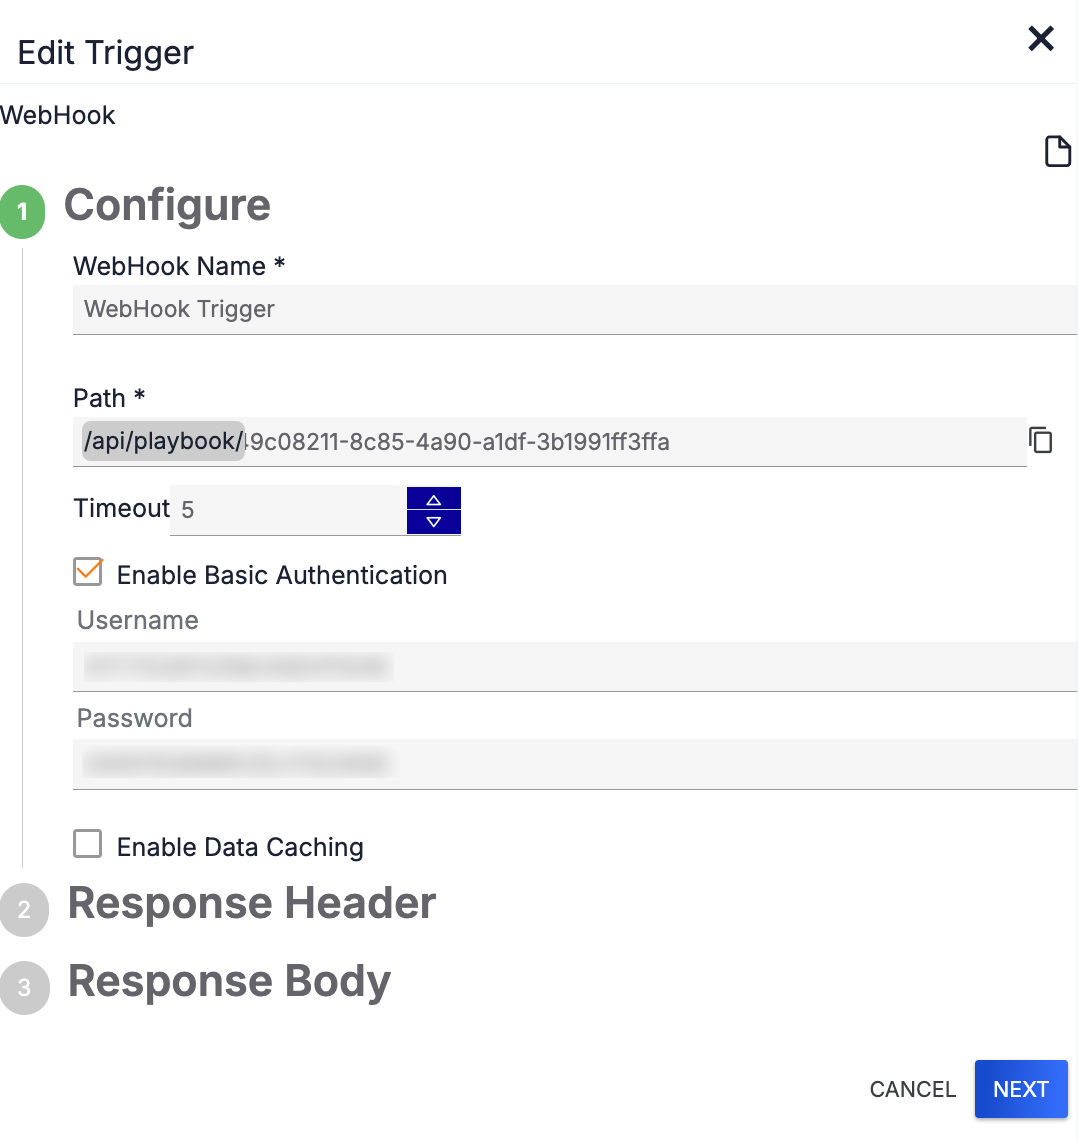
- Fill out the fields on the Configure step (Figure 2) as follows:HintClick Display Documentation
 at the upper-right corner of the Edit Trigger pane to view information about the Trigger, including a description of the Trigger, its input parameters, and its output variables.
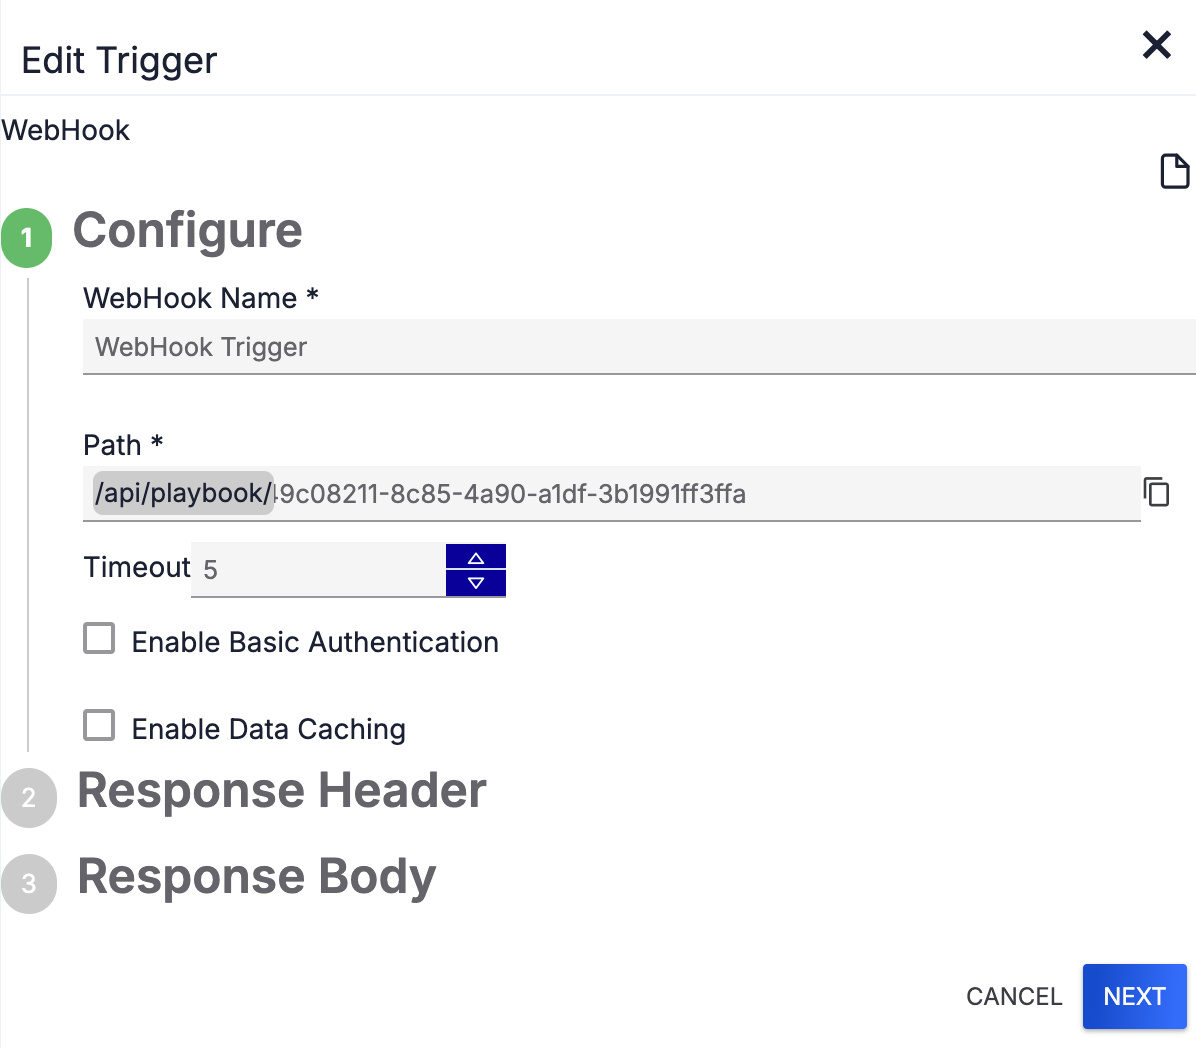
- WebHook Name: Enter a name for the Trigger.
- Path: A unique Trigger endpoint URL is generated automatically for each use of the Trigger. If desired, edit the URL’s universally unique identifier (UUID) path.NoteIf you enter a custom UUID path that is already in use in the Path parameter, a warning message stating “Already in use” will be displayed, and the NEXT button will be grayed out.
- Timeout: Set the Trigger’s timeout length (that is, the amount of time the Trigger can run before timing out). The default timeout length is 5 minutes.
- Enable Basic Authentication: (Optional) Select this checkbox to enable basic authentication for the Trigger.
- Enable Data Caching: (Optional) Select this checkbox to enable data caching for the Trigger.
- Click NEXT to proceed to the Response Header step.
- (Optional) Fill out the fields on the Response Header step (Figure 3) as follows:
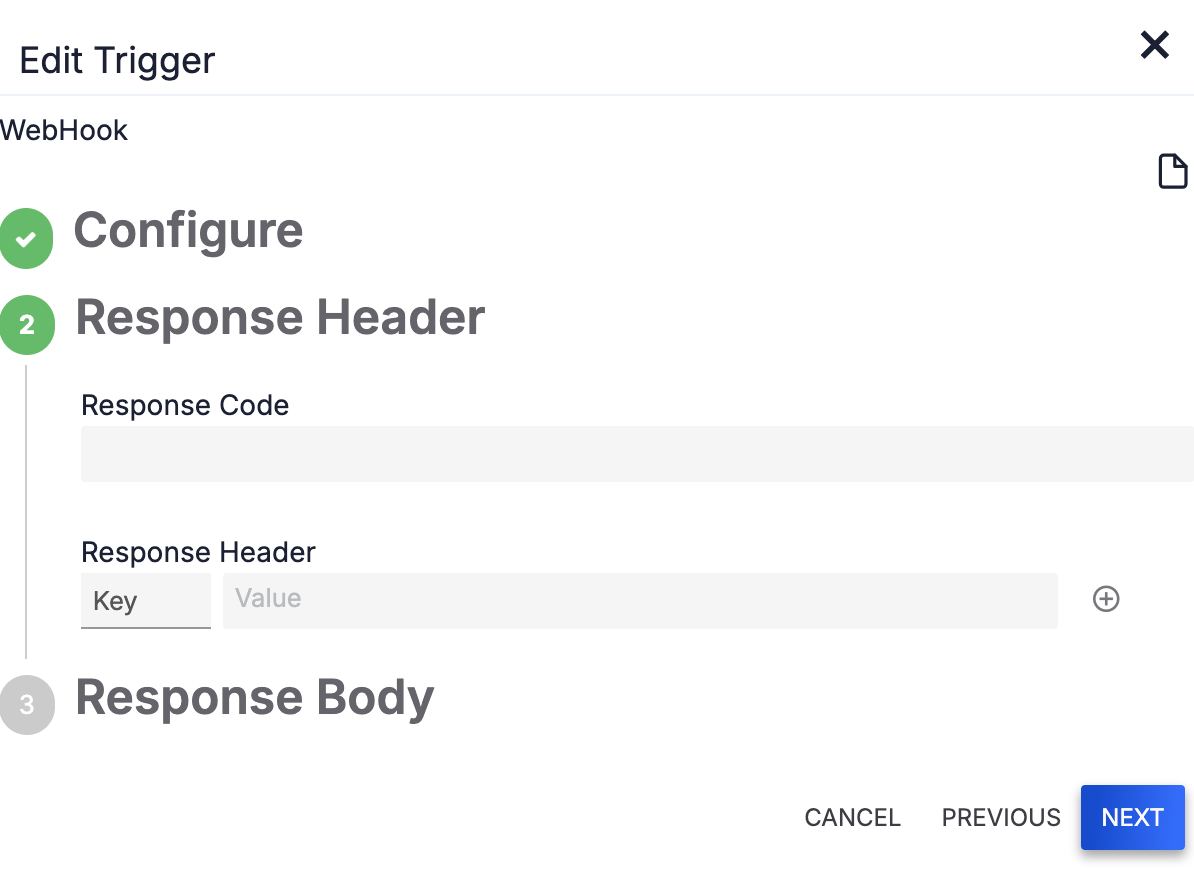
- Response Code: (Optional) Enter the HTTP response code that will show with the Trigger’s response body after the Playbook is run.
- Response Header: (Optional) Enter the header as a key/value pair, and then click Add
 .HintYou can use variables in the Response Code and Response Header parameters.
- Click NEXT to proceed to the Response Body step.
- (Optional) In the Body parameter, enter the message that will be displayed after the Playbook execution is complete (Figure 4). You may use HTML or plain text, as well as Playbook variables, when creating the response body message.
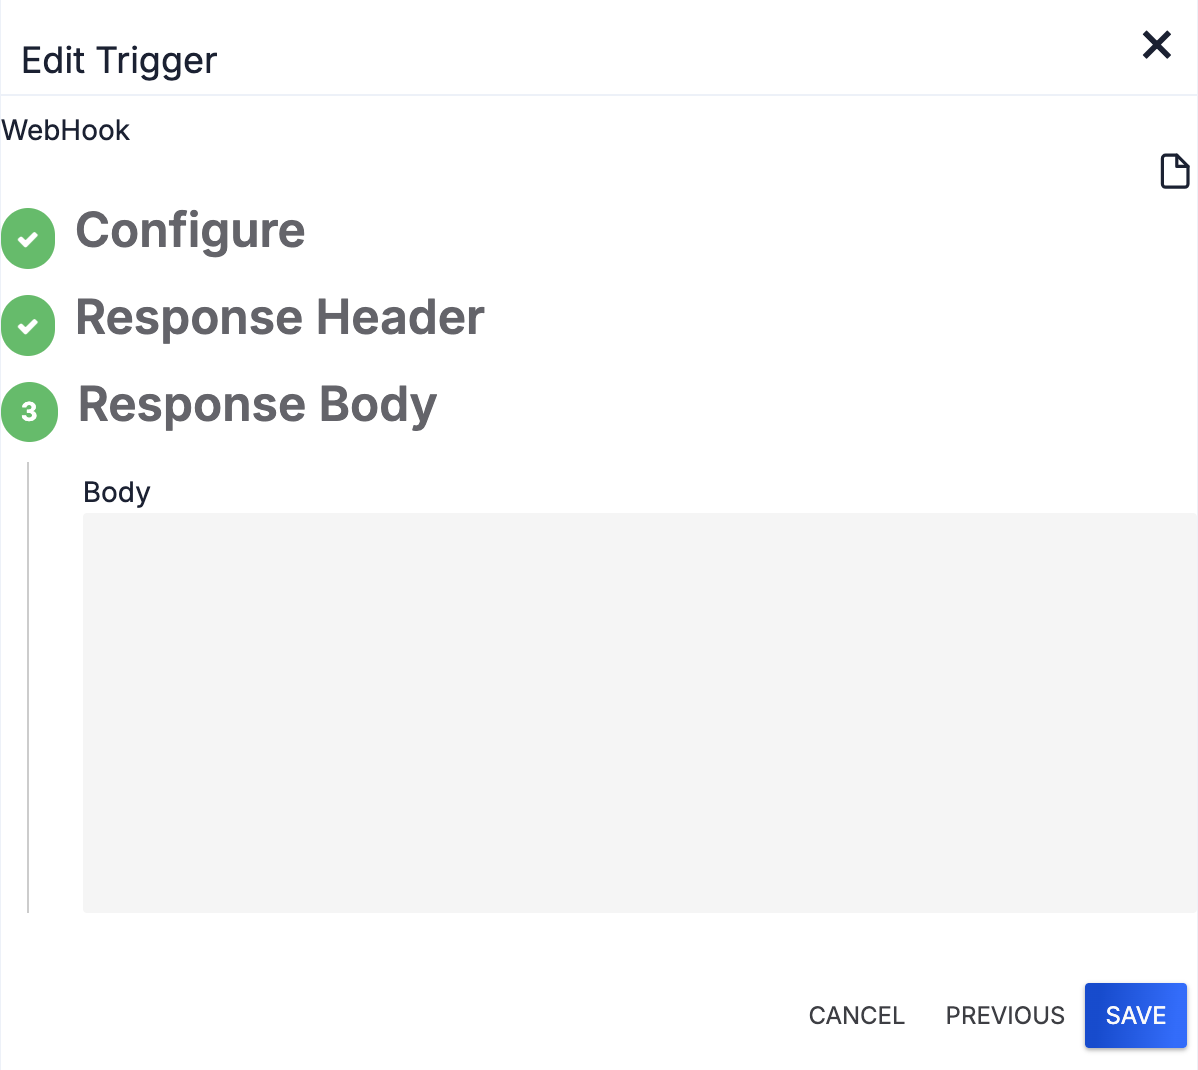
- Click SAVE on the Edit Trigger pane to save the Trigger’s configuration.
Now you can continue to build out and then execute the Playbook. When building the Playbook, you can interact with the following elements along the top of the WebHook Trigger in the design pane to view more information about and manage the Trigger:
- Hover the cursor over the Hashtag
 icon at the upper-left corner of the Trigger to view a list of output variables, which are values that the Trigger can send to other Apps and Operators in the Playbook.
 - Hover over the Informationicon at the upper-left corner of the Trigger to view the Trigger’s endpoint URL.
- Click the Menu
 icon at the upper-right corner of the Trigger to open a menu with options to edit, disable, clone, and delete the Trigger.
Enabling Basic Authentication
To enable basic authentication for a WebHook Trigger, select the Enable Basic Authentication checkbox on the Configure step of the Edit Trigger pane (Figure 2). Then enter the username and password to use for basic authentication (Figure 5).
Enabling Data Caching
Data caching is used to improve performance and reduce the load on Playbook servers. When a cache key is found from a request, the response from the cache is used instead of running the full Playbook. Enabling this feature can reduce Playbook execution response times from minutes to milliseconds, depending on the specific Playbook logic.
To allow the Playbook to use a cache when making multiple requests that are the same to a WebHook Trigger, select the Enable Data Caching checkbox on the Configure step of the Edit Trigger pane (Figure 2). Then configure the following data caching settings on the Configure step (Figure 6):

- Minutes before cache key is purged: Enter the number of minutes before a key will be purged from the cache and a new Playbook execution will occur.
- Record Metrics: Select this checkbox to record when a Playbook cache was hit, when it was missed, and the hit ratio and plot these metrics on a dashboard card.
- Compose Cache Key from HTTP Request:A cache key helps the system decide whether it should pull the response from the cache or run the Playbook as a unique request. At least one of the following values must be defined or selected for a cache key:
- Include Method: Select this checkbox when an HTTP method should be used to construct the cache key.
- Include Body: Select this checkbox when an HTTP body should be used to construct the cache key.
- Query Parameters: Enter query parameter names in the HTTP request that should be used to construct the cache key, and then click Add.
- Header: Enter header names in the HTTP request that should be used to construct the cache key, and then click Add.
Configuring the Playbook IP Address Access Filter
The Playbook IP Filter specifies the IP addresses that can send requests to WebHook Triggers. Follow these steps to configure the Playbook IP Filter for an Organization:
- Log into ThreatConnect with an Organization Administrator account.
- Hover over Settings
 on the top navigation bar in ThreatConnect and select Org Settings.
 - Select the Settings tab on the Organization Settings screen.
- In the Playbook IP Filter section on the Settings tab, click Edit
 next to the Click here to enter a filter for IP Addresses text to display a text box where you can configure the Playbook IP Filter (Figure 7).
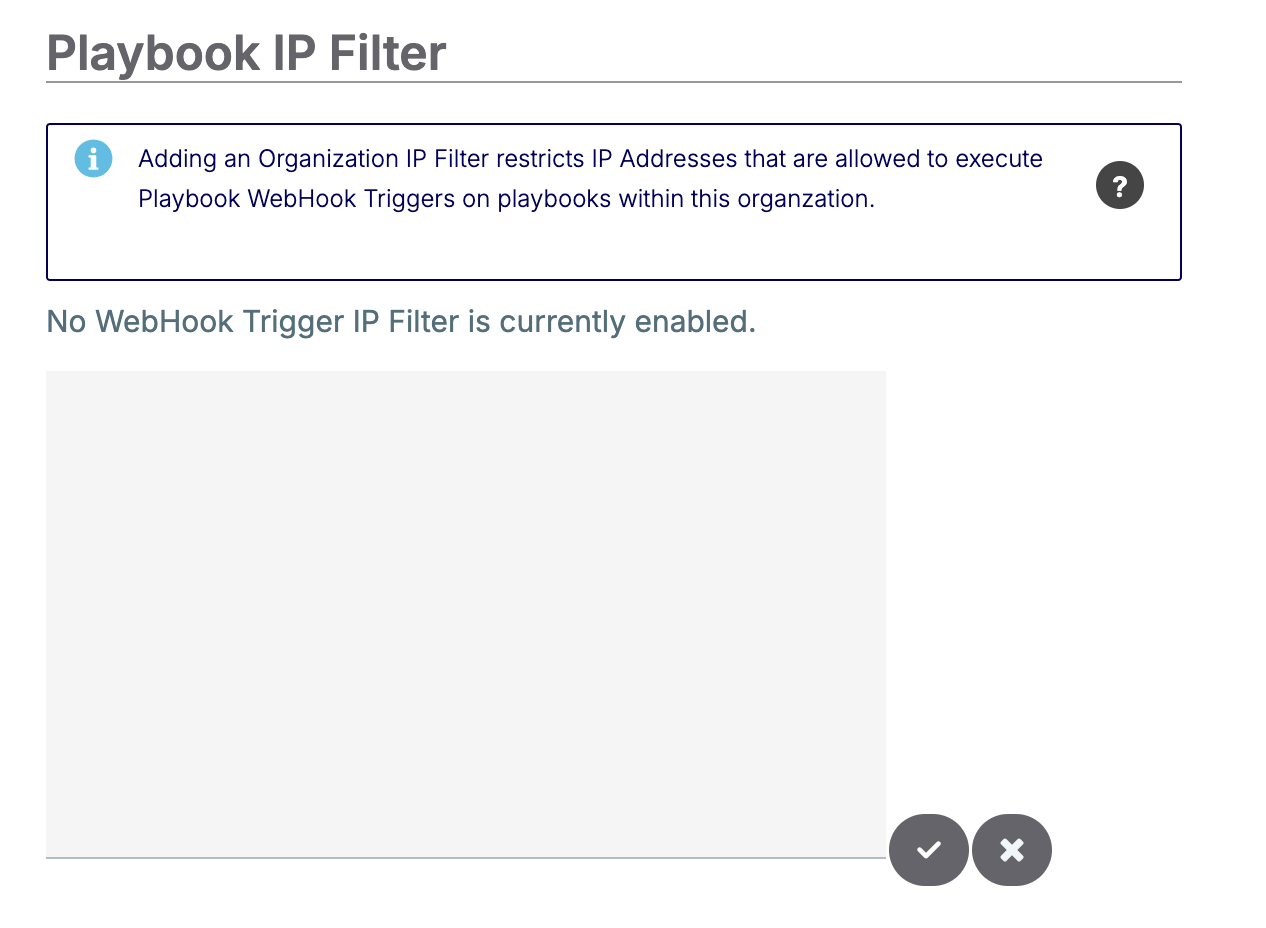
- In the text box, enter any IP addresses or IP address ranges that will be allowed to send a request to WebHook Triggers, separating multiple values with commas. Then click Save
 to save additions or changes to the Playbook IP Filter.NoteUsers attempting to trigger a Playbook from IP addresses not on the filter list will receive an error message.
ThreatConnect® is a registered trademark of ThreatConnect, Inc.
20097-01 v.05.A