Overview
Security Labels provide a means to designate information stored within ThreatConnect® as sensitive. ThreatConnect uses the Traffic Light Protocol (TLP) system published by the Forum of Incident Response and Security Teams™ (FIRST).
When sharing data with partners, or when copying data to and from Communities, Security Labels provide control over what is shared and allow the sharer to redact information based on Security Labels that are applicable to Groups, Indicators, and Victims, as well as Attributes added to those object types.
Before You Start
| Minimum Role(s) | Organization role of Standard User or Community role of Contributor |
|---|---|
| Prerequisites | Security Labels must be configured by the owner’s System Administrator, Organization Administrator, or Community Editor or Director. See ThreatConnect System Administration Guide, ThreatConnect Organization Administration Guide, ThreatConnect Community and Source Administration Guide, and Creating Security Labels for more information. |
Applying Security Labels to Groups, Indicators, and Victims
New Details Screen
- Navigate to the Details screen for an Indicator or Group.ImportantThe new Details screen is not currently available for Email, Signature, and Task Groups and for Victims. As such, you can apply Security Labels to these object types on the legacy Details screen only.
- On the Overview tab, click Edit
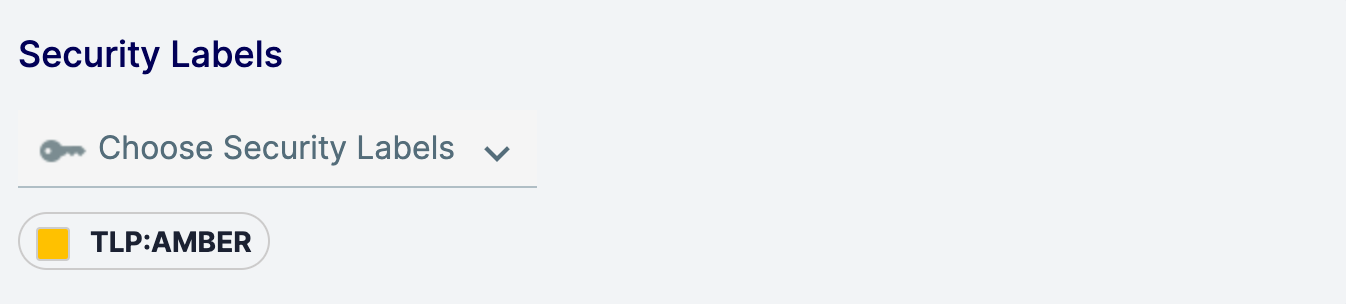
 at the top right of the Details card, or click on the Security Labels section of the Details card. The object’s Security Labels will now be editable (Figure 1).
- Security Labels: Select one or more Security Labels from the multi-select dropdown.
- Click the Confirm
 button at the top right of the Details card to apply the selected Security Label(s) to the object.
Legacy Details Screen
- Navigate to the legacy Details screen for an Indicator, Group, or Victim.
- Locate the Security Labels card on the left side of the screen (Figure 2).
- Choose Security Labels: Select one or more Security Label(s) from the multi-select dropdown.
- Click anywhere outside of the dropdown to apply the selected Security Label(s) to the object.
Applying Security Labels to Attributes
For instructions on applying Security Labels to Attributes, see the “Creating, Editing, and Deleting Attributes” section of Attributes.
ThreatConnect® is a registered trademark of ThreatConnect, Inc.
Forum of Incident Response and Security Teams™ is a trademark of FIRST.ORG, Inc.
20018-01 v.08.B