Overview
After you build out a report, you can save the report, publish the report as a Report Group object, and share the report via email or as an exported PDF or HTML file.
Before You Start
User Roles
- To save reports, and to save copies of saved reports, your user account must have an Organization role of Standard User, Sharing User, Organization Administrator, or App Developer.
- To publish reports as Report Groups, your user account must have an Organization role of Standard User, Sharing User, Organization Administrator, or App Developer.
- To export reports and share reports via email, your user account can have any Organization role.
Prerequisites
- To share reports via email, turn on and activate the JS Report REST API Service (must be a System Administrator to perform this action).
Saving a Report
Saving a report allows you and other users in your Organization to access it from the Reporting screen. Depending on whether you are working with a saved or unsaved report, the options available when saving the report will differ.
Saving a New Report
Follow these steps to save a new (i.e., unsaved) report that is open in the Report Editor:
- Click Save Custom Report at the top right of the Report Editor.
- Fill out the fields on the New Report window as follows:
- Name: Enter a unique name for the report. The default value in the Name field will be the name listed at the top left of the Report Editor.
- Description: (Optional) Enter a description of the report.
- Click Save on the New Report window.
Saving Changes to a Saved Report
If you have a saved report open in the Report Editor, click Save Custom Report at the top right of the screen and select Save Changes to save any changes made to the report since it was last saved.
Saving a Copy of a Saved Report
Follow these steps to save a copy of a saved report that is open in the Report Editor:
- Click Save Custom Report at the top right of the Report Editor and select Save a Copy….
- Fill out the fields on the Save a Copy window as follows:
- Name: Enter a unique name for the report. The default value in the Name field will be the name listed at the top left of the Report Editor with the text “ - COPY” appended to it.
- Description: (Optional) Enter a description of the report or update the existing description if one is present.
- Click Save on the Save a Copy window.
Publishing a Report
Follow these steps to publish a report that is open in the Report Editor (i.e., create a new Report Group in your Organization with the report uploaded as a file attachment):
- Click Publish Report at the top right of the Report Editor.
- Fill out the fields on the Publish Report window (Figure 1) as follows:
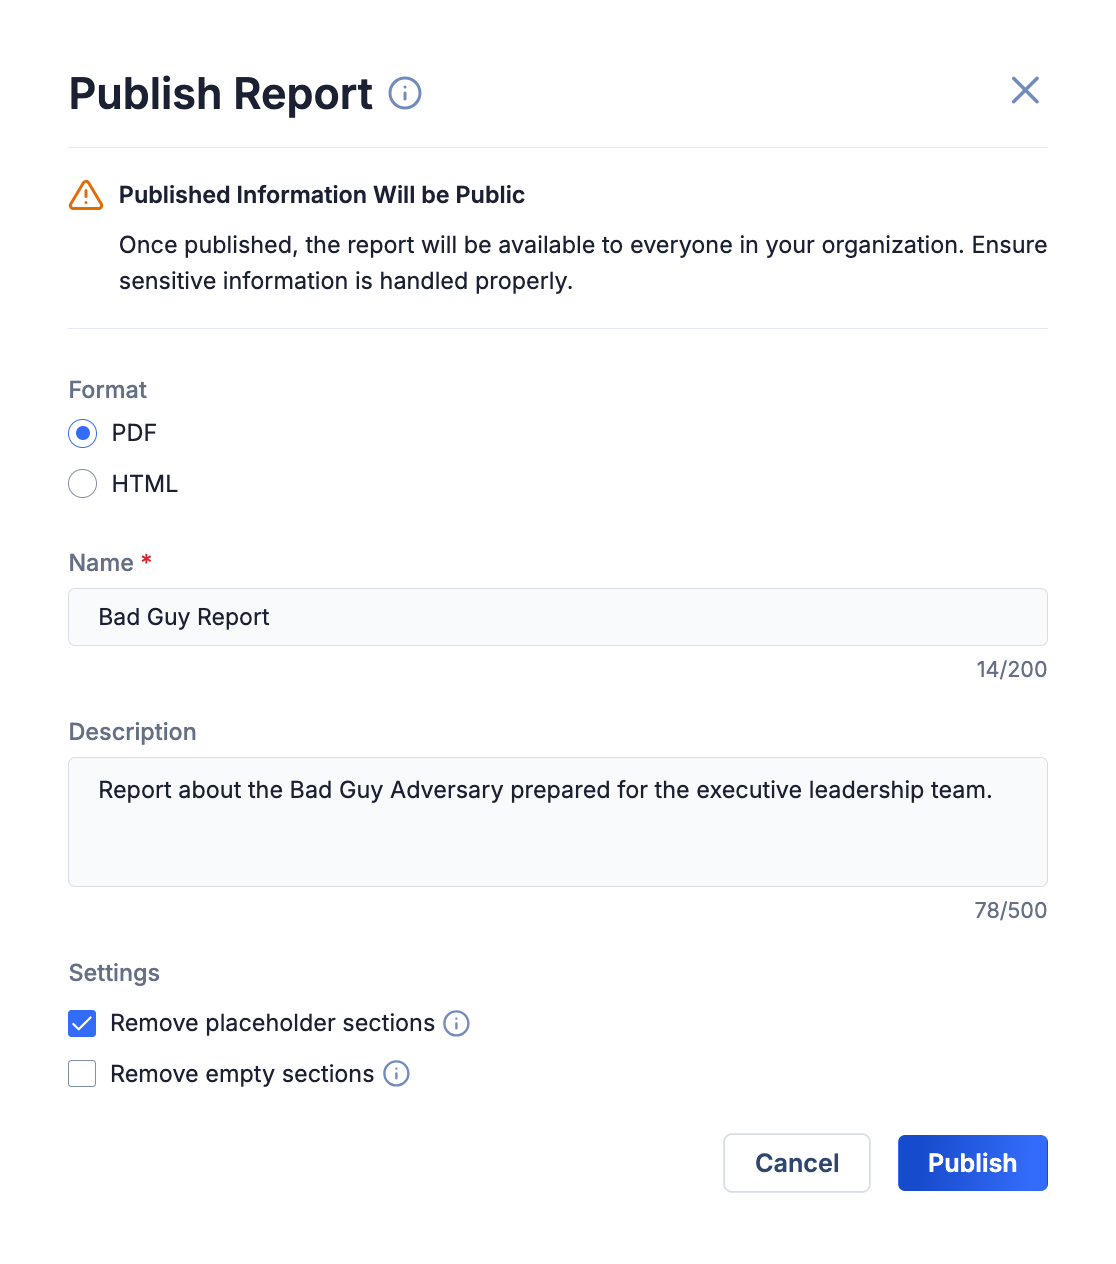
- Format: Select whether to upload the report to the Report Group as a PDF or HTML file.
- Name: Enter the Report Group’s name. The default value in the Name field will be the name listed at the top left of the Report Editor.
- Description: (Optional) Enter a description of the report or update the existing description if one is present. Note that the value in the Description field will be set as the value of the Group’s default Description Attribute.
- Remove placeholder sections: (Optional) Select Remove placeholder sections to remove unused report template placeholder sections in the report before it is uploaded to the Report Group. Note that this change may affect the report’s layout and pagination.
- Remove empty sections: (Optional) Select Remove empty sections to remove empty sections in the report (i.e., sections that contain no data) before the report is uploaded to the Report Group. Note that this change may affect the report’s layout and pagination.
- Click Save on the Publish Report window.
- (Optional) After the Report Group is created, a confirmation message will be displayed temporarily at the lower-left corner of the screen. Click View Report in this message to open the Report Group’s Details screen .
Exporting a Report
Click the ⋯ menu at the top right of the Report Editor to display the following options for exporting a report:
Exporting a Report as a PDF
Select Export PDF from the ⋯ menu at the top right of the Report Editor to export the report as a PDF file that will be downloaded onto your computer.
Exporting a Report as an HTML File
Select Export HTML from the ⋯ menu at the top right of the Report Editor to export the report as an HTML file that will be downloaded onto your computer.
Emailing a Report
Follow these steps to export a report that is open in the Report Editor and share it via email:
- Select Email… from the ⋯ menu at the top right of the Report Editor.
- Fill out the fields on the Email Custom Report window (Figure 2) as follows:
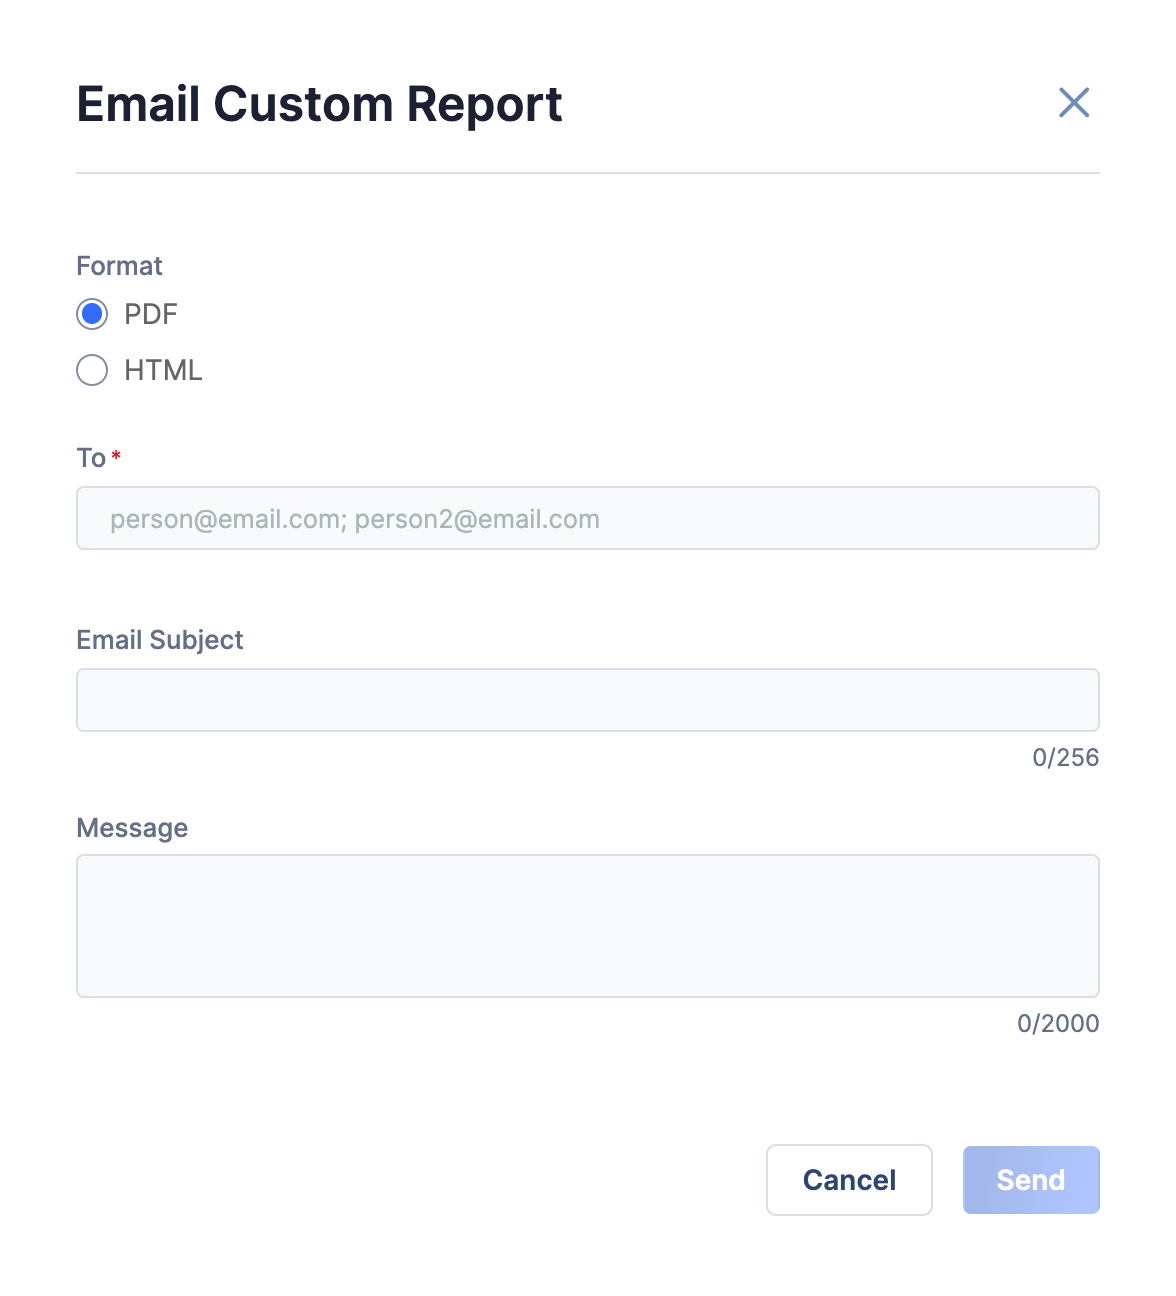
- Format: Select whether to export the report and attach it to the email as a PDF or HTML file.ImportantIf you select HTML, it is recommended to inform the recipient(s) to download the HTML file, as some email clients may not display the HTML content properly within the email.
- To: Enter the email address of each recipient to which the report will be sent. If entering multiple email addresses, separate each one with a semicolon followed by a space.
- Email Subject: (Optional) Enter the subject line of the email.
- Message: (Optional) Enter the body of the email.
- Format: Select whether to export the report and attach it to the email as a PDF or HTML file.
- Click Send on the Email Custom Report window.
ThreatConnect® is a registered trademark of ThreatConnect, Inc.
20144-07 v.04.B