- To add a Trigger to a Playbook, click the
 Triggers button on the side navigation bar of the Playbook Designer. All available Triggers will be displayed to the left of the design pane (Figure 1). To narrow down the results, collapse the sub-menus, or type the name of the desired Trigger in the search bar.
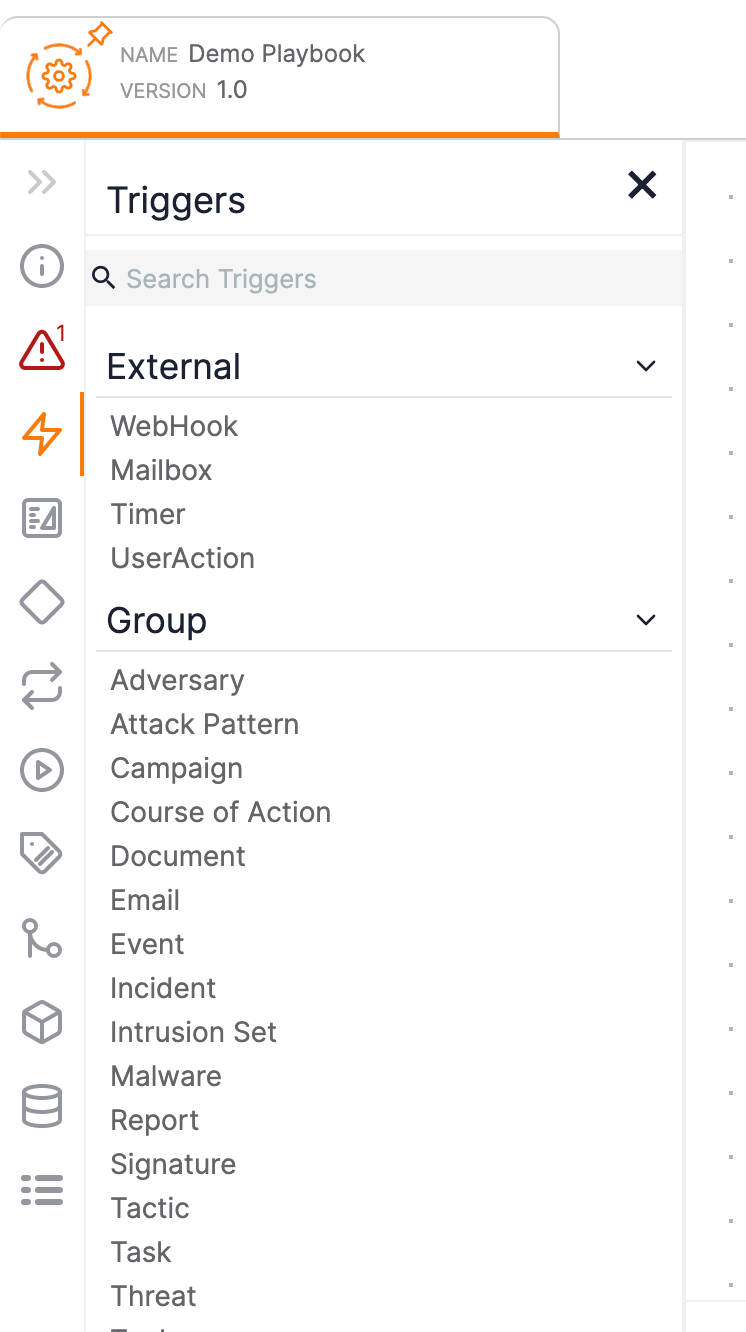
- Select a Trigger to add to the design pane. See the “Triggers” section of Parts of a Playbook for a definition of each Trigger. This example uses an Address Indicator Trigger (Figure 2).
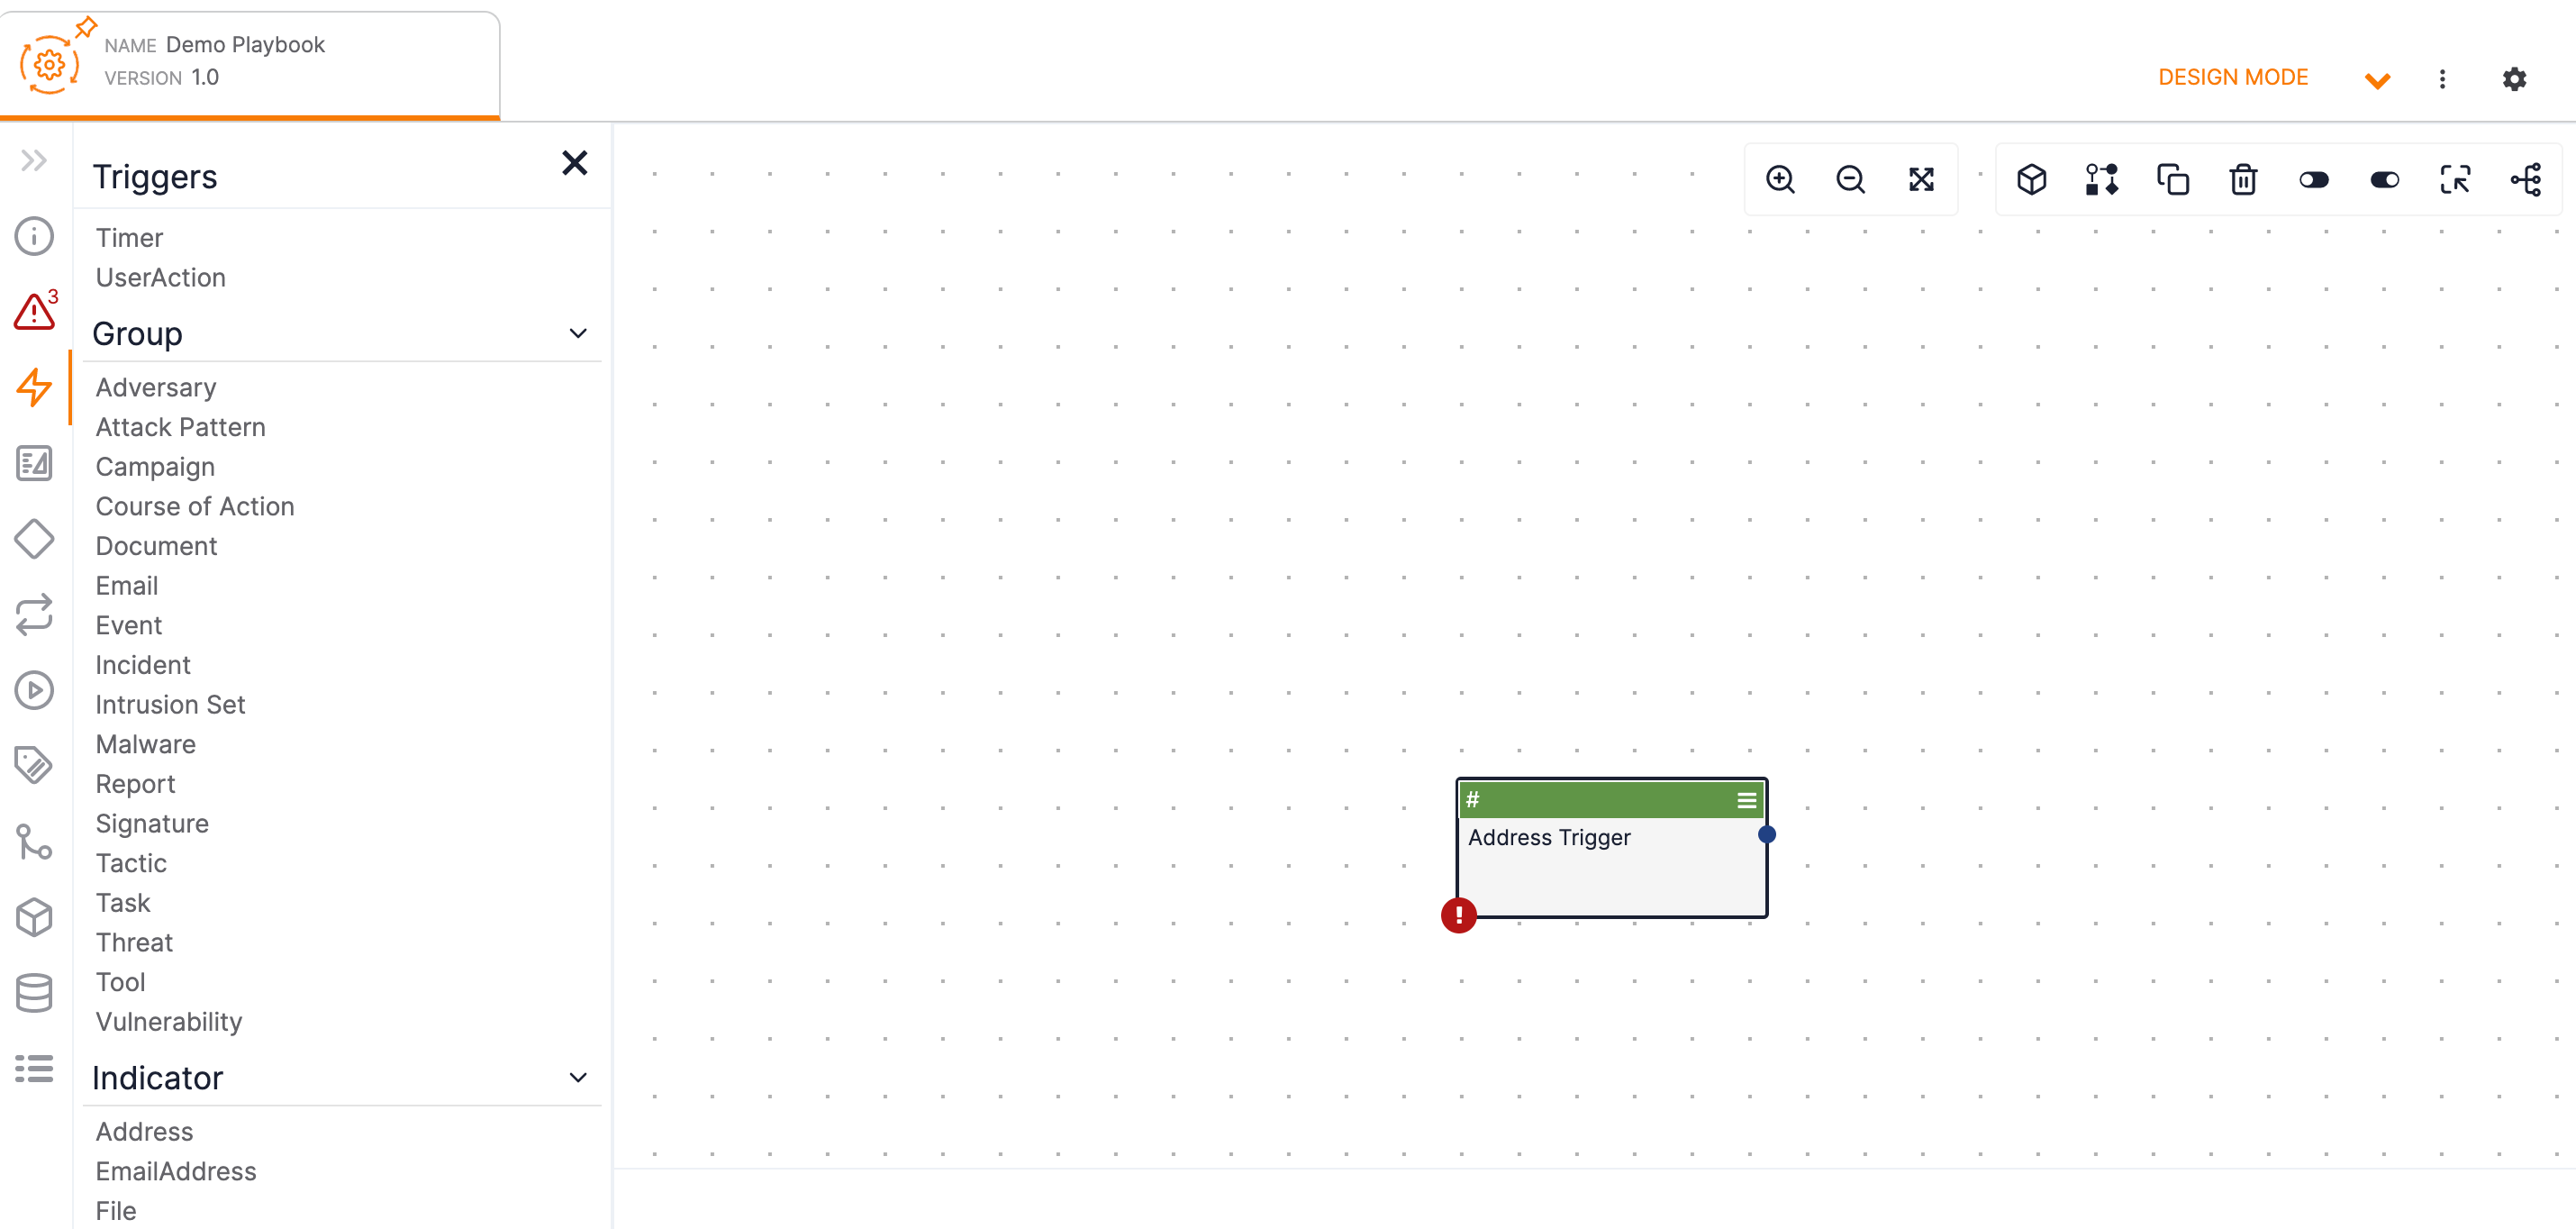 NoteThe red exclamation point icon at the lower-left corner of the Trigger indicates that required information is missing, creating a validation error. Hover the cursor over the icon on the Trigger to view details on the missing information. Details on validation errors can also be found in the
 Validations pane of the side navigation bar, where the icon displayed on the sidebar shows the current number of validation errors in the Playbook (e.g.,
 ).
). - Double-click inside the Trigger to open the Edit Trigger configuration pane on the left side of the screen (Figure 3). Configure the Address Trigger’s basic information in the Configure step of the Edit Trigger pane.ImportantThe contents of the Edit Trigger configuration pane differ for each Trigger type. Click Display Documentation
 at the upper right of the Edit Trigger pane to view information about the Trigger, including a description, input parameters, and output variables. Refer to this information when configuring the options in the Edit Trigger pane.
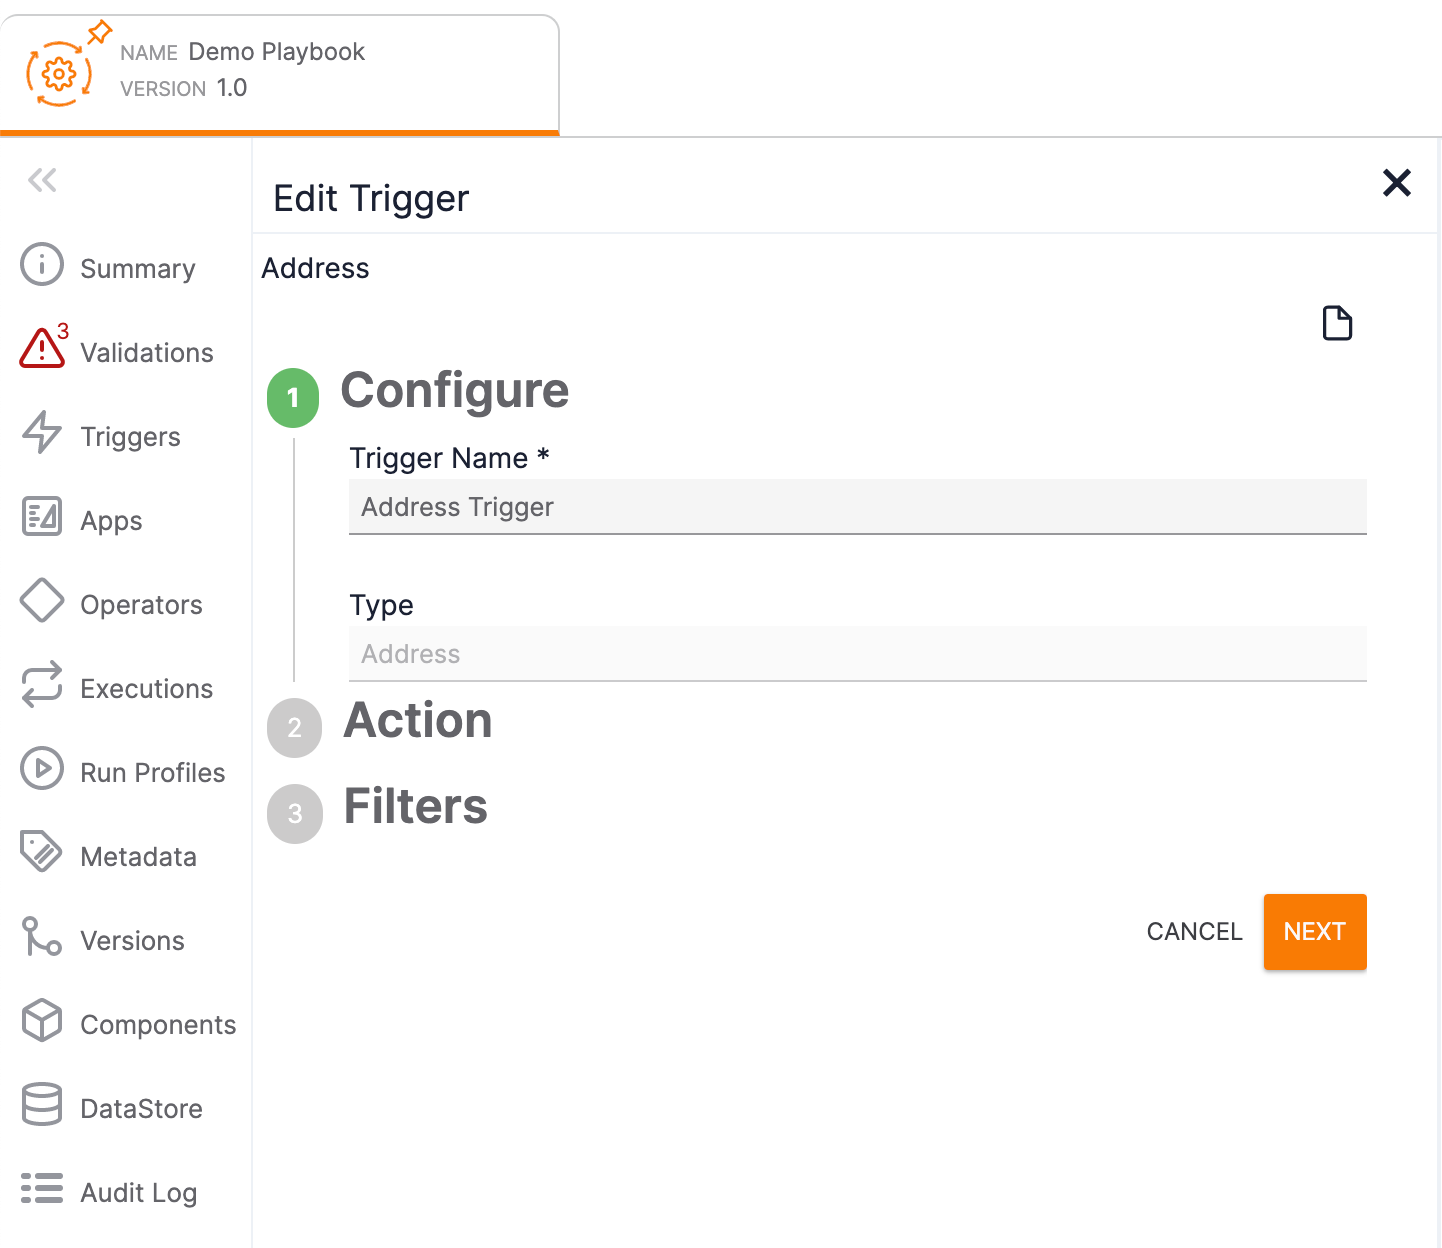
- Trigger Name: Enter a name for the Address Trigger.
- Trigger Type: This field is pre-populated with the relevant object type (Address in this case) and cannot be edited.
- Click the NEXT button.
- Configure the action that will cause the Address Trigger to execute the Playbook in the Action step of the Edit Trigger pane (Figure 4).
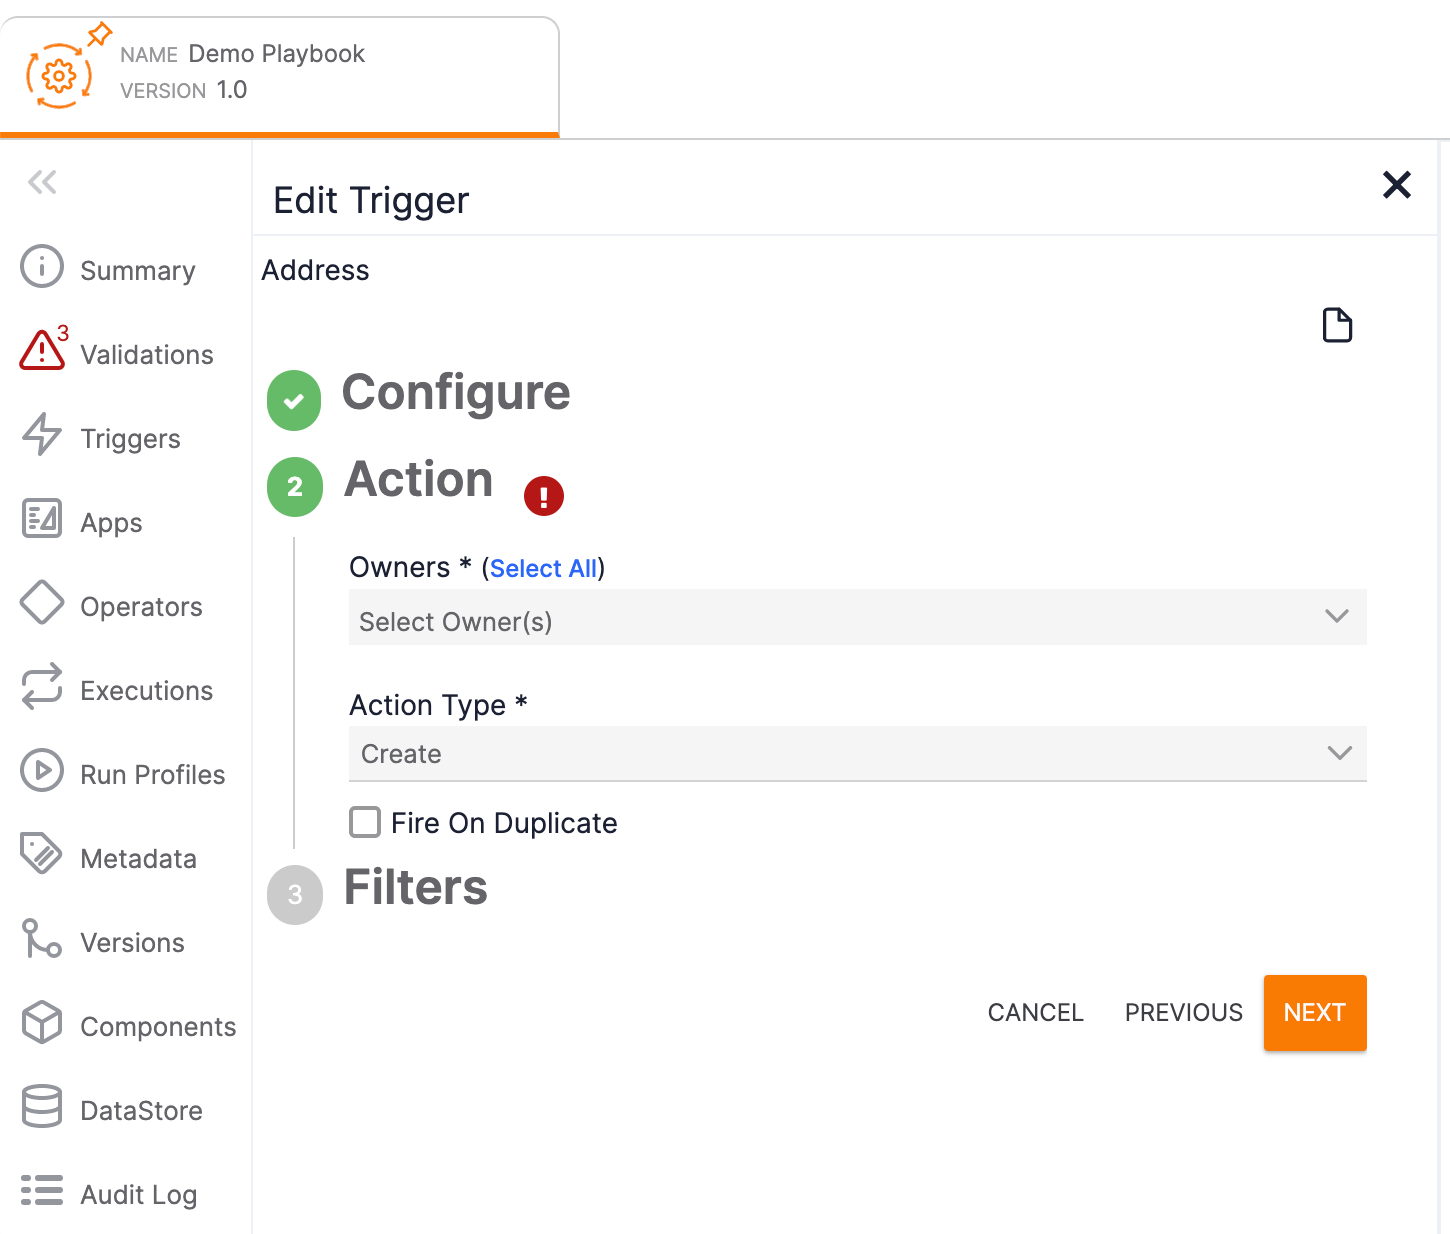
- Owners: Select one or more owners where the Address Trigger can be executed. Use the Select All link to select all available owners.
- Action Type: Select the type of action that will cause the Address Trigger to execute the Playbook.NoteDepending on the selected Action Type, further selections may be displayed at the bottom of the Action section. For example, selecting Create for the Action Type causes a Fire on Duplicate checkbox to be displayed.
- Click the NEXT button.
- Configure the filters to apply when determining whether the Address Trigger should execute the Playbook in the Filters step of the Edit Trigger pane (Figure 5).
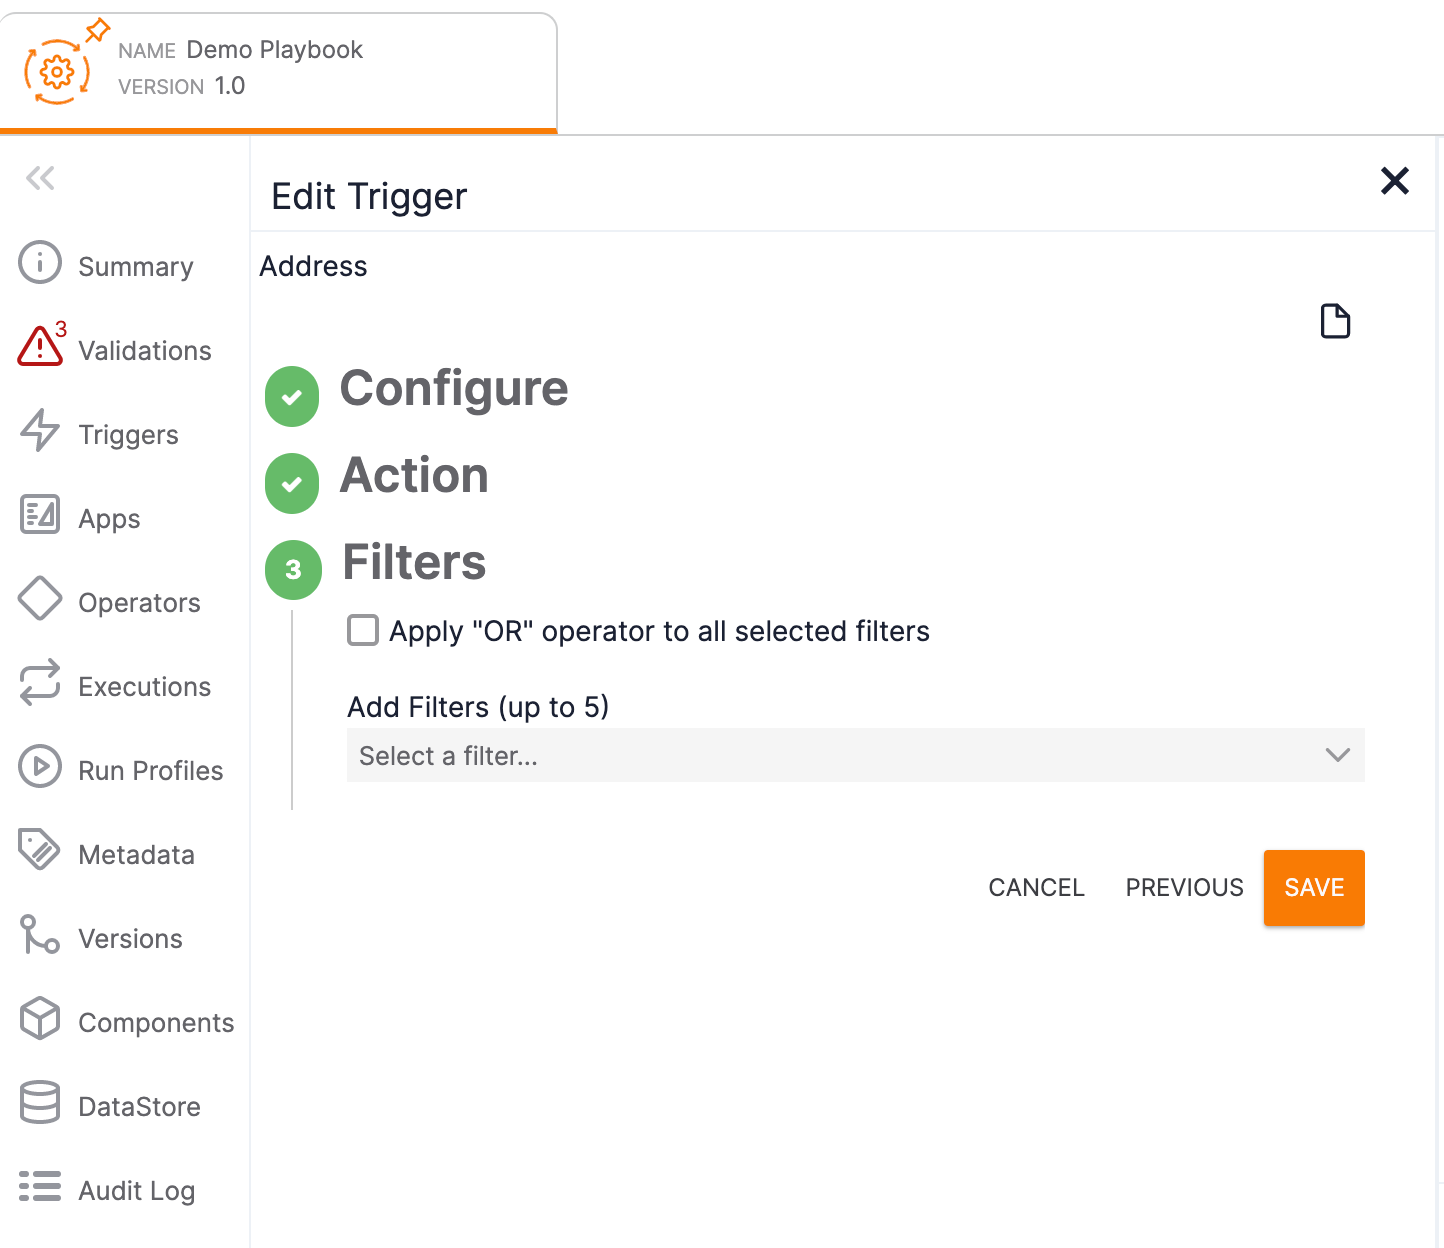
- Apply “OR” operator to all selected filters: Select this checkbox to use “OR” logic when multiple filters are in use.
- Add Filters (up to 5): Select up to five filters (the number of available filters depends on the Action chosen). For each selected filter, use the corresponding dropdown and text box to configure the value that will filter the Action Type selected in the previous step.
- Click the SAVE button.
If desired, hover the cursor over the hashtag at the upper-left corner of the Trigger box in the design pane to view a scrollable list of available output variables (Figure 6). Output variables are values that a Trigger, App, or Operator can send to other Triggers, Apps, and Operators. They can be used in an Attribute, the body of an email, etc.

Note
The Trigger in this example still shows a validation error because it has not been connected to an output element. See Validations and Connecting Playbook Elements for more information.
Click the Menu icon at the upper-right corner of the Trigger box to view a dropdown from which you can edit, disable, clone, or delete the Trigger.
ThreatConnect® is a registered trademark of ThreatConnect, Inc.
20110-22 v.03.A