Overview
The Feedly Intelligence Engine Feed API Service App ingests open-source data (Attack Patterns, Intrusion Sets, Malware, Reports, Threat Actors, Vulnerabilities, and Indicators) from Feedly™ Threat Intelligence and creates corresponding objects in ThreatConnect® with select Feedly metadata:
- Attack Patterns are created as Attack Pattern Groups in ThreatConnect.
- Intrusion Sets are created as Intrusion Set Groups in ThreatConnect.
- Malware is created as Malware Groups in ThreatConnect.
- Reports are created as Report Groups in ThreatConnect.
- Threat Actors are created as Adversary Groups in Threat Connect.
- Vulnerabilities are created as Vulnerability Groups in ThreatConnect.
- Indicators are created as Address, File, Host, and URL Indicators in ThreatConnect.
Dependencies
ThreatConnect Dependencies
- ThreatConnect instance with version 7.6.2 or newer installed
Feedly Dependencies
- Feedly Enterprise-level subscription
- Active Feedly API token (known as an access token in Feedly). To create an access token in Feedly, follow the instructions in the Feedly documentation.ImportantFeedly API tokens are available to Enterprise-level customers only.
- Feedly API Stream ID. See the “Feedly API Stream ID” section for instructions on how to find your Feedly API Stream ID.
Feedly API Stream ID
Follow these steps to find your Feedly API Stream ID for the ThreatConnect feed:
- Log into Feedly.
- Hover over ThreatConnect feed in the Team Feeds section of the left sidebar and click ⋯.
- Select Settings from the dropdown.
- Select the Sharing tab in the Folder Settings drawer.
- Click Copy ID next to the text in the Feedly API Stream ID field.
Application Setup and Configuration
The Feedly Intelligence Engine App leverages the Feed Deployer to create a Source for data ingestion from Feedly in an Organization and to configure the corresponding Service’s ingestion and authentication parameters. After you install the Feedly Intelligence Engine App on your ThreatConnect instance, you can deploy it to any Organization. It must be deployed separately for each Organization in which you want to create a Source for data ingestion and a corresponding Service.
Install the Feedly Intelligence Engine App
Follow these steps to install the Feedly Intelligence Engine App on your ThreatConnect instance:
- Log into ThreatConnect with a System Administrator account.
- From the Settings
 menu on the top navigation bar and select TC Exchange Settings.
 - Select the Catalog tab on the TC Exchange™ Settings screen.
- Locate the Feedly Intelligence Engine App on the Catalog tab.
- Click Install
 in the Options column for the App.
 - Click INSTALL in the App's Release Notes window.
- After you install the Feedly Intelligence Engine App, the Feed Deployer opens automatically. Follow the procedure in the “Deploy the Feedly Intelligence Engine App to an Organization” section to deploy the Feedly Intelligence Engine App to a Source in an Organization and configure the corresponding Service.
Deploy the Feedly Intelligence Engine App to an Organization
Follow these steps to deploy the Feedly Intelligence Engine App to an Organization:
- Log into ThreatConnect with a System Administrator Account.
- From the Settingsmenu onc the top navigation bar, select TC Exchange Settings.
- Locate the Feedly Intelligence Engine App on the Installed tab. Then select Deploy from the Options ⋮ dropdown.
- Follow the instructions in Table 1 to fill out the fields in the Feed Deployer window for a deployment of the Feedly Intelligence Engine App.
Name Description Required? Source Tab Sources to Create Enter the name of the Source for the feed. NoteUnless you are redeploying the feed to an existing Source in an Organization, the name of the Source must be unique on your ThreatConnect instance. It is recommended to add the Organization’s name to the end of the default Source name (e.g., Feedly Intelligence Engine - Demo Organization) for easy identification of the Source’s owner.Required Owner Select the Organization in which the Source will be created. Required Activate Deprecation Select this checkbox to allow confidence deprecation rules to be created and applied to Indicators in the Source. Optional Create Attributes Select this checkbox to allow custom Attribute Types for the Feedly Intelligence Engine App to be created on the System level of your ThreatConnect instance. ImportantIt is recommended that you keep this checkbox selected. If you deselect it, data from the Feedly Intelligence Engine App mapped to those Attribute Types will not be ingested.Optional Parameters Tab Launch Server Select tc-job as the launch server for the Feed API Service. Required Feedly STIX Group Objects Select the Group types to import from Feedly. All Group types are selected by default, and it is recommended to retain this selection.
Available options include the following:
- Attack Pattern
- Intrusion Sets
- Malware
- Reports
- Threat Actor
- Vulnerability
Optional Feedly STIX Indicator Objects Select the Indicator types to import from Feedly. All Indicator types are selected by default, and it is recommended to retain this selection.
Available options include the following:
- Domain
- File
- IP
- URL
Optional Stream ID(s) Enter the Feedly API Stream ID. NoteIf entering multiple Stream IDs, use a comma as the delimiter between each Stream ID.Required Default TC Confidence Select a default Confidence Rating for ingested Indicators. The default Confidence Rating is applied to all Indicators, regardless of type, ingested from Feedly. NoteThe Default TC Confidence dropdown’s default value of-- Select --is a null value. If you retain that selection, no Confidence Rating will be assigned to the Indicators ingested from Feedly.ImportantConfidence Rating is a contributing factor in the calculation of an Indicator’s ThreatAssess score. Therefore, the default Confidence Rating assigned to Indicators ingested from Feedly will affect their ThreatAssess scores.Optional Default TC Rating Select a default Threat Rating for ingested Indicators. The default Threat Rating is applied to all Indicators, regardless of type, ingested from Feedly. NoteThe Default TC Rating dropdown’s default value of-- Select --is a null value. If you retain that selection, no Threat Rating will be assigned to the Indicators ingested from Feedly.ImportantThreat Rating is a contributing factor in the calculation of an Indicator’s ThreatAssess score. Therefore, the default Threat Rating assigned to Indicators ingested from Feedly will affect their ThreatAssess scores.Optional Advanced Settings There are no advanced settings to configure. WarningLeave this field blank, as entering values may result in unintended consequences.Optional Parameters Tab Feedly API Token Enter the Feedly API (access) token created in your Feedly account. To create a Feedly API token in your Feedly account, follow the instructions for creating an access token in the Feedly documentation. ImportantFeedly API tokens are available to Enterprise-level customers only.Required Confirm Tab Run Feeds after deployment Select this checkbox to run the Feedly Intelligence Engine Service immediately after you click DEPLOY on the Feed Deployer window. Optional Confirm Deployment Over Existing Source This checkbox and a warning message are displayed on the Confirm tab if the Source name entered on the Source tab is already used by a Source owned by the selected Organization. To confirm redeploying the App to the existing Source, select the checkbox. This will activate the DEPLOY button. Otherwise, you must return to the Source tab and either change the Source name or select a different Organization. WarningWhen you redeploy a Feed API Service to a Source, existing data in the Source may be overwritten. Redeployment will also create a new Service for the Feed API Service App. It is recommended that you delete the previous Service for the Feed API Service App after the new one is created.Optional - Click DEPLOY on the Confirm tab of the Feed Deployer window to deploy the Feedly Intelligence Engine App in the Organization, which will create a Source for the feed in the Organization and a corresponding Feed API Service.
Feedly Intelligence Engine UI
After installing the Feedly Intelligence Engine App and deploying it to an Organization, you can access the Feedly Intelligence Engine user interface (UI), where you can manage data ingestion from Feedly into the Source created in the Organization.
Follow these steps to access the Feedly Intelligence Engine UI:
- Log into ThreatConnect with a System Administrator account or a user account in the Organization with an Organization role of Organization Administrator.
- From the Automation & Feeds dropdown on the top navigation bar, select Services.
- Locate the row for the Feedly Intelligence Engine Feed Service.HintSelect Feed Service from the Service Type dropdown at the upper right to filter the screen to show only Feed API Services. If there are multiple Services for the Feedly Intelligence Engine App, you can identify the one configured for your Organization by clicking the row for a Service to view its Details drawer, which includes an Organization field showing the Organization that owns the Source for that Service.
- Turn on the slider in the Enable column if the Service is not already enabled.
- Click the link in the Service’s API Path field to open the Feedly Intelligence Engine UI.
The following screens are available in the Feedly Intelligence Engine Service UI:
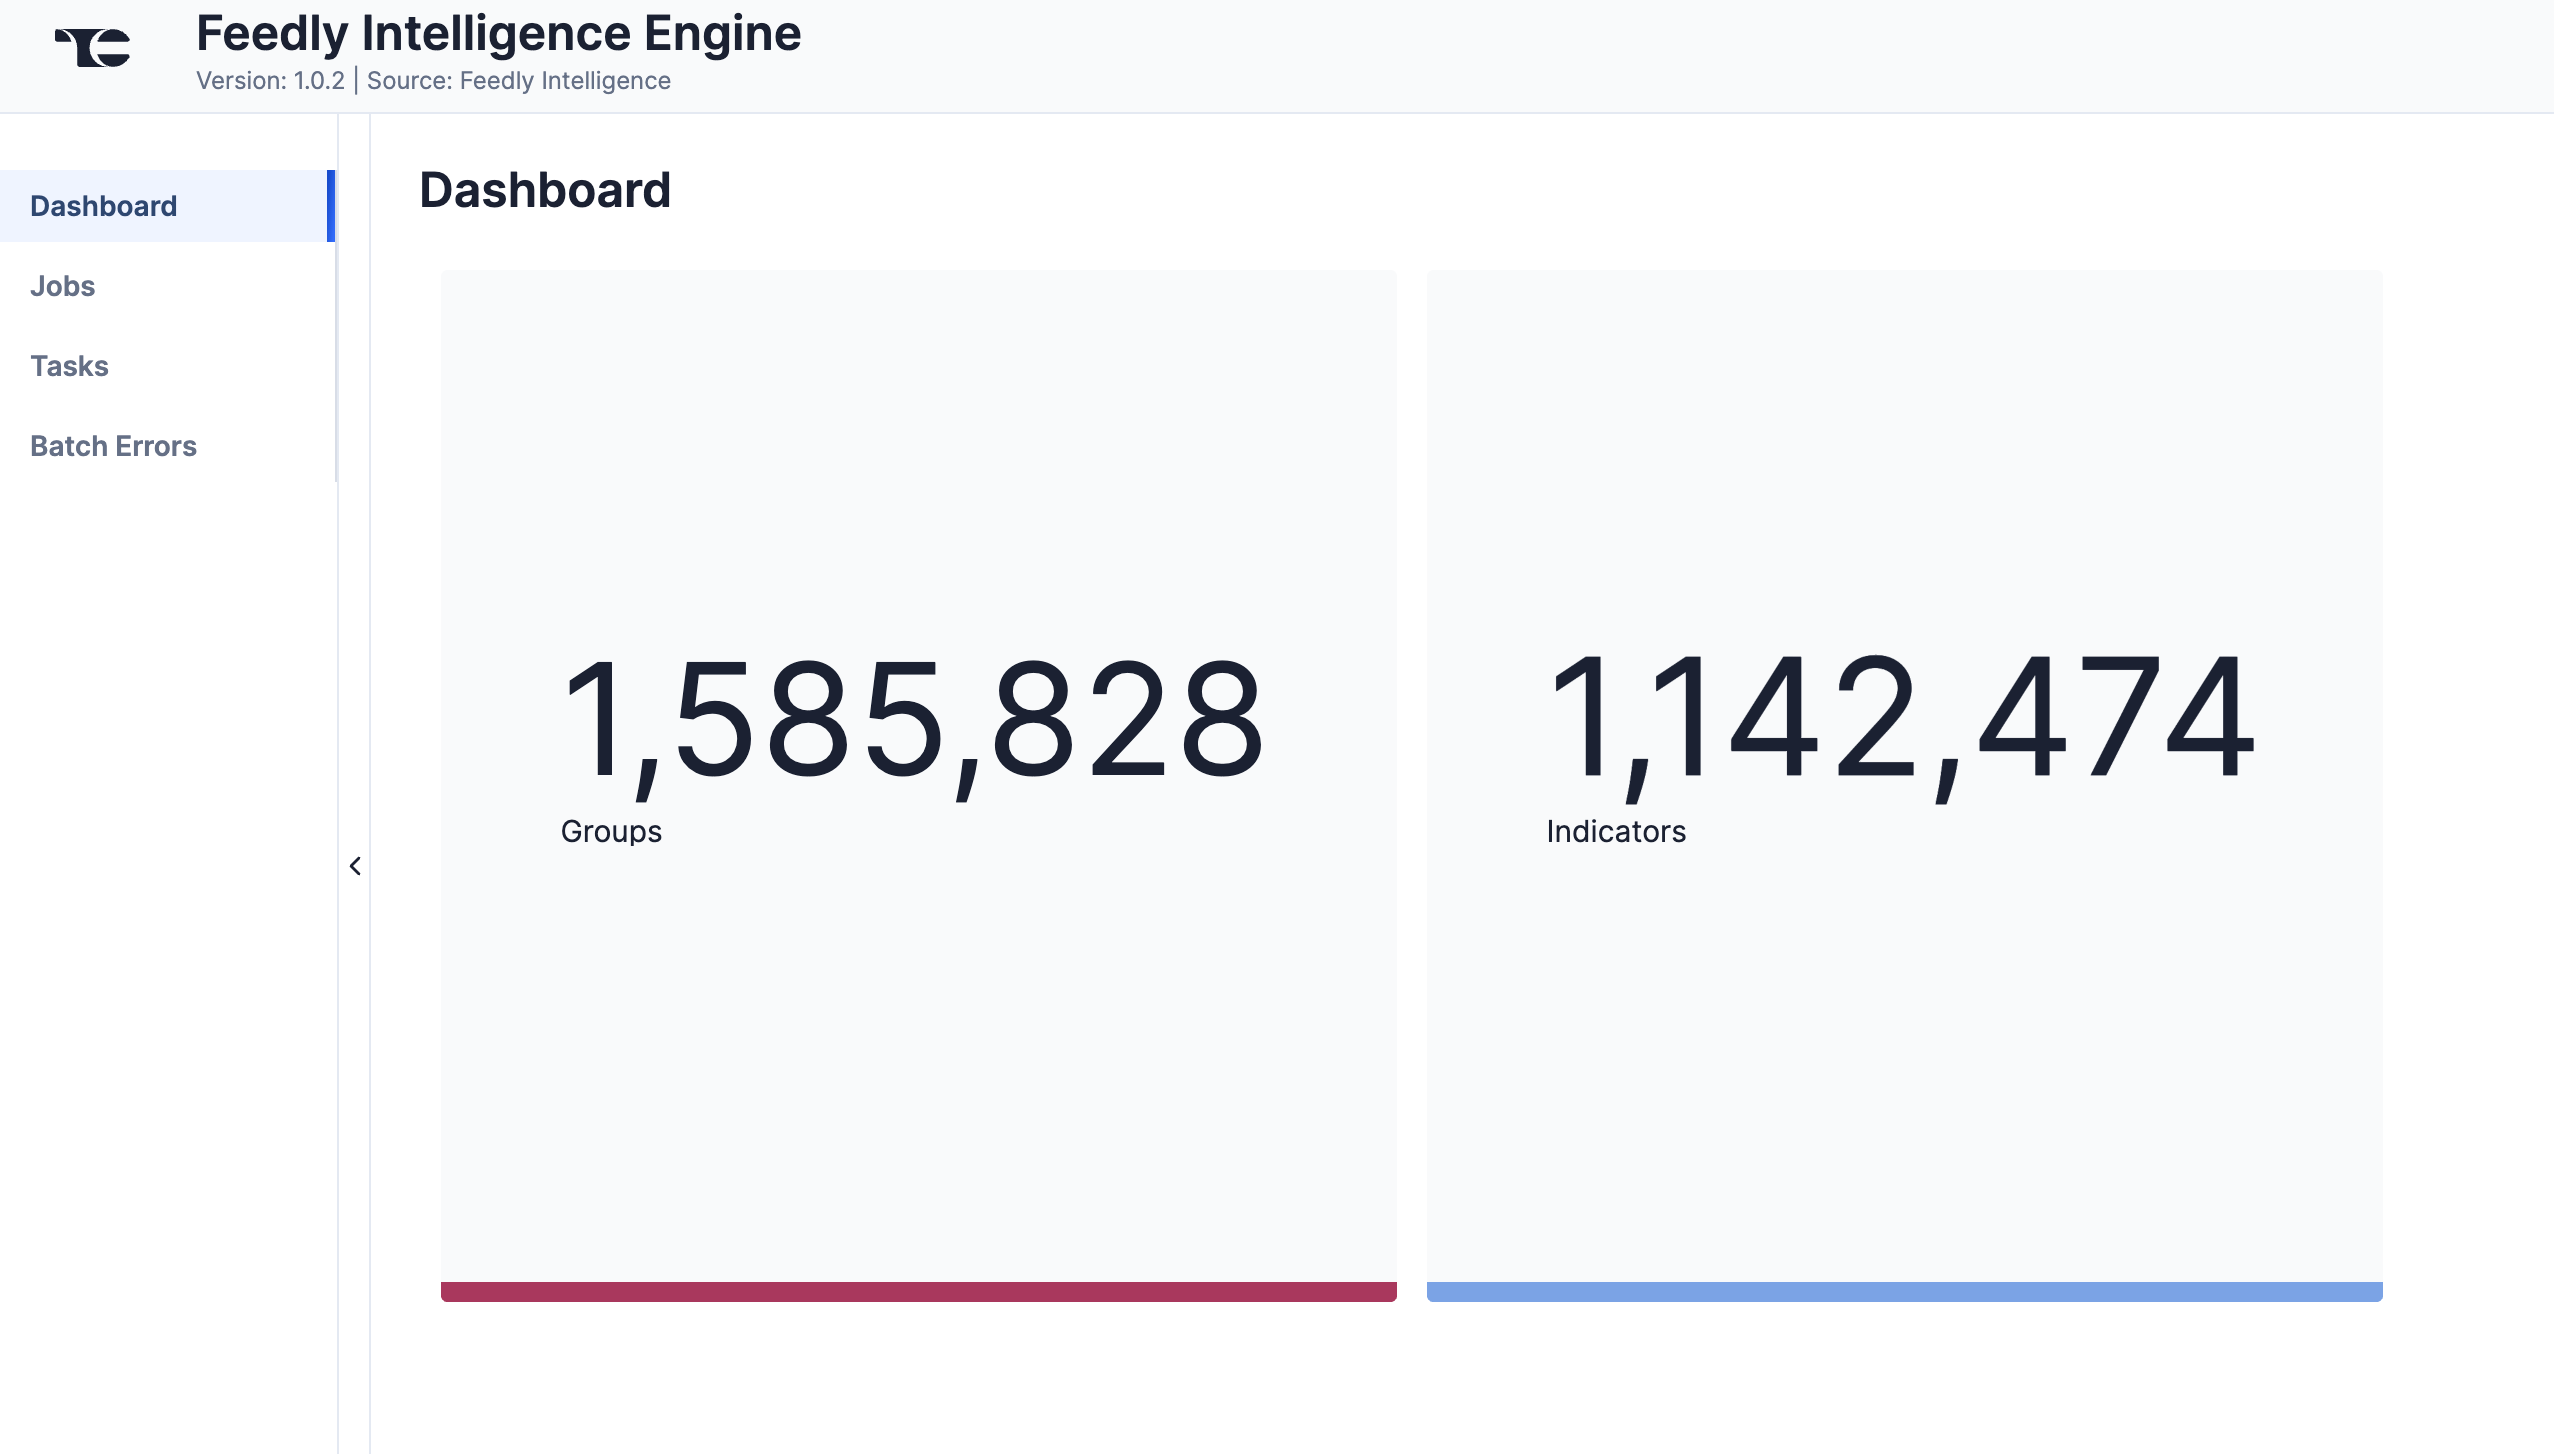
Dashboard
The Dashboard screen (Figure 1) provides an overview of the total number of Groups and Indicators retrieved from Feedly.
Jobs
The Jobs screen (Figure 2) breaks down the ingestion of Feedly data into manageable Job-like tasks, displaying all processes that are pending, in progress, complete, and failed. The ⋯ menu in a Job’s row provides the following options:
- Details: View details for the Job, such as download, convert, and upload start and complete times and counts of downloaded and batched Groups and Indicators.
- Download Files: Download metadata files for all Jobs and data (convert, download, and upload) files for completed Jobs.
- Batch Errors: View errors that have occurred for the Job on the Batch Errors screen.
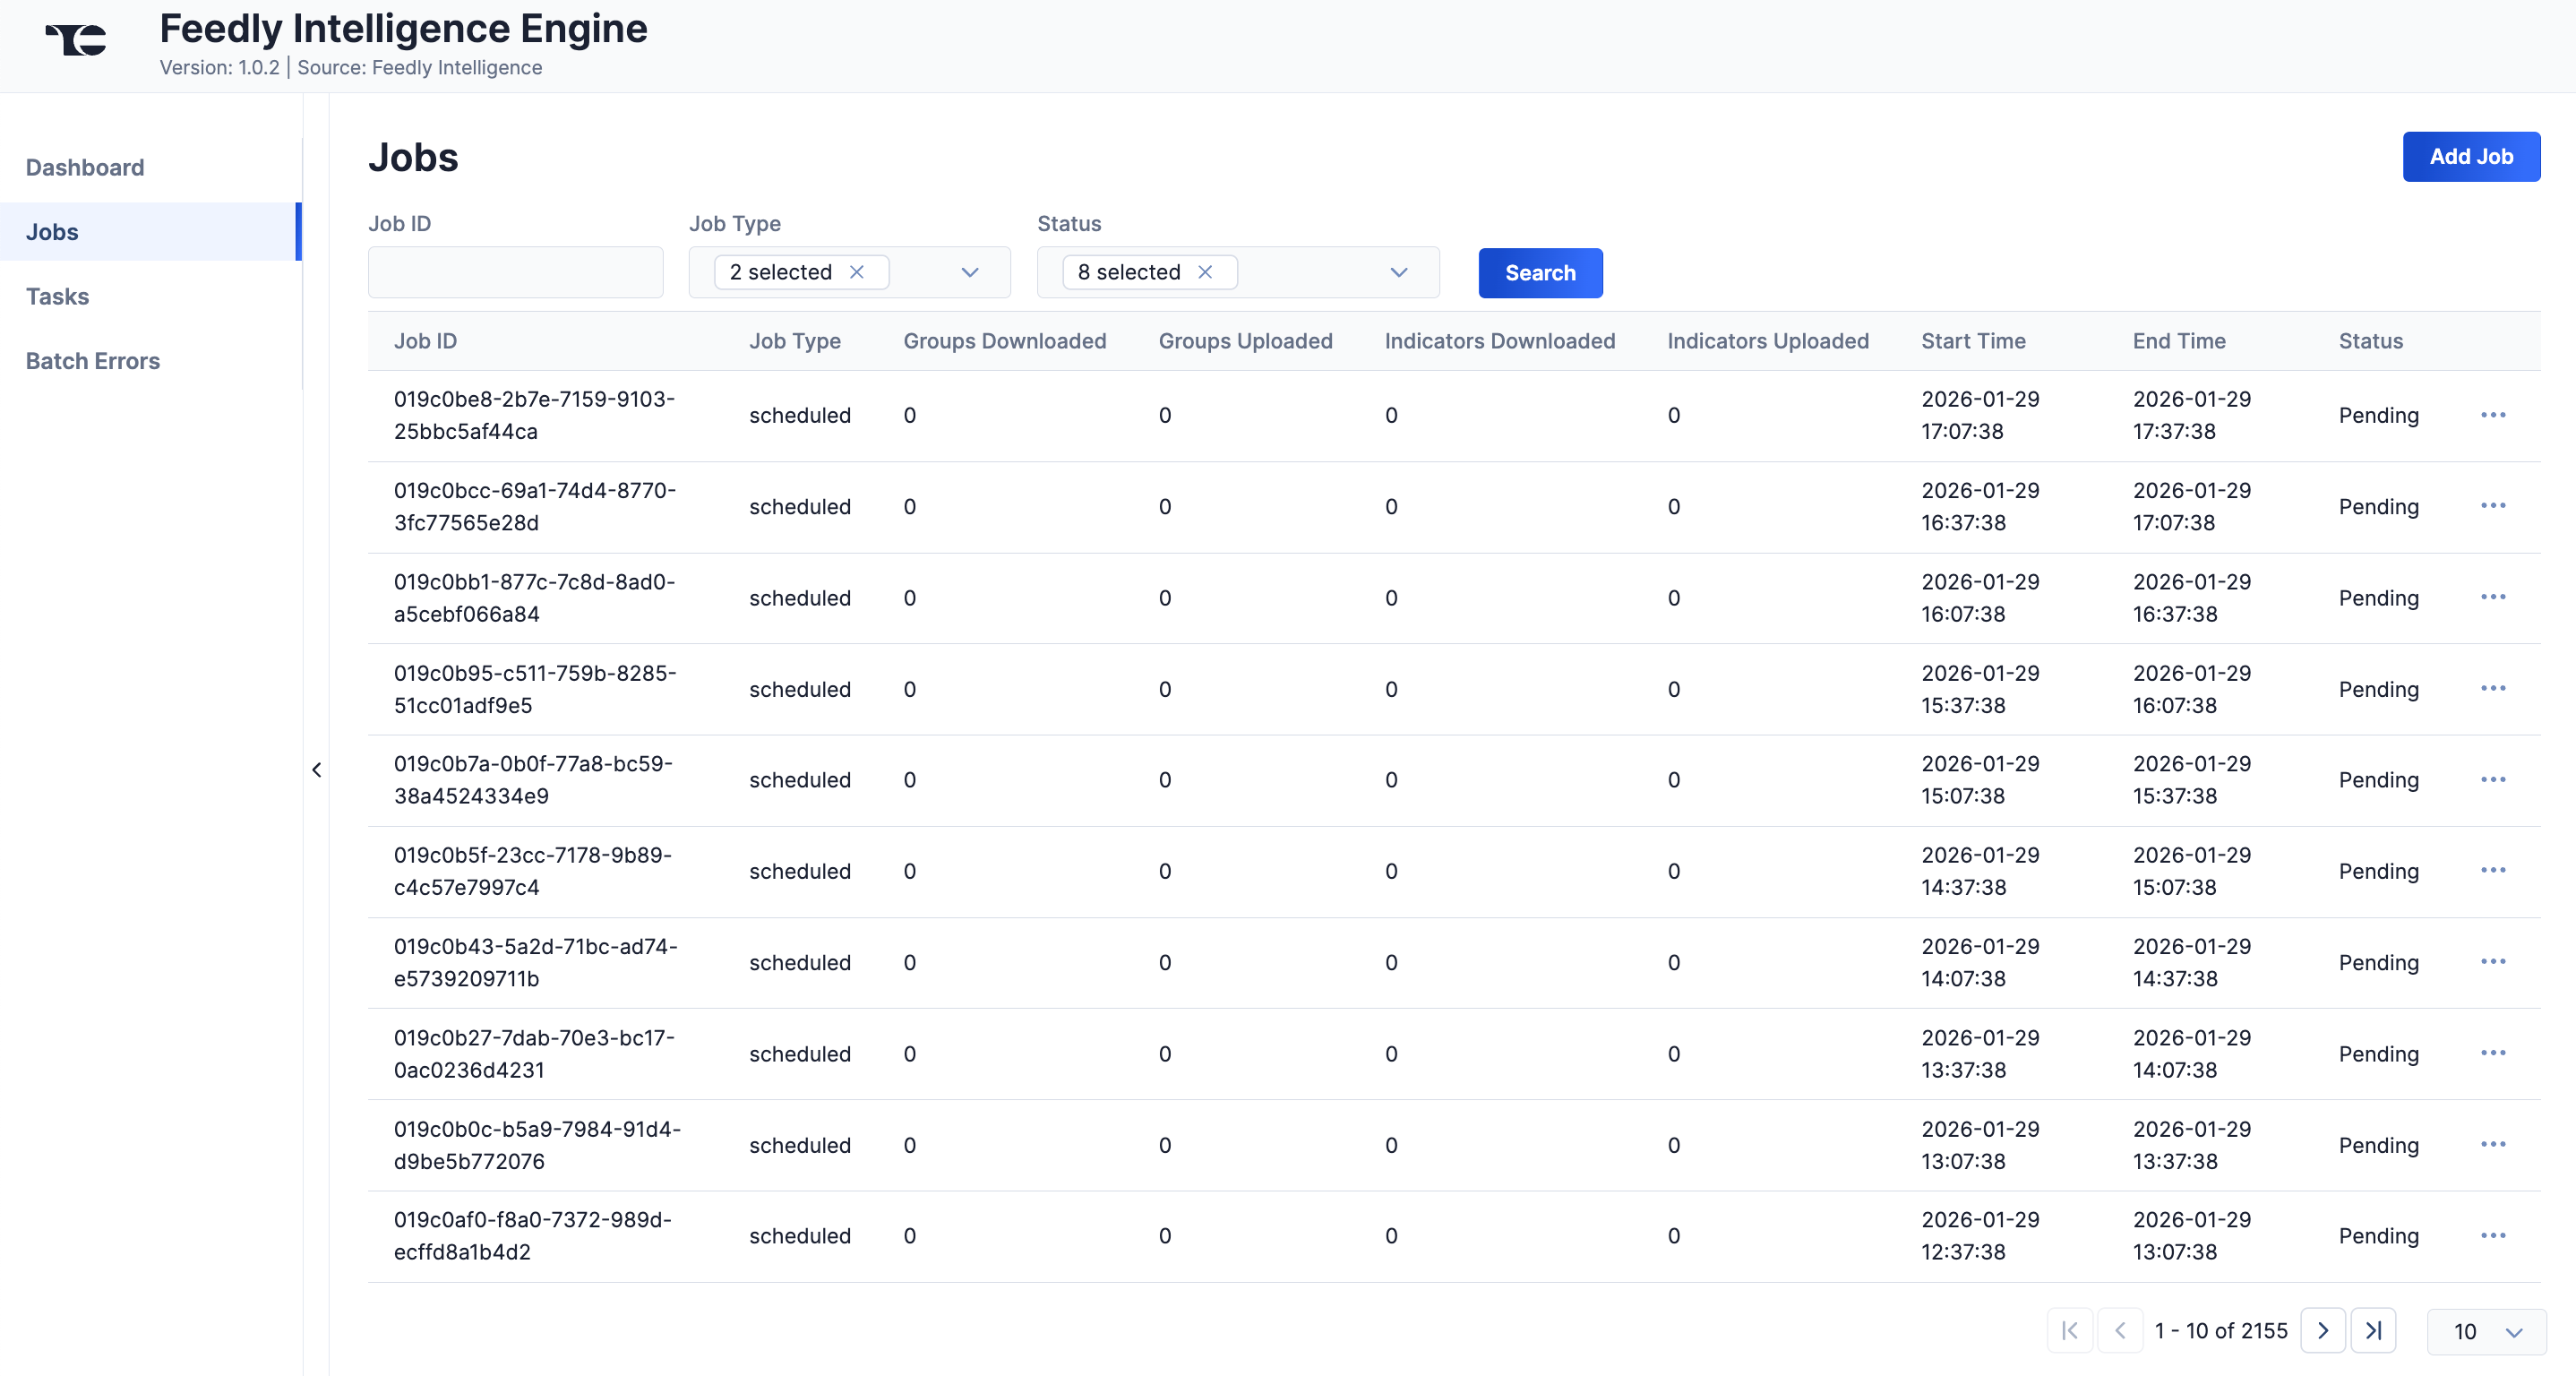
You can filter Feedly Intelligence Engine App Jobs by the following elements:
- Job ID: Enter text into this box to search for a Job by its Job ID.
- Job Type: Select Job types to display on the Jobs screen.
- Status: Select Job statuses to display on the Jobs screen.
Add a Job
You can add ad-hoc Jobs on the Jobs screen. Follow these steps to create a request for an ad-hoc Job for the Feedly Intelligence Engine Service:
- Click Add Job (Figure 2).
- Fill out the fields on the Add Job drawer (Figure 3) as follows:
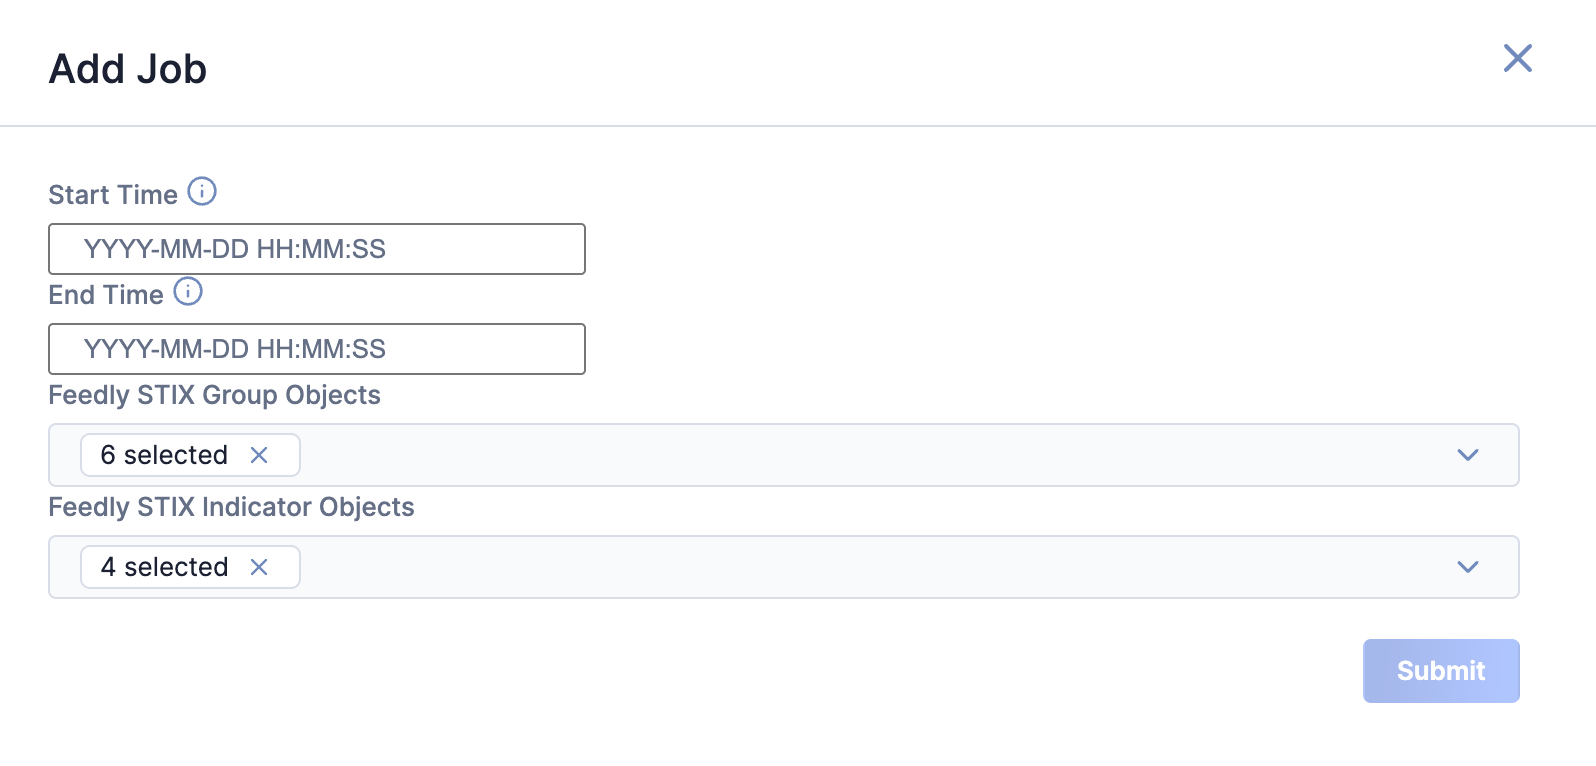
- Start Time: (Optional) Enter the start publication datetime for the Job. The Job will ingest Feedly data published on or after 60 minutes before this time.NoteThe 60-minute offset is added to allow the Feedly backend publishing process more time for data delivery.
- End Time: (Optional) Enter the end publication datetime for the Job. The Job will ingest Feedly data published before or on this datetime.
- Feedly STIX Group Objects: (Optional) Select the Feedly STIX Group object types to include in the ad-hoc Job.
- Feedly STIX Indicator Objects: (Optional) Select the Feedly STIX Indicator object types to include in the ad-hoc Job.
- Start Time: (Optional) Enter the start publication datetime for the Job. The Job will ingest Feedly data published on or after 60 minutes before this time.
- Click Submit to submit the request for the ad-hoc Job.
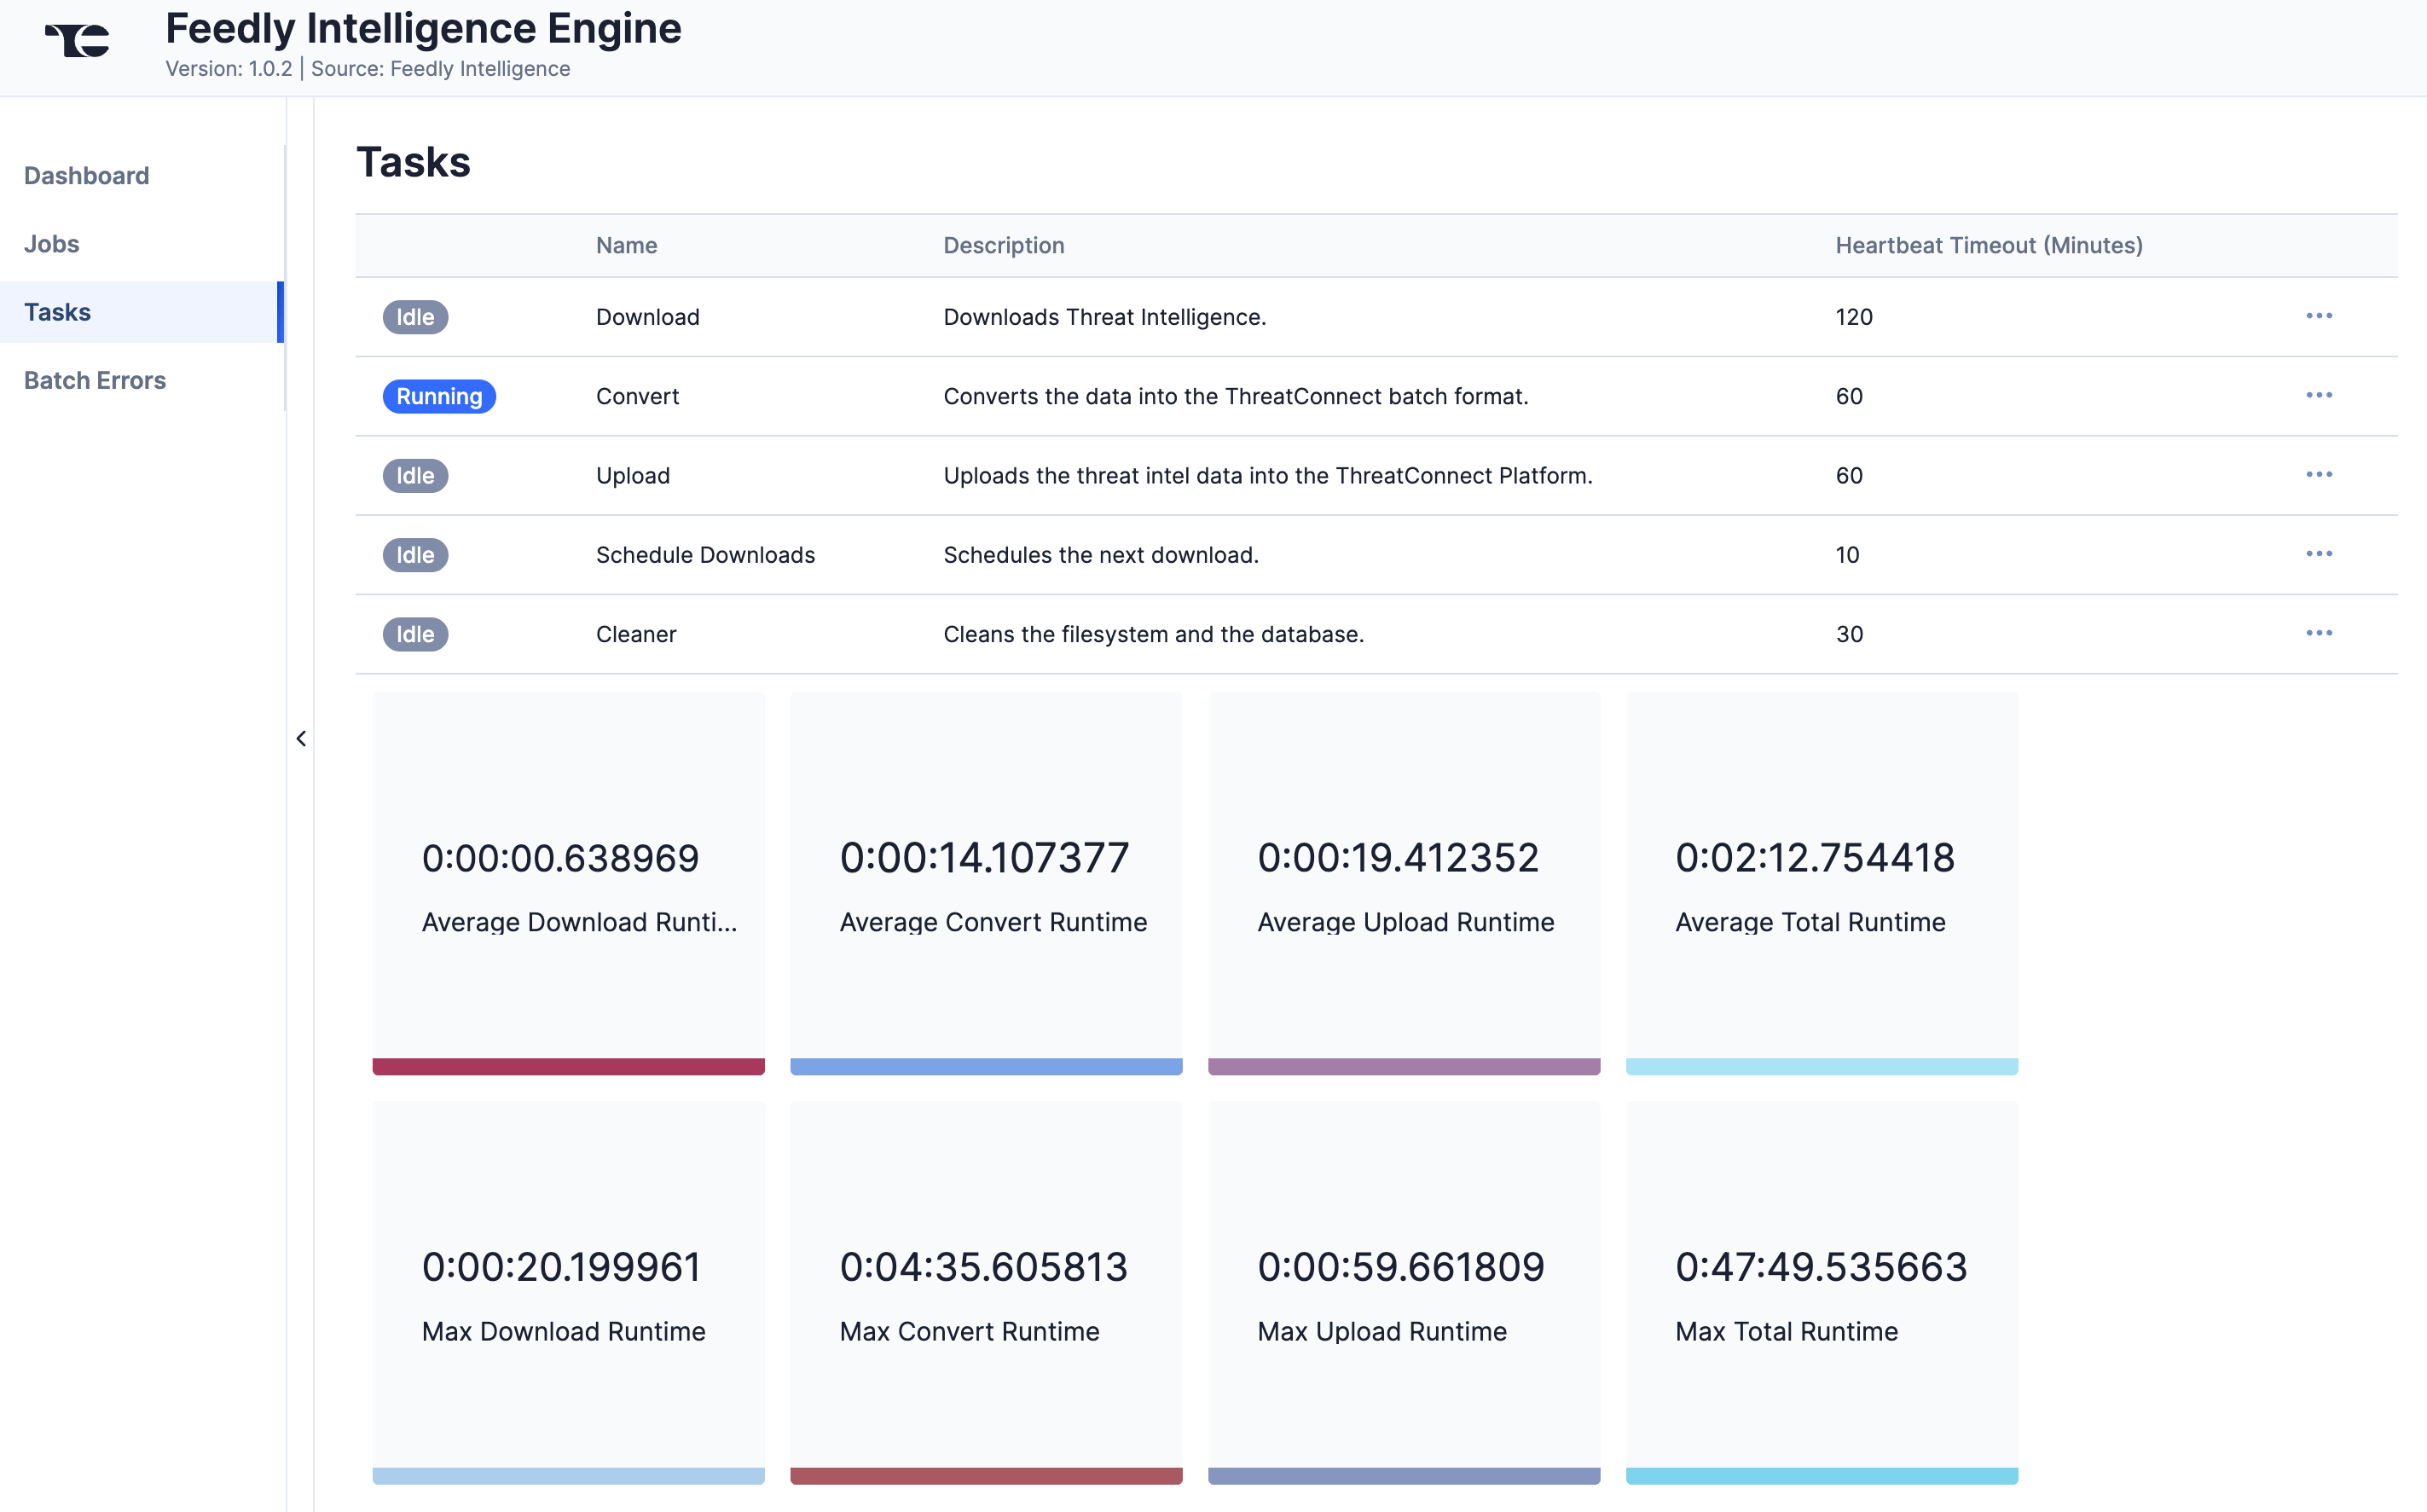
Tasks
The Tasks screen (Figure 4) displays all Tasks that may be part of a Job, including each step of the download, convert, and upload processes, as well as Tasks for the Feedly Intelligence Engine Service, such as Monitor, Scheduler, and Cleaner. The current status (Idle, Paused, or Running), name, description, and heartbeat timeout length, in minutes, are displayed for each Task. The ⋯ menu in a Task’s row provides the following options, depending on the Task’s status:
- Run (idle and paused Tasks only)
- Pause (idle and running Tasks only)
- Resume (paused Tasks only)
- Kill (running Tasks only)
Under the table is a dashboard where you can view runtime analytics.
Batch Errors
The Batch Errors screen (Figure 5) displays an overview of the batch error types that have occurred for Job requests. You can enter keywords to filter by Job ID.
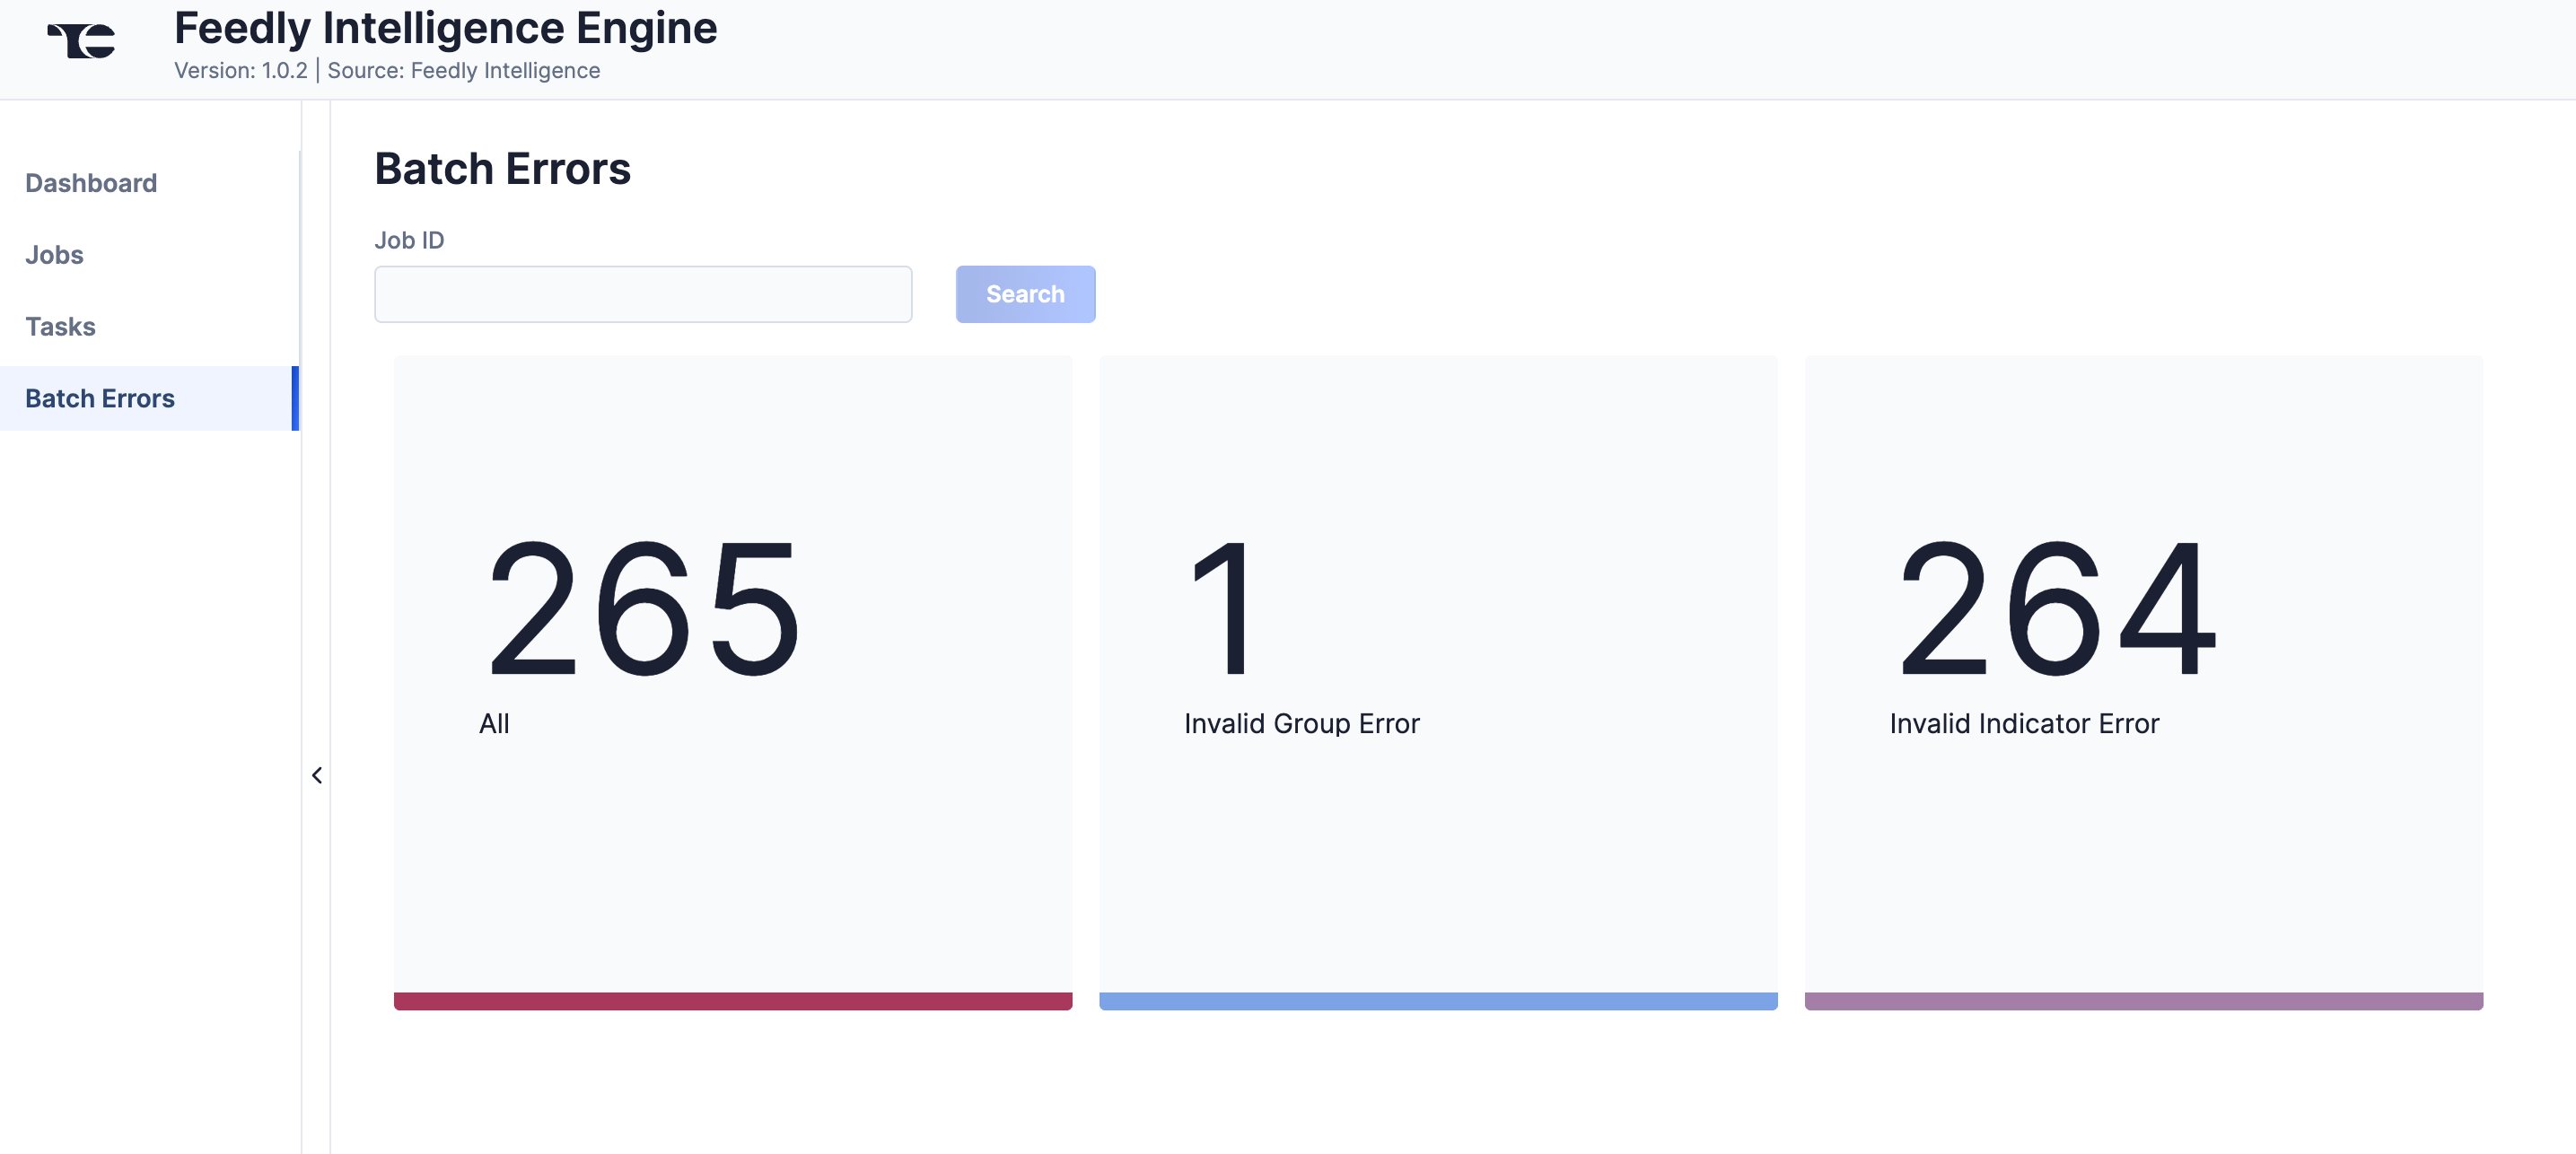
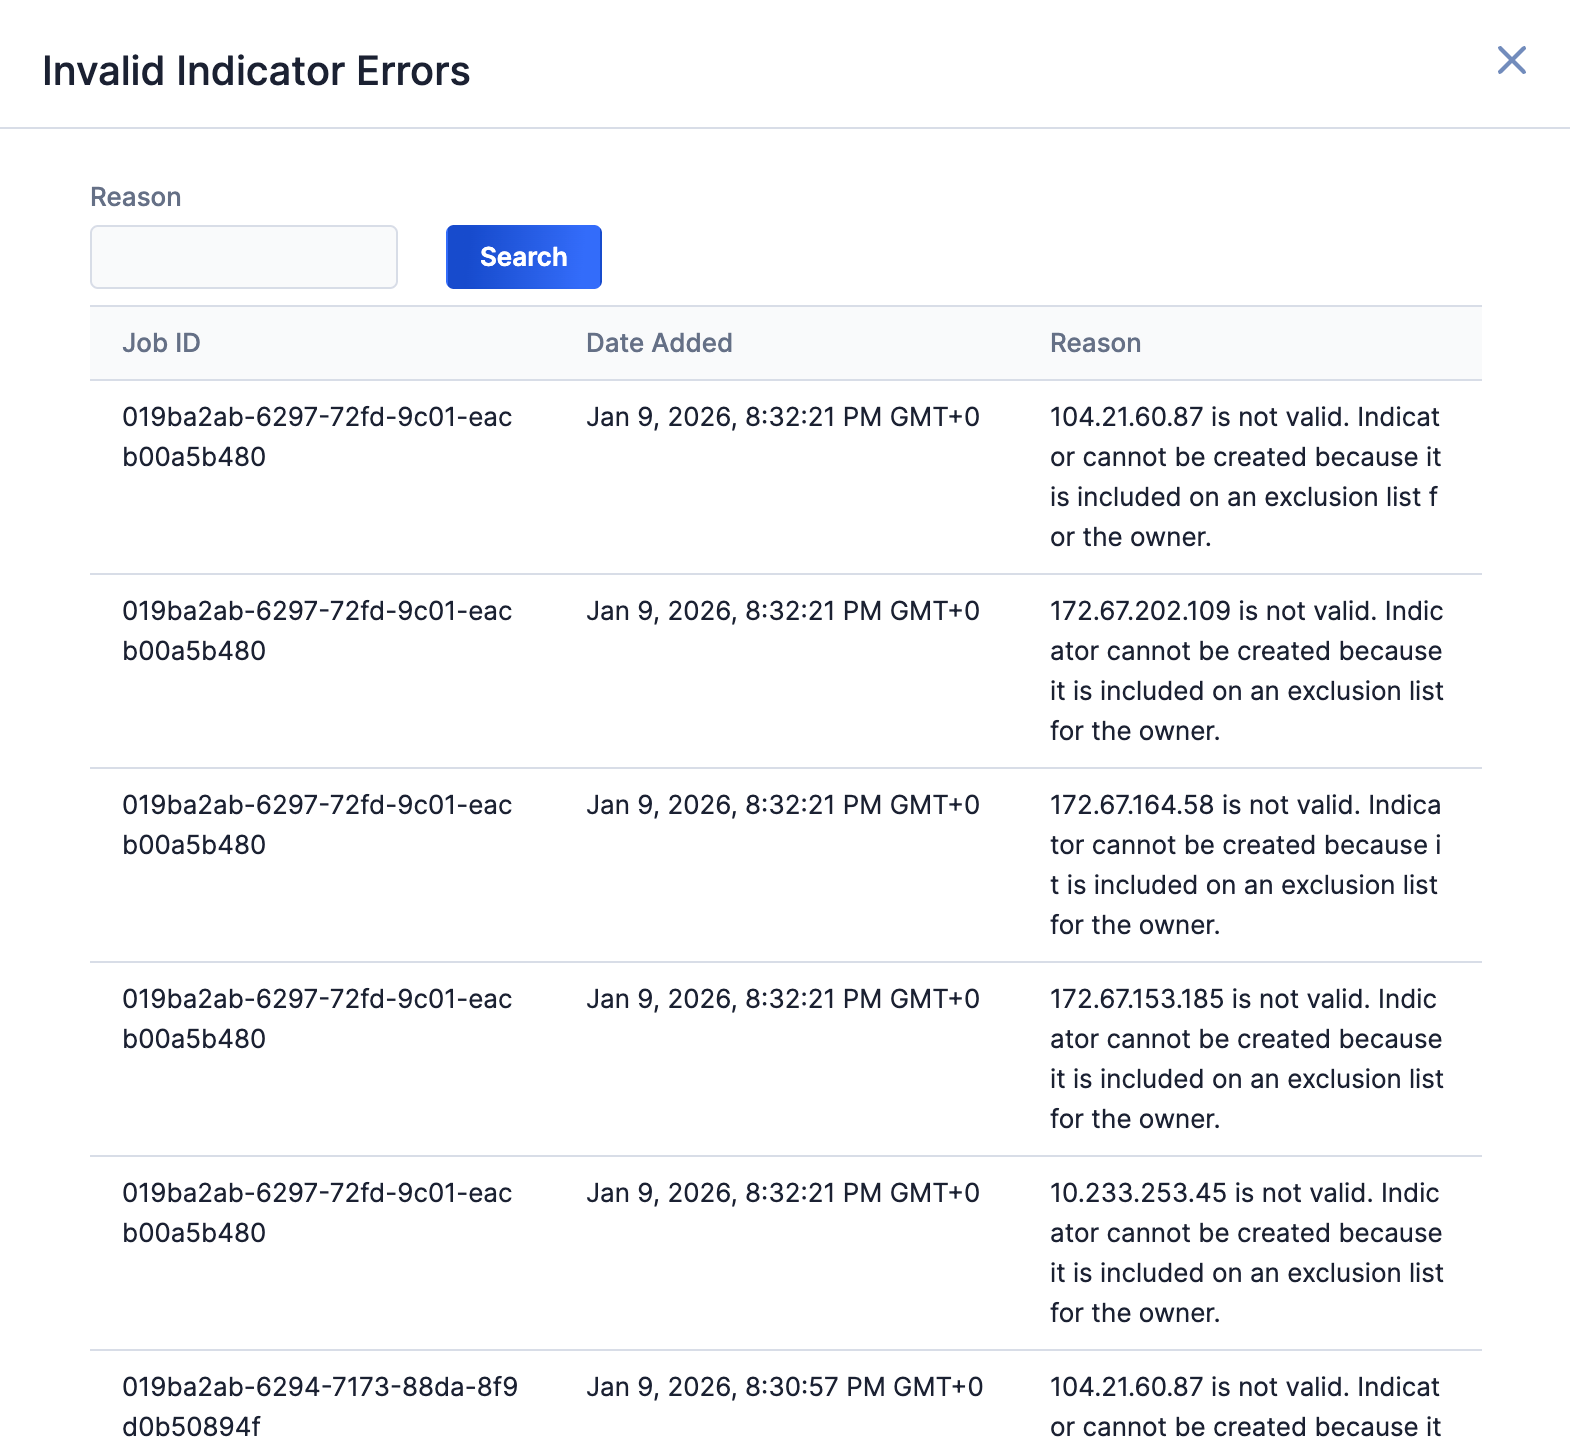
Select an error type to open a drawer containing a table with details on all batch errors of that type (Figure 6). You can enter keywords to filter by reason for error.
Data Mappings
The data mappings in Table 2 through Table 11 illustrate how data are mapped from Feedly API endpoints into the ThreatConnect data model.
Address
ThreatConnect object type: Address Indicator
| Feedly API Field | ThreatConnect Field |
|---|---|
| name | Name/Summary Note If a port value is included with the IP address, it will be removed. |
| id | Attribute: "External ID" |
| created |
|
| modified |
|
| <extracted port> | Attribute: "Port" |
Attack Pattern
ThreatConnect object type: Attack Pattern Group
| Feedly API Field | ThreatConnect Field |
|---|---|
| name | Name/Summary |
| description | Attribute: "Description" (default) |
| id | ATT&CK Tag |
| created |
|
| modified |
|
| x_mitre_platforms | Attribute: "Operating System" (newline delimited) |
| kill_chain_phases[].phase_name | Attribute: "Tactic Name" |
| external_references[].source_name | Attribute: "Source" |
| external_references[].url | Attribute: "External References" |
File
ThreatConnect object type: File Indicator
| Feedly API Field | ThreatConnect Field |
|---|---|
| pattern | Name/Summary |
| created |
|
| modified |
|
Host
ThreatConnect object type: Host Indicator
| Feedly API Field | ThreatConnect Field |
|---|---|
| name | Name/Summary Note If a port value is included in the hostname, it will be removed. |
| id | Attribute: "External ID" |
| created |
|
| modified |
|
Intrusion Set
ThreatConnect object type: Intrusion Set Group
| Feedly API Field | ThreatConnect Field |
|---|---|
| name | Name/Summary |
| description | Attribute: "Description" (default) |
| id | Attribute: "External ID" |
| created |
|
| modified |
|
| aliases[] | Attribute: "Alias" |
| external_references[].url | Attribute: "Source" |
Malware
ThreatConnect object type: Malware Group
| Feedly API Field | ThreatConnect Field |
|---|---|
| name | Name/Summary |
| description | Attribute: "Description" (default) |
| id | Attribute: "External ID" |
| created |
|
| modified |
|
| aliases[] | Attribute: "Alias" |
| malware_types[] | Tag: "<malware family>" Note The value of the Tag can be the name of a malware family (e.g., “downloader”), or it can be “unknown.” |
| external_references[].url | Attribute: "External References" |
Report
ThreatConnect object type: Report Group
| Feedly API Field | ThreatConnect Field |
|---|---|
| name | Name/Summary |
| description | Attribute: "Description" (default) |
| id |
|
| published |
|
| modified |
|
| labels[] | Tag: "<Feedly report labels>" Note Examples of Feedly report labels include “Feedly AI,” “Feedly Hashes,” and “Feedly URLs.” |
| external_references[].source_name | Attribute: "Source" |
| external_references[].url | Attribute: "External References" |
Threat Actor
ThreatConnect object type: Adversary Group
| Feedly API Field | ThreatConnect Field |
|---|---|
| name | Name/Summary |
| description | Attribute: "Description" (default) |
| id |
|
| published |
|
| modified |
|
| external_references[].url | Attribute: "Source" |
URL
ThreatConnect object type: URL Indicator
| Feedly API Field | ThreatConnect Field |
|---|---|
| name | Name/Summary |
| id | Attribute: "External ID" |
| created |
|
| modified |
|
Vulnerability
ThreatConnect object type: Vulnerability Group
| Feedly API Field | ThreatConnect Field |
|---|---|
| name | Name/Summary |
| description | Attribute: "Description" (default) |
| id |
|
| published |
|
| modified |
|
| external_references[].url | Attribute: "Source" |
Frequently Asked Questions (FAQ)
How often does the Feedly Intelligence Engine App ingest data into ThreatConnect?
The Feedly Intelligence Engine App queries Feedly for new data every 30 minutes. It attempts to collect Feedly data delivered within the last 90 minutes to offer the most up-to-date data possible.
How do I download a specific report from Feedly?
It is not possible to download a specific report from Feedly. The Feedly Intelligence Engine App relies on the use of the Feedly API Stream ID, which provides access to the Feedly feed stream only.
How much historical Feedly data does the Feedly Intelligence Engine App ingest into ThreatConnect?
When collecting data for the first time after installation, the Feedly Intelligence Engine App pulls all available data from the last 30 days. After that, the App performs incremental updates to collect either new reports or reports that changed since the last update.
ThreatConnect® is a registered trademark, and TC Exchange™ is a trademark, of ThreatConnect, Inc.
Feedly™ is a trademark of Feedly, Inc.
MITRE ATT&CK® and ATT&CK® are registered trademarks of The MITRE Corporation.
30091-02 EN Rev. A