Overview
ThreatConnect® can integrate with many third-party applications and services, such as Lastline®, OpenDNS®, and ArcSight™. You can utilize these product integrations as Apps via TC Exchange™ to further augment their analytic capabilities.
Before You Start
| Minimum Role(s) | Organization role of Organization Administrator |
|---|---|
| Prerequisites | An App for which a Job can be created installed by a System Administrator via TC Exchange |
Creating a Job Using a TC Exchange App
- Log into ThreatConnect with an Organization Administrator account.
- On the top navigation bar, hover over Settings
 and select Org Settings. The Membership tab of the Organization Settings screen will be displayed.
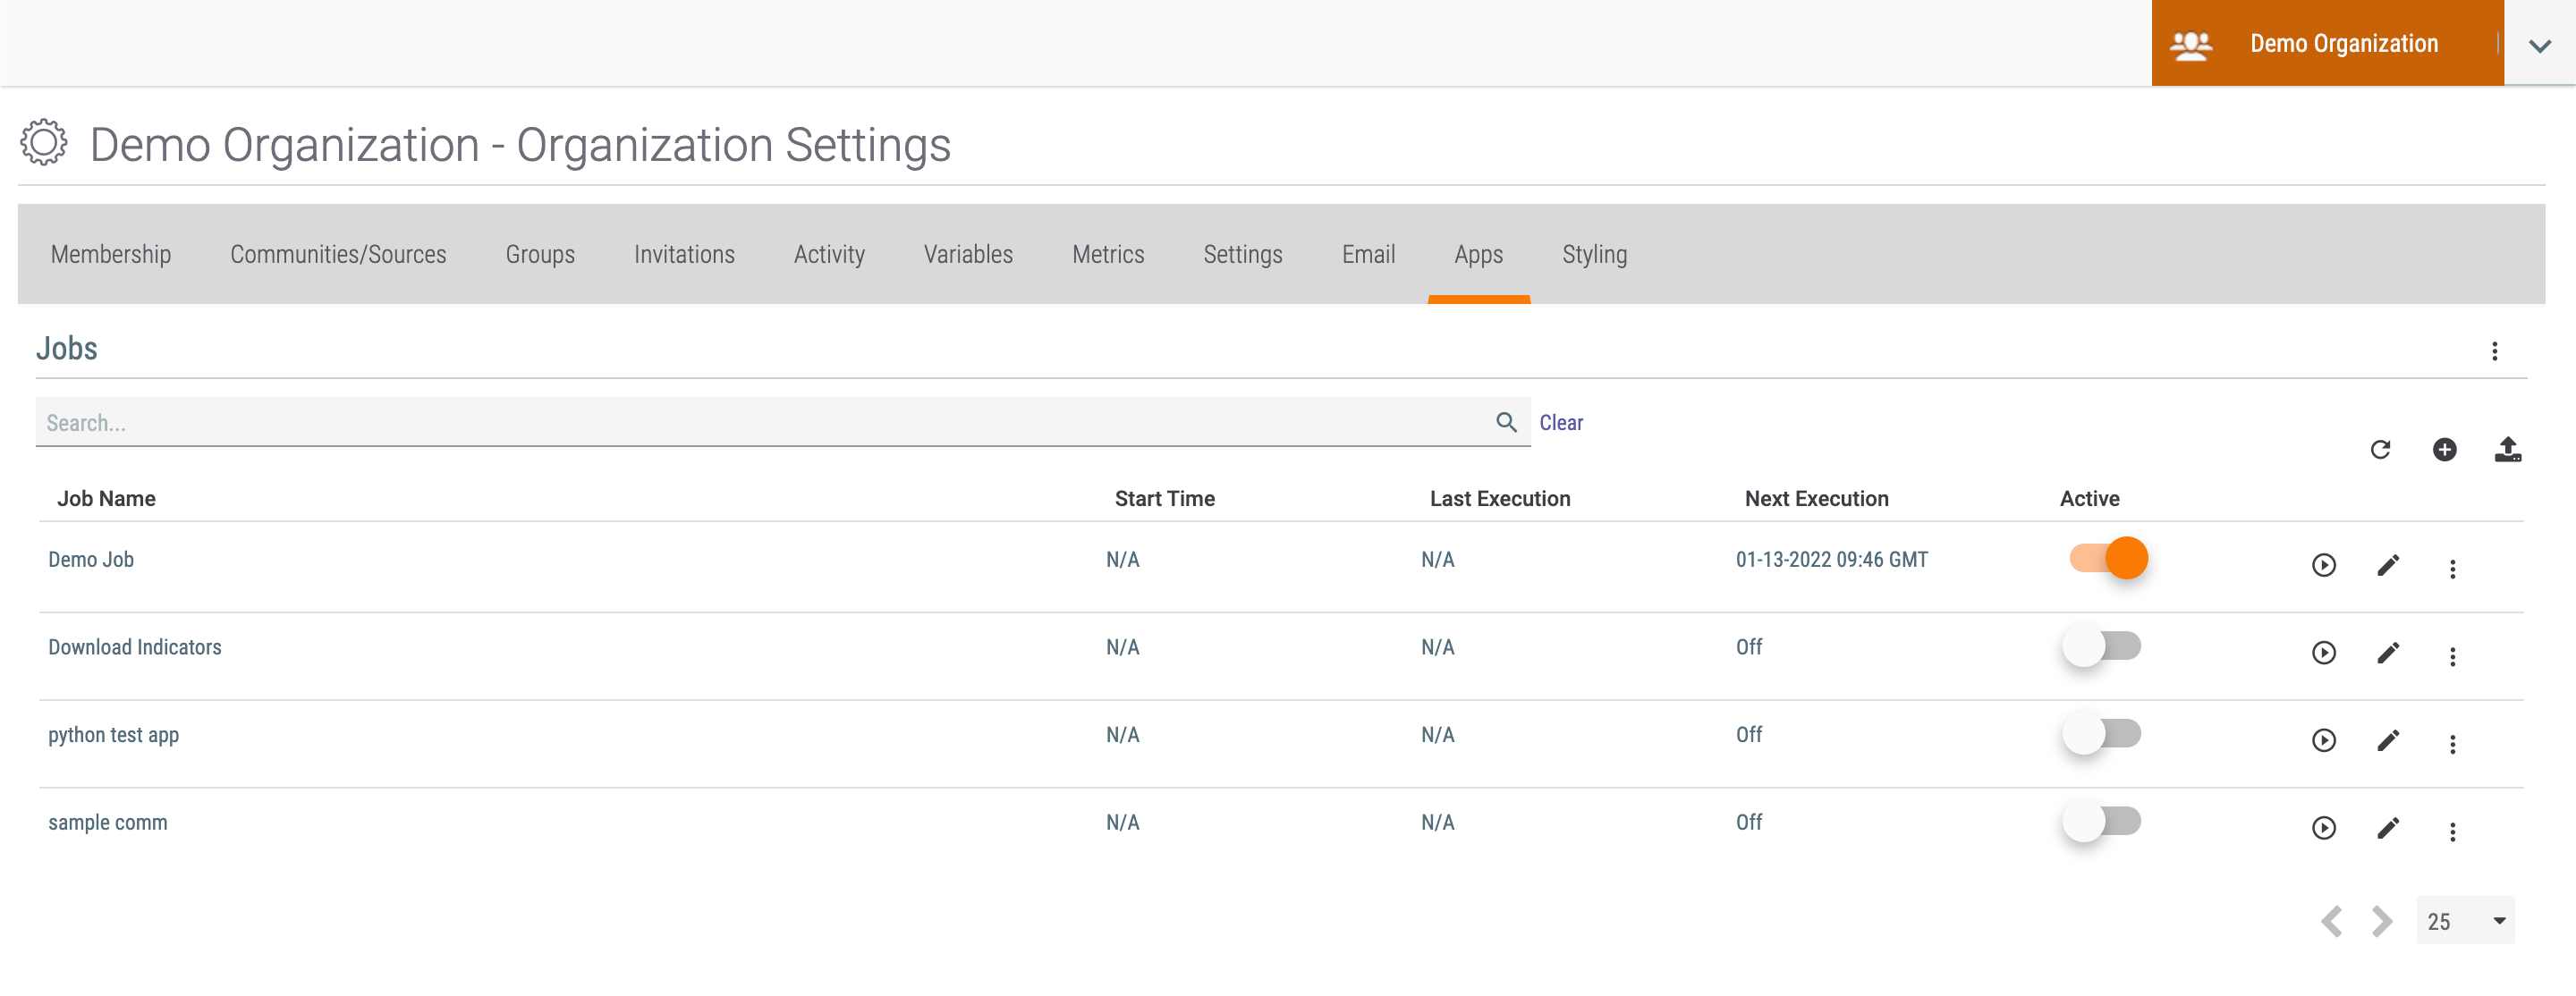
 - Click the Apps tab. The Jobs view of the Apps screen will be displayed (Figure 1).

- Click Add
 at the top right of the table. The Program screen of the Add Job drawer will be displayed (Figure 2).
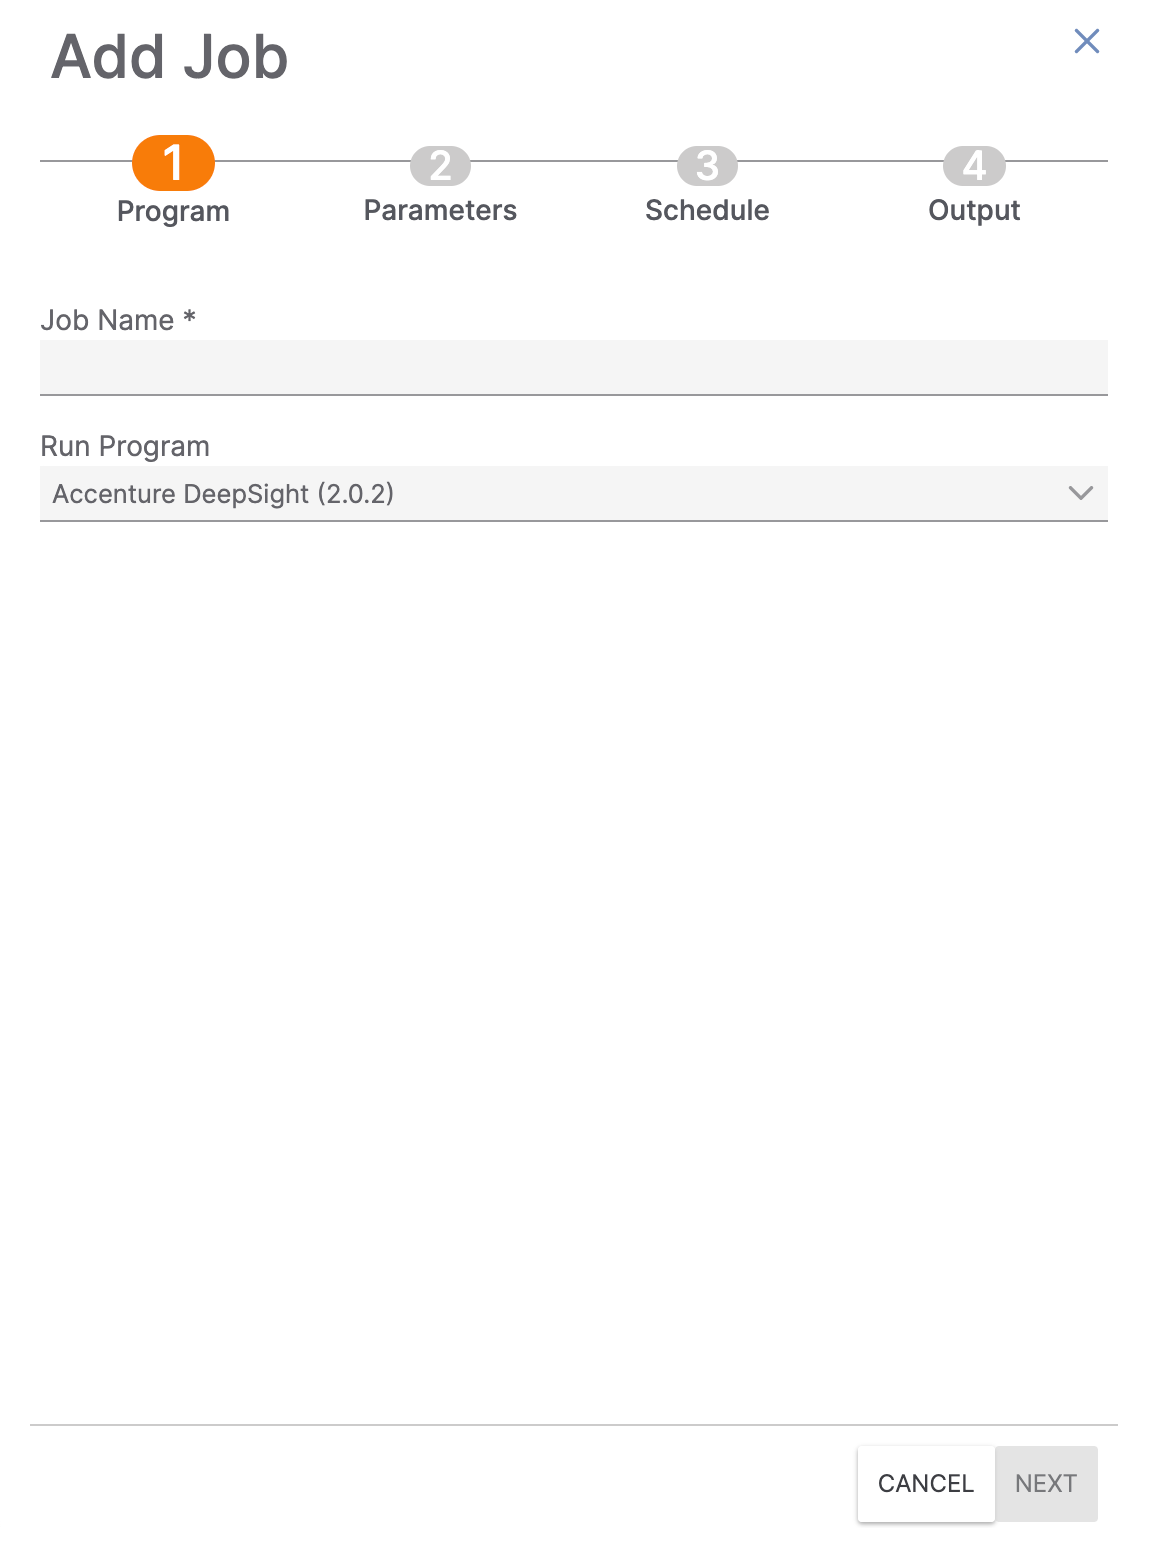
- Job Name: Enter a name for the Job.
- Run Program: Select the App for which the Job will be created. Note that the App’s version is displayed in parentheses next to the App’s name.
- Click the NEXT button.
- The Parameters screen of the Add Job drawer will be displayed (Figure 3).
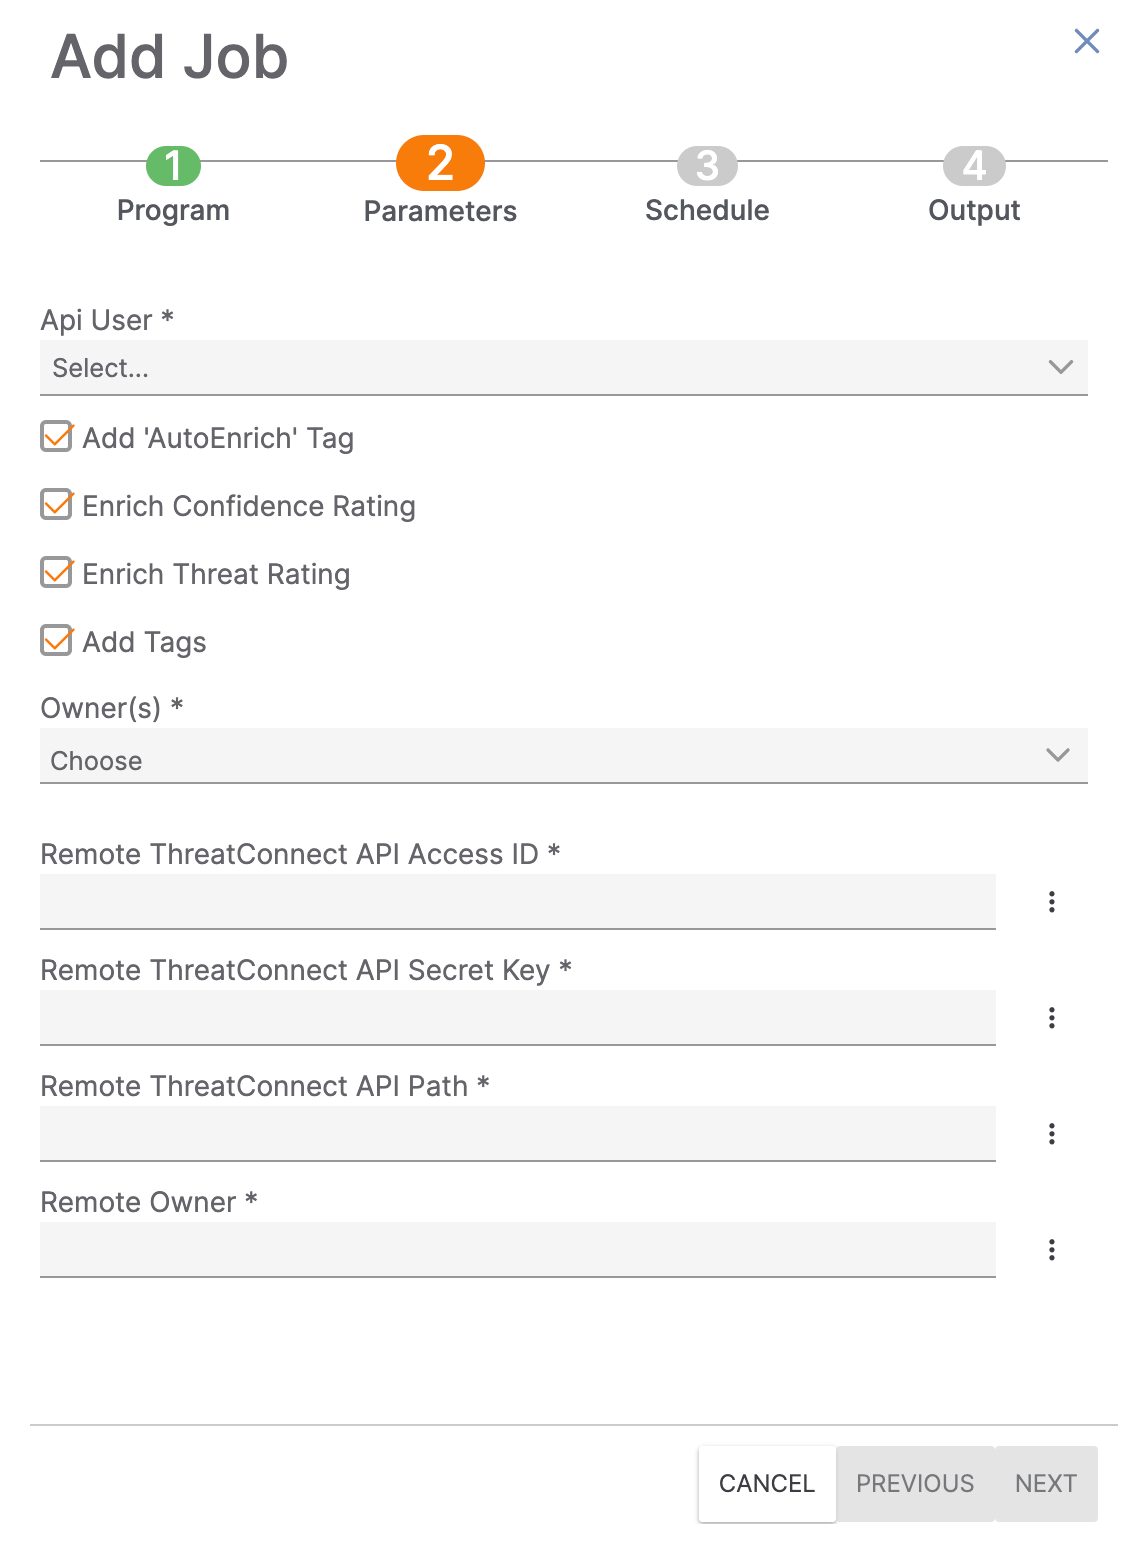
- Configure the parameters for the selected App. The parameters differ for each App. For example, the parameters displayed in Figure 3 are for the ThreatConnect Auto Enrich 2.0.1 App.
- Click the vertical ellipsis to the right of a field to display a list of variables that you can select to fill in the field.
- Click the NEXT button.
- The Schedule screen of the Add Job drawer will be displayed (Figure 4).
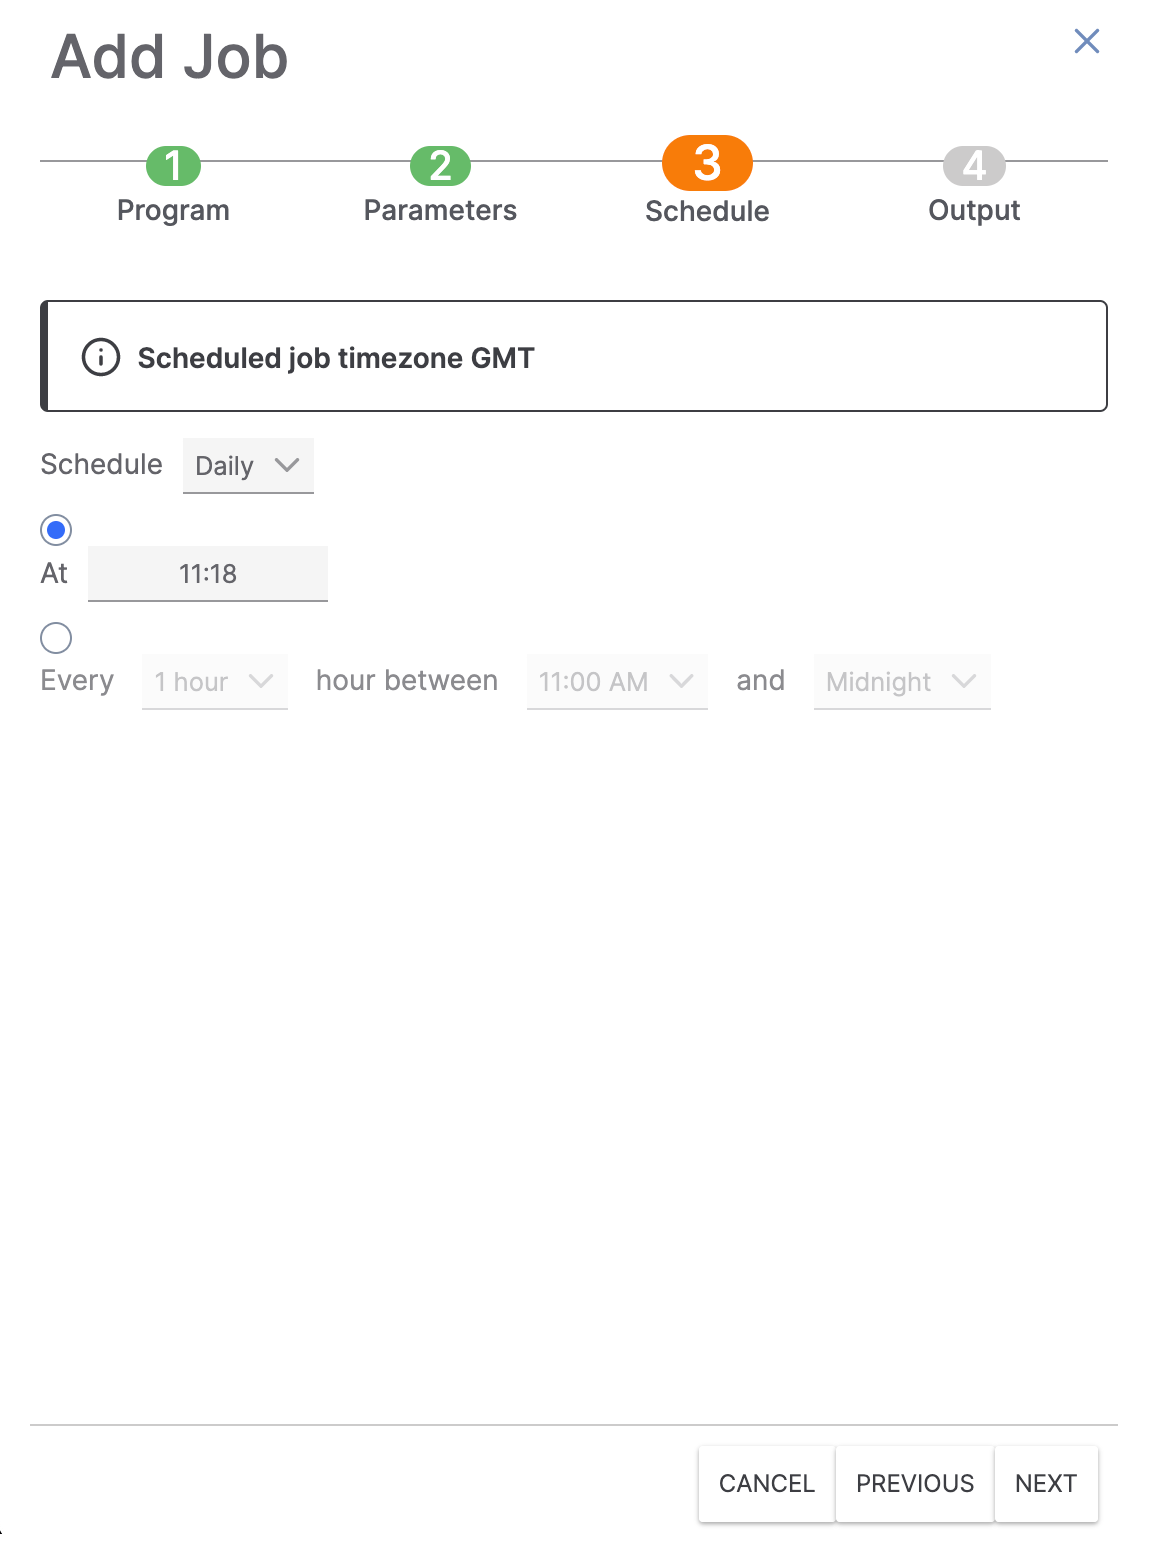
- Schedule: Select the frequency of Job runs.
- At: Select this option to schedule a specific time for Job runs, and use the corresponding field to enter the Job run time.
- Every: Select this option to schedule Job runs to occur at intervals, and use the corresponding fields to set the specific frequency and interval.
- Click the NEXT button.
- The Output screen of the Add Job drawer will be displayed (Figure 5).
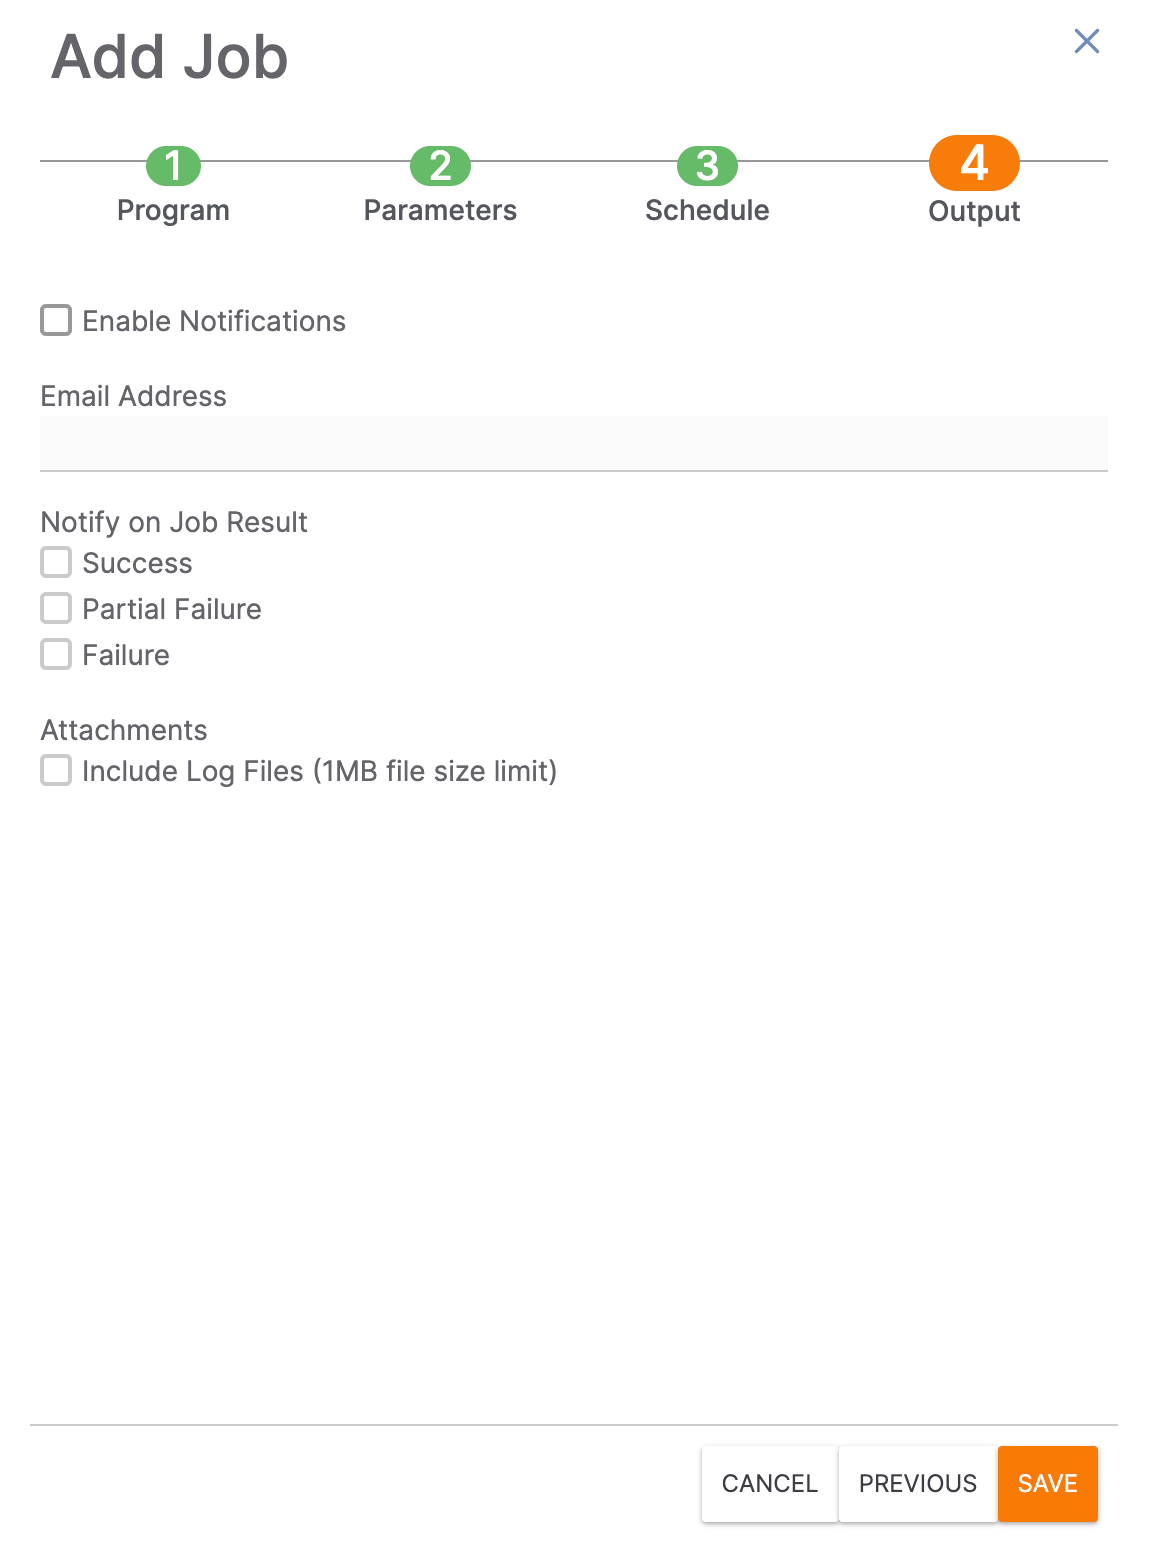
- Enable Notifications: Select this checkbox to receive notifications with the results of Job runs. If this checkbox is not selected, none of the other options in this step will be available.
- Email Address: Enter the email address to which notifications should be sent.
- Notify on Job Result: Select the checkbox(es) for the type(s) of Job results for which notification emails will be sent.
- Attachments: Select the Include Log Files checkbox to include log files in notification emails.
- Click the SAVE button.
- The Jobs view on the Apps screen will now show the Job (Demo Job in this example) created for the selected App. Toggle the switch in the Active column for the Job on to activate the Job (Figure 6).
ThreatConnect® is a registered trademark, and TC Exchange™ is a trademark, of ThreatConnect, Inc.
OpenDNS® is a registered trademark of Cisco Systems, Inc.
ArcSight™ is a trademark of Hewlett-Packard Development Company, L.P.
Lastline® is a registered trademark of Lastline, Inc.
20038-01 v.08.E