Overview
The Playbooks Timer Trigger allows ThreatConnect® users to trigger a Playbook on a set schedule (e.g., once a day, on the fifteenth of the month, etc.) This Trigger is useful for replicating the existing functionality of Jobs.
Before You Start
| Minimum Role(s) |
|
|---|---|
| Prerequisites | Playbooks enabled by a System Administrator |
Creating a New Timer Trigger
- On the top navigation bar, click Playbooks to display the Playbooks screen.
- Create a new Playbook or open an existing one.
- Click
 Triggers on the side navigation bar of the Playbook Designer to view all available Trigger types.
 - Select Timer from the External menu to add a Timer Trigger to the design pane (Figure 1).
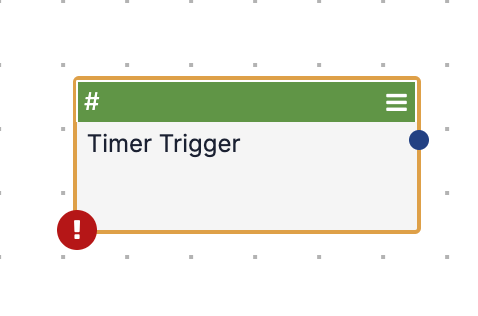
- Hashtag
 icon: Hover the cursor over this icon at the upper-left corner of the Trigger box to display a list of output variables, which are values that the Trigger can send to other Apps and Operators.
 - Menu
 icon: Click this icon at the upper-right corner of the Trigger box to display a menu with options to edit, disable, clone, or delete the Trigger.
- Hashtag
- Double-click the Trigger. The Edit Trigger pane will be displayed on the left side of the screen (Figure 2).NoteClick the Display Documentation
 icon at the upper-right corner of the Edit Trigger pane to view information about the Trigger, including a description, its input parameters, and its output variables.
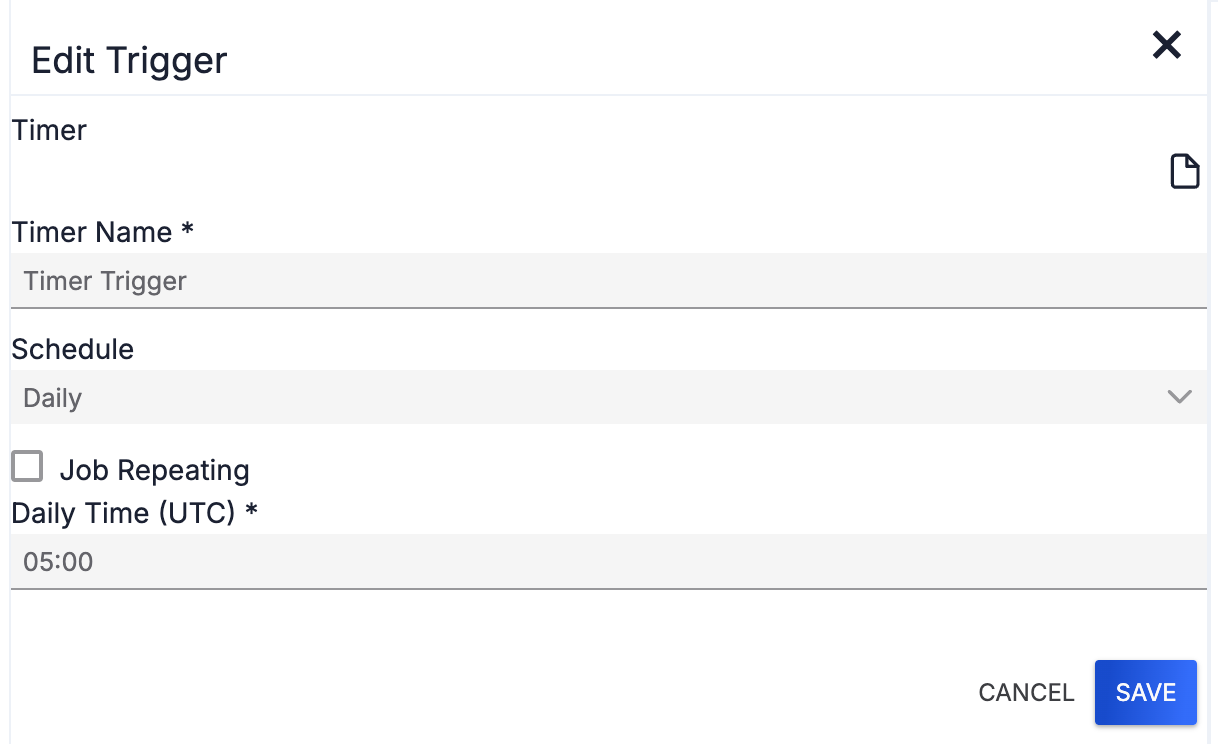
- Timer Name: Enter a name for the Timer Trigger.
- Schedule: Select the frequency at which the Trigger will run. Depending on the selected frequency, additional parameters will be displayed in the Edit Trigger pane below the Schedule dropdown menu.
- Daily
- Job Repeating: Select this checkbox to customize options for the repetition of the Trigger. After this checkbox is selected, the following required parameters will be displayed:
- Job Repeating Starting Hour: Enter the hour at which the repetition will begin. Accepted values range from 0–24.
- Job Repeating Ending Hour: Enter the hour at which the repetition will end. Accepted values range from 0–24.
- Repeating Interval Time (Minutes): Enter the interval, in minutes, at which the Trigger will run (e.g., entering 5 will cause the Trigger to run every 5 minutes between the starting and ending hours). Accepted values range from 0–60.
- Daily Time (UTC): Enter the time of day (UTC) at which the Trigger will run. If the Job Repeating checkbox is selected, this option will not be available.
- Job Repeating: Select this checkbox to customize options for the repetition of the Trigger. After this checkbox is selected, the following required parameters will be displayed:
- Weekly
- Weekly Time (UTC): Enter the time of day (UTC) at which the Trigger will run.
- Weekly Day(s): Select the day(s) of the week (Monday–Sunday) on which the Trigger will run.
- Monthly
- Monthly Time (UTC): Enter the time of day (UTC) at which the Trigger will run.
- Monthly Day(s): Select the day(s) of the month (1st–31st or Last Day) on which the Trigger will run.
- Advanced: Enter a standard Quartz Cron expression to control when the Trigger will run.NoteIf you select Advanced from the Schedule dropdown menu, any seconds settings in the first part of the Cron expression will be ignored by the system.
- Daily
- Click the SAVE button.
Now you can continue to build out and then execute the Playbook.
ThreatConnect® is a registered trademark of ThreatConnect, Inc.
20100-01 v.02.D