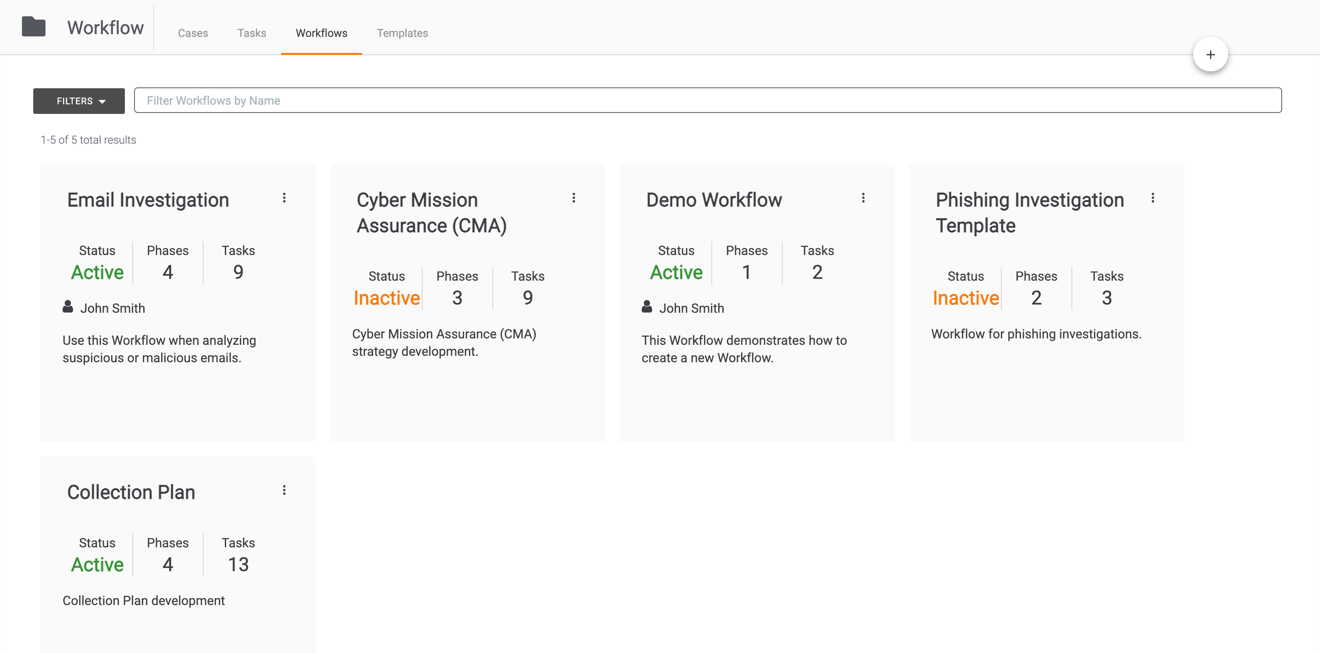
The Workflows tab of the Workflow screen displays all Workflows in your Organization that you can use to create Cases. From here, you can create Workflows from scratch and import Workflows from a file.
On the top navigation bar, hover the cursor over Workflow and select Workflows. The Workflows screen will be displayed (Figure 1).
Workflow Cards
Each Workflow card provides a summary of a Workflow (Figure 2).
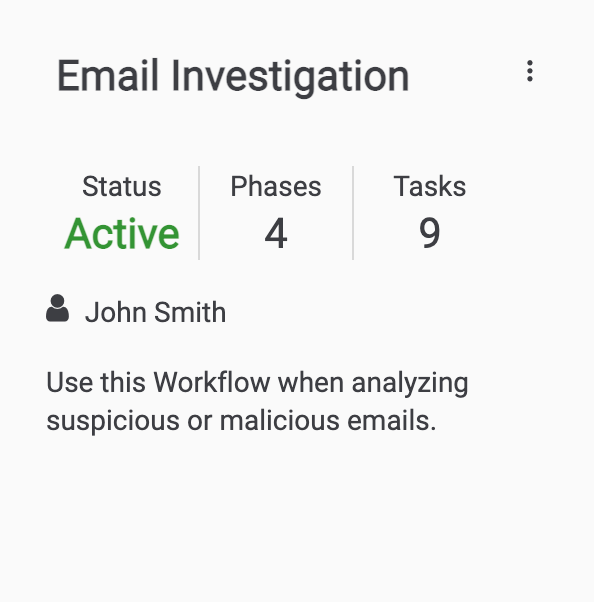
- Status: This section displays whether the Workflow is available (active) or unavailable (inactive) for use. The “Active” status is displayed in green text, and the “Inactive” status is displayed in yellow text.
- Phases: This section displays the number of Phases in the Workflow.
- Tasks: This section displays the number of Tasks in the Workflow.
- Assignee: This section displays the default assignee for the Workflow. The default assignee is the user to whom a Case using the Workflow is assigned by default. If there is no default assignee, this section will not be displayed on the card.
- Description: The text at the bottom displays a description of the Workflow.
Workflow Administrative Options
Click the vertical ellipsis at the upper-right corner of the card to view the following administrative options for the Workflow: Export, Duplicate, and, for Organization and System Administrators, Remove.
Export
Select Export to export a Workflow. The Workflow will be immediately downloaded onto your computer as a .wf file.
Duplicate
A common use case for Workflow duplication is when you want to use an existing Workflow as a foundation for creating a new one. The duplicate version can be modified without affecting the original version.
Select Duplicate to duplicate a Workflow. The Duplicate Workflow window will be displayed (Figure 3).
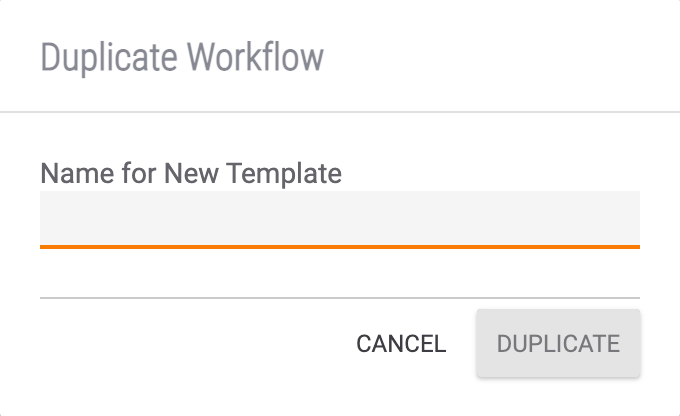
- Name for New Template: Enter a name for the duplicated Workflow.
- Click the DUPLICATE button. A card for the duplicated Workflow will now be displayed.
Remove
For Organization and System Administrators, a Remove option will be displayed in the administrative options menu. Select Remove to remove (delete) a Workflow. The Remove Template? window will be displayed. Click the REMOVE button to delete the Workflow.
Filtering Workflows
The Workflows displayed on the Workflows screen can be filtered by status, assignee, and name. Filter settings will persist when you navigate away from the Workflows screen or log out of your ThreatConnect instance.
Filtering Workflows by Status or Assignee
To filter Workflows by status or assignee, click the FILTERS selector to the left of the search bar (Figure 4).
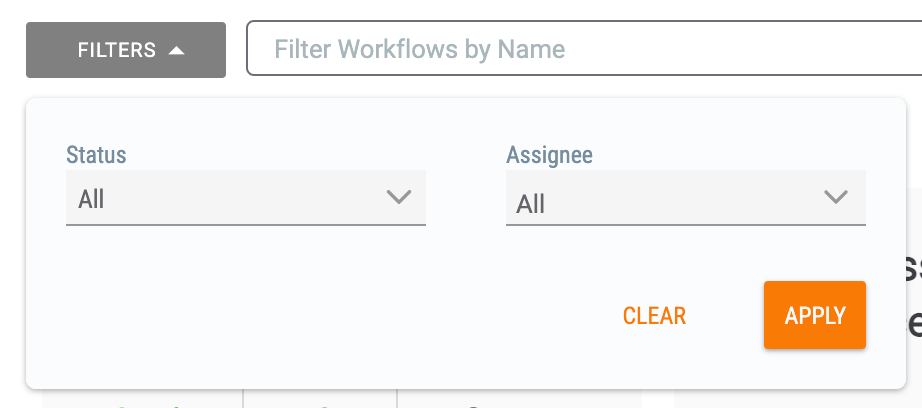
- Status: Select All, Active, or Inactive to display all Workflows, only active Workflows, or only inactive Workflows, respectively.
- Assignee: Select one or more users or user groups. Only Workflows with the selected assignee(s) will be displayed.
- Click the APPLY button to apply the selected filters. To reset the filters, click the CLEAR button.
When filters have been applied, an orange circle  will be displayed at the upper-left corner of the FILTERS button. This element alerts you to the fact that you might be viewing an “incomplete” set of data.
Filtering Workflows by Name
To filter Workflows by name, enter the desired Workflow name in the search bar to the right of the FILTERS selector. The displayed Workflows will be filtered as text is entered into the search bar. Click the Clear  icon on the right side of the search bar to clear the entered text.
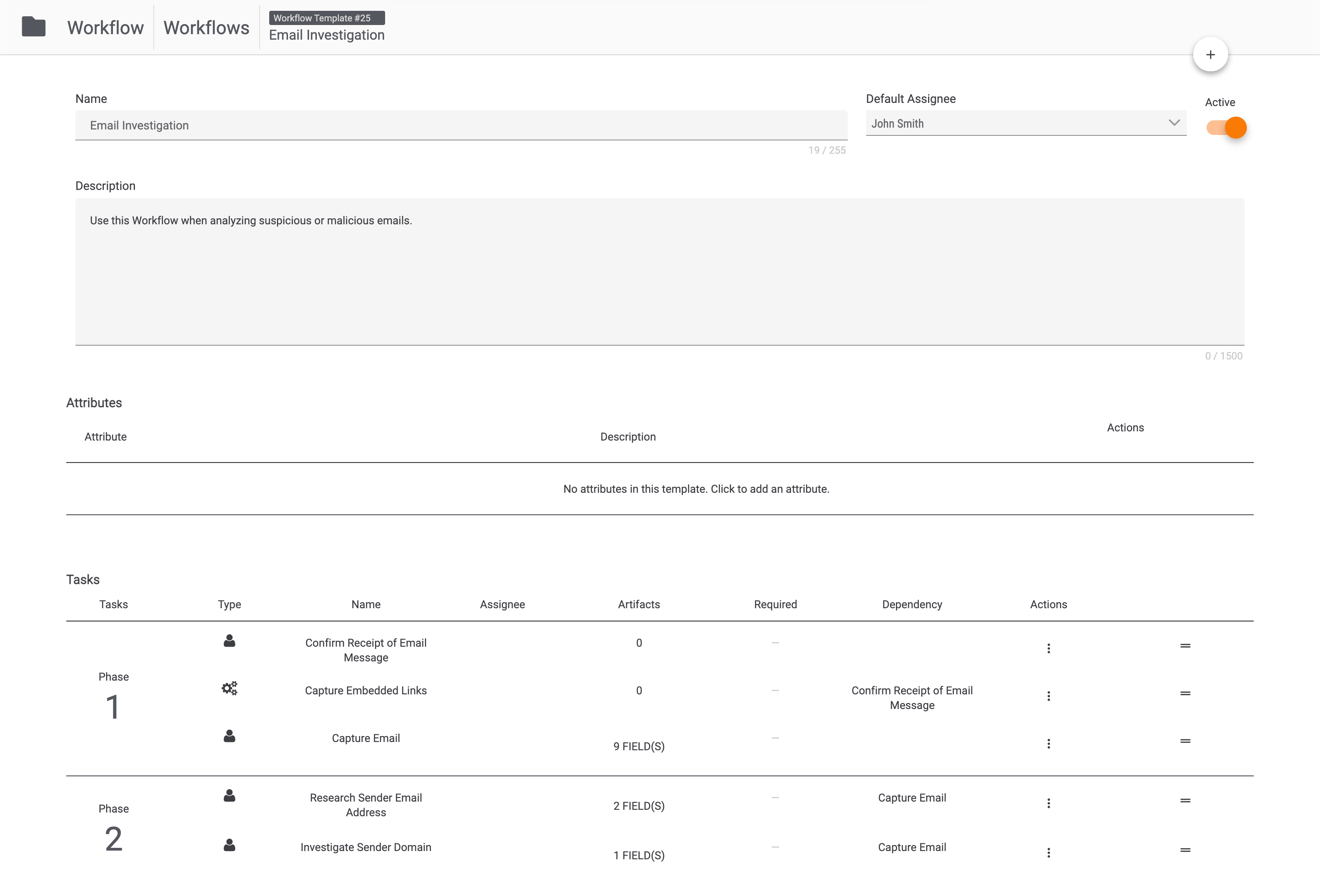
Viewing and Updating an Existing Workflow
To view or update an existing Workflow, click the card for that Workflow. The Workflow will be displayed, showing options for creating Tasks, adding Attributes, changing the default assignee, toggling between active and inactive status, viewing and editing Tasks and Phases, and more (Figure 5). For more information on this screen and these options, see Building and Activating a Workflow.
If a Workflow was not saved after it was last opened and modified, the Use Local Draft of Template? window will be displayed the next time it is opened (Figure 6).
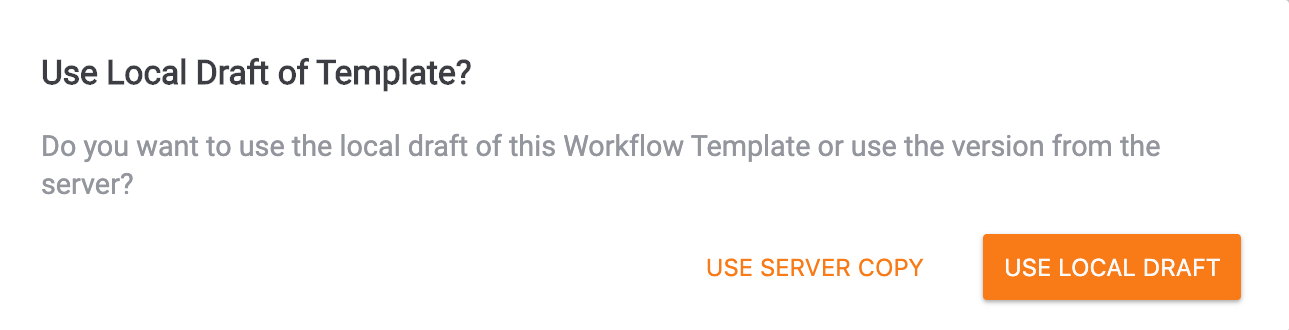
- USE SERVER COPY: Select this option to open the most recently saved version of the Workflow, which will not include any unsaved changes.
- USE LOCAL DRAFT: Select this option to open the most recent version of the Workflow, including any unsaved changes.
Creating a New Workflow
To create a new Workflow, click the New…  button at the upper-right corner of the Workflows screen and select New Workflow. The New Workflow screen will be displayed. See Building and Activating a Workflow for instructions on how to use the options available on this screen to build a new Workflow.
Importing a Workflow
To import a Workflow, click the New…  button at the upper-right corner of the Workflows screen and select Import Workflow. Select the desired Workflow file to upload using the file manager window.
Based on the configuration of the Workflow included in the selected file, one of the following scenarios will occur:
- If the selected Workflow does not include an automated Task, or if it includes an automated Task that uses a Workflow Playbook with the same name as one that exists in your Organization, the Workflow will be imported and a corresponding Workflow card will be added to the Workflows screen.NoteIf the selected Workflow includes an automated Task configured to run a Workflow Playbook with the same name as one that exists in your Organization, the Playbook that exists in your Organization will be assigned to run the automated Task in the Workflow automatically. As a result, it is recommended to review the configuration of the automated Task, as the configuration for the Playbook that exists in your Organization may differ from the configuration for the Playbook that exists in the Organization in which the Workflow was created.
- If the selected Workflow includes an automated Task configured to run a Workflow Playbook that does not exist in your Organization, but the Playbook does not use variables that do not exist in your Organization or Playbook Apps that are not installed in your Organization, the Workflow will be imported, the Workflow Playbook used in the Workflow will be imported and activated automatically, and a corresponding Workflow card will be added to the Workflows screen.
- If the selected Workflow includes an automated Task configured to run a Workflow Playbook that uses Apps that are not installed in your Organization, the Missing Apps section of the Import Workflow drawer will be displayed (Figure 7).
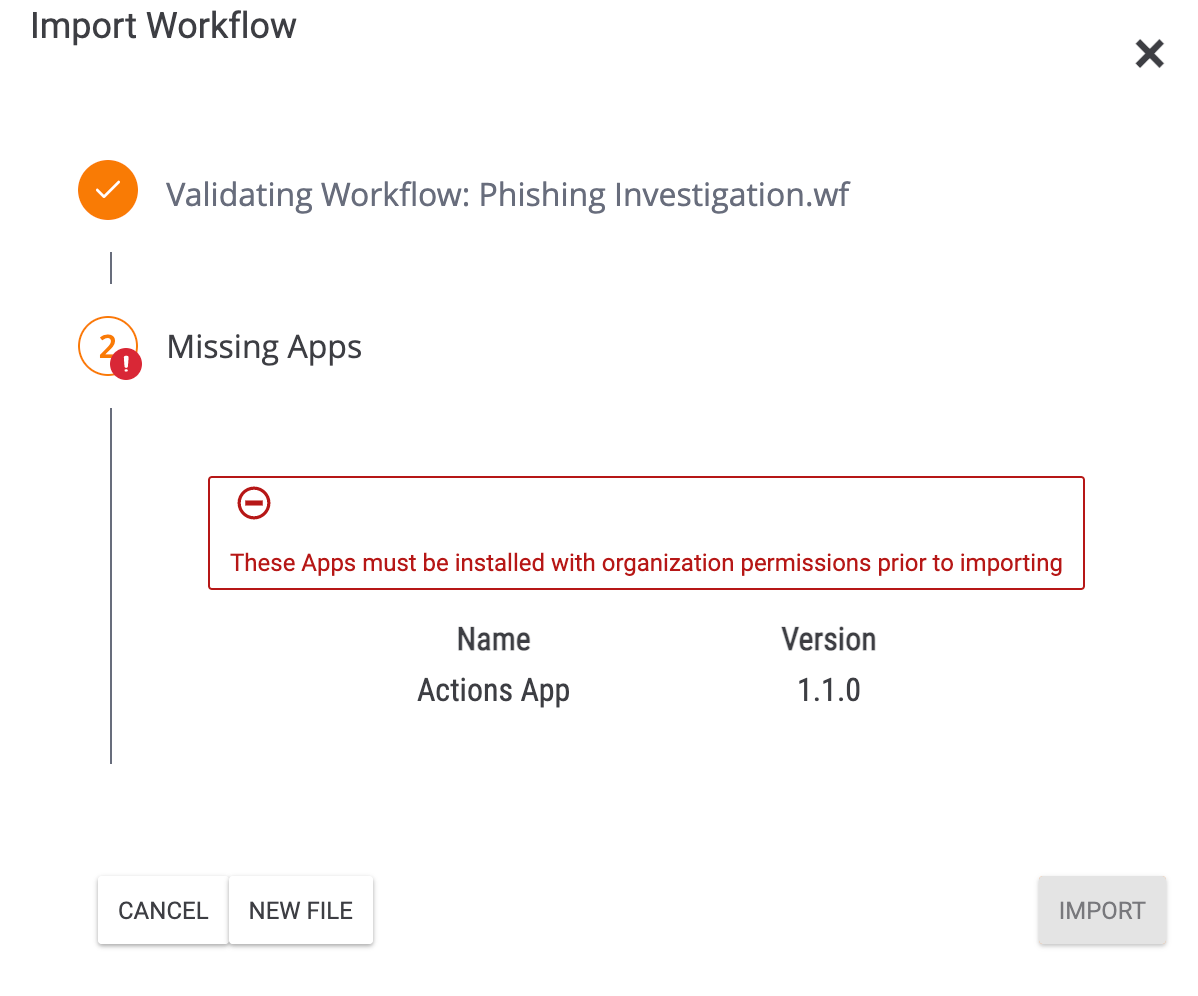
- Ask your System Administrator to install each App used in the Workflow Playbook that is not installed in your Organization.
- After all required Apps are installed, click the NEW FILE button to reselect the Workflow file. The Workflow will be imported, the Workflow Playbook used in the Workflow will be imported and activated automatically, and a corresponding Workflow card will be added to the Workflows screen.
- If the selected Workflow includes an automated Task configured to run a Workflow Playbook that uses variables that do not exist in your Organization, the Variables section of the Import Workflow drawer will be displayed (Figure 8).
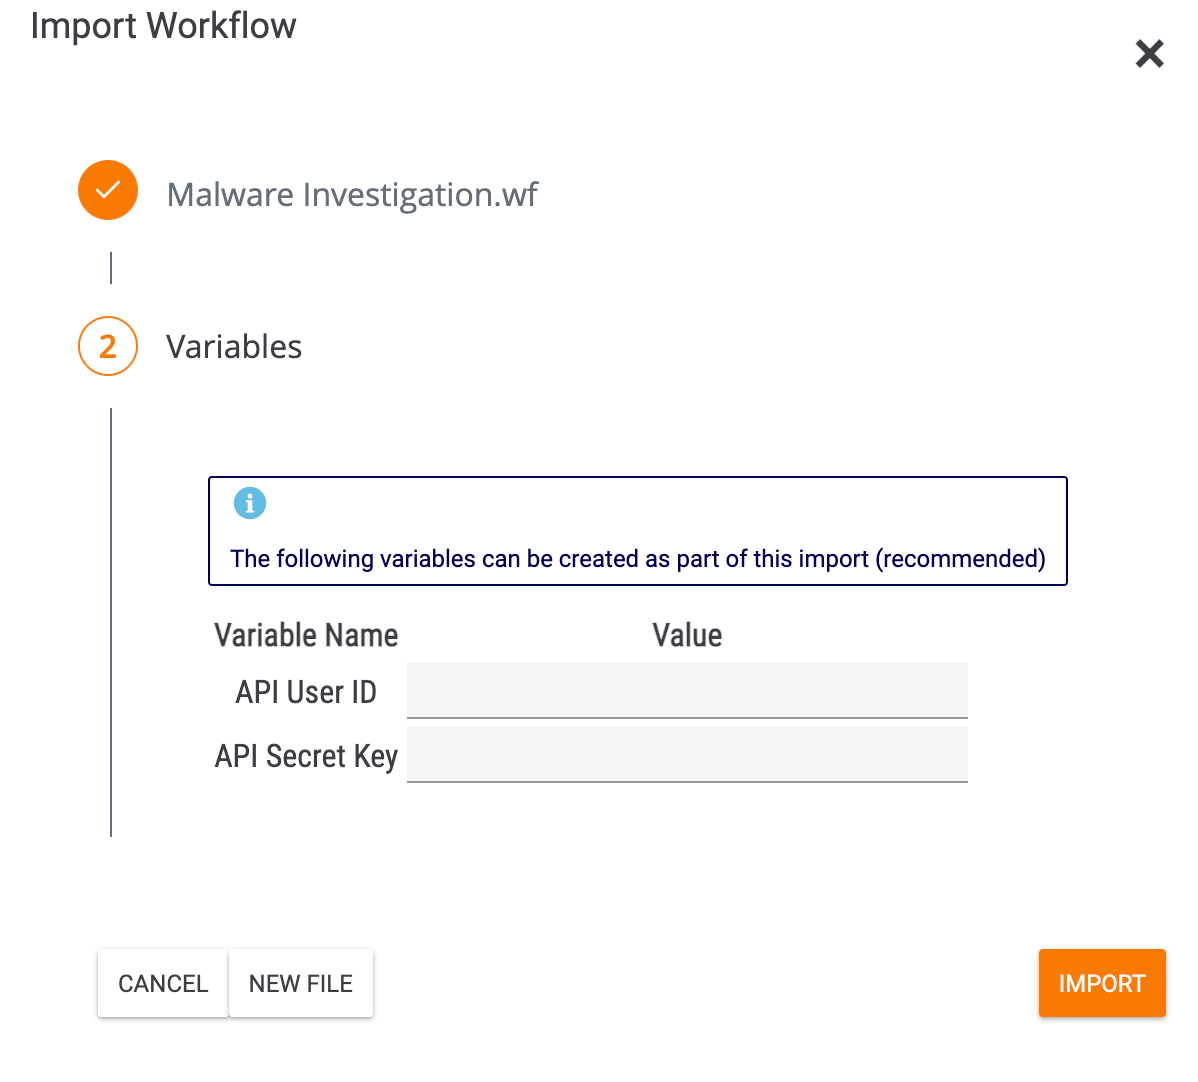
- Enter a value for each variable displayed in the drawer. Each variable will be created as an Organization-level variable in your Organization, and its value will be used in the Workflow Playbook being imported.
- Click the IMPORT button. The Workflow will be imported, the variable(s) will be created at the Organization level, the Workflow Playbook used in the Workflow will be imported and activated automatically, and a corresponding Workflow card will be added to the Workflows screen.NoteAfter the Workflow and Workflow Playbook are imported, you can view which elements in the Playbook use the newly created Organization-level variable(s) by opening the Playbook in the Playbook Designer and viewing the configuration of each Playbook element.
- If the selected Workflow includes an automated Task configured to run a Workflow Playbook that uses Apps that are not installed in your Organization and variables that do not exist in your Organization, the Missing Apps section of the Import Workflow drawer will be displayed (Figure 8). After the required Apps are installed, click the NEW FILE button to reselect the Workflow file. The Missing Variables section of the Import Workflow drawer will be displayed (Figure 8). Enter a value for each variable, and click the IMPORT button to import the Workflow. The Workflow will be imported, the variable(s) will be created at the Organization level, the Workflow Playbook used in the Workflow will be imported and activated automatically, and a corresponding Workflow card will be added to the Workflows screen.
ThreatConnect® is a registered trademark of ThreatConnect, Inc.
20090-02 v.06.A