Overview
Custom metrics allow you to track data not available through other functionalities in ThreatConnect®. For example, you may want to know the number of times a particular Playbook was run. Data collected for custom metrics can be visualized on a dashboard with a User Metrics dashboard card.
This article describes how to create custom metrics on the Organization Settings screen with an Organization Administrator account, and via the ThreatConnect v2 API with an API user account. It also describes how you can add data to a custom metric.
Before You Start
| Minimum Role(s) |
|
|---|---|
| Prerequisites | None |
Creating a Custom Metric
Organization Settings Screen
- Log into ThreatConnect with an Organization Administrator account.
- On the top navigation bar, hover the cursor over Settings
 and select Org Settings. The Membership tab of the Organization Settings screen will be displayed.
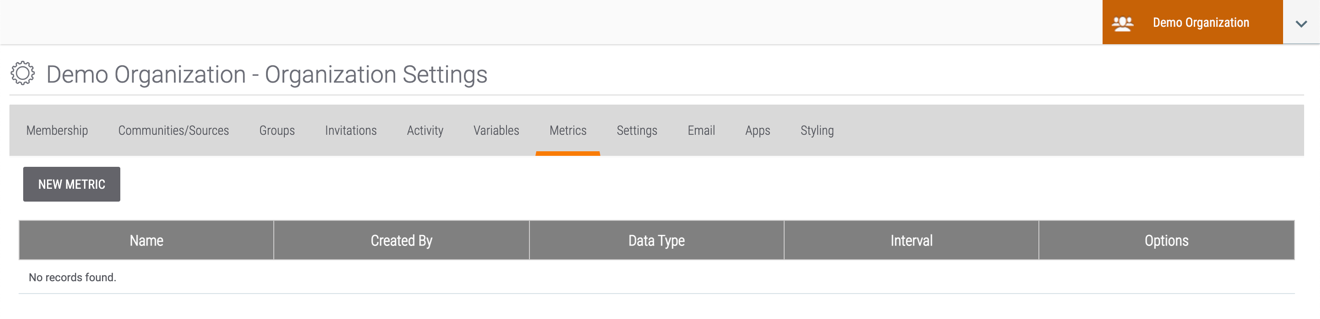
 - Click the Metrics tab. The Metrics screen will be displayed (Figure 1).
- Click the NEW METRIC button. The Configure Metric window will be displayed (Figure 2).
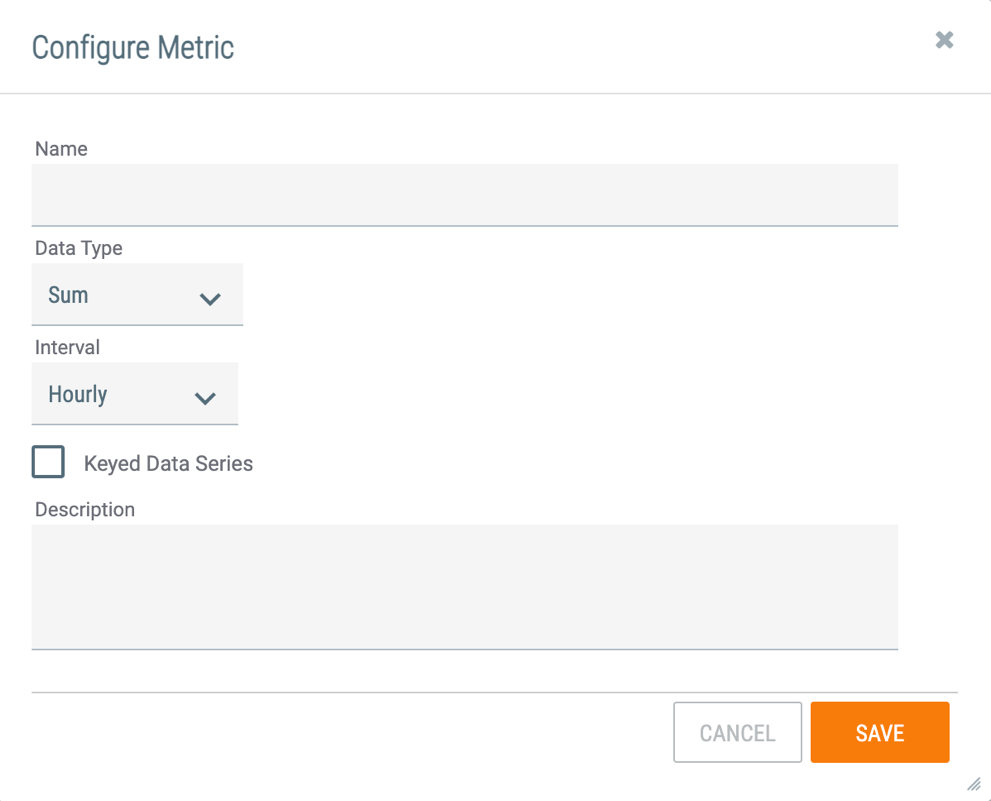
- Name: Enter a name for the new metric (up to 45 characters).
- Data Type: Select the type of data to be run. Available options include the following:
- Sum: Values sent within the given interval are summed into one data point
- Count: Number of hits received within the given interval are counted (equivalent to Sum, but providing a value of 1 per item)
- Min: Retains the minimum value received within a given interval
- Max: Retains the maximum value received within a given interval
- First: Retains the first value received within a given interval
- Last: Retains the last value received within a given interval
- Average: Maintains a running average of values received within a given interval
- Interval: Select a time interval from which to create a single data point using the selected Data Type. Available options include Hourly, Daily, Weekly, Monthly, and Yearly. This selection is the time interval before the metric is reset, which starts on midnight of the day created for daily, midnight of the first of the month for monthly, etc.
- Keyed Data Series: Select the checkbox to store the metric as an arbitrary number of key–value pairs. This feature is useful when tracking categorical information in which the categories are not known in advance. For example, this feature would be used when recording a metric of Incidents by status from an integrated ticketing system, where the key is status and the value is number of Incidents.ImportantWhen this checkbox is selected, any data added to the custom metric must include, in addition to the value, a key to identify multiple series of data within the metric. See the “Adding Metric Data” section for more information.
- Description: Enter an optional description for the metric (up to 500 characters).
- Click the SAVE button.
ThreatConnect API
The following examples demonstrate how to create a custom metric with the ThreatConnect v2 API. For more information on the fields you can include in the request body, see the “Creating a Custom Metric” section of the ThreatConnect v2 API documentation.
Non-Keyed Metric
POST /v2/customMetrics
{
    "name": "dailyOccurrenceCount",
    "description": "A daily count of occurrences",
    "dataType": "Sum",
    "interval": "Daily",
    "keyedValues": false
}
Keyed Metric
POST /v2/customMetrics
{
    "name": "weeklyScoreAverage",
    "description": "A weekly average of scores",
    "dataType": "Average",
    "interval": "Weekly",
    "keyedValues": true
}
Adding Metric Data
After a custom metric is created, you can add data to it using the following methods:
- Create a Playbook that uses the ThreatConnect Metric Playbook App.
- Use the ThreatConnect v2 API.
The following examples demonstrate how to add data to a custom metric with the ThreatConnect v2 API. For a complete list of fields that can be included in the request body, see the “Creating Content in a Custom Metric” section of the ThreatConnect v2 API documentation.
Non-Keyed Metric
On a given day, two POST requests are submitted as follows:
POST /v2/customMetrics/dailyOccurrenceCount
{
    "value": 13
}

POST /v2/customMetrics/dailyOccurrenceCount
{
    "value": 2
}
On the next day, three more POST requests are submitted as follows:
POST /v2/customMetrics/dailyOccurrenceCount
{
    "value": 1
}

POST /v2/customMetrics/dailyOccurrenceCount
{
    "value": 1
}

POST /v2/customMetrics/dailyOccurrenceCount
{
    "value": 7
}
Since dailyOccurrenceCount is a non-keyed metric with a Sum data type, the resulting metrics will display values of 15 for the first day and 9 for the second day. Table 1 displays the results for all data types, using the same values included in the preceding POST requests.
| Data Type | Day 1 Result | Day 2 Result |
|---|---|---|
| Sum | 15 | 9 |
| Count | 2 | 3 |
| Min | 2 | 1 |
| Max | 13 | 7 |
| First | 13 | 1 |
| Last | 2 | 7 |
| Average | 7.5 | 3.0 |
Keyed Metric
Adding data to a keyed metric (weeklyScoreAverage in this example) is similar to adding data to a non-keyed metric, except it requires a name parameter in the body of a POST request. This parameter acts as the key for the value, and it allows multiple series of data to be collected under the same metric.
For example, the following two POST requests are submitted within the same interval:
POST /v2/customMetrics/weeklyScoreAverage
{
    "value": 7,
    "name": "Jack"
}

POST /v2/customMetrics/weeklyScoreAverage
{
    "value": 11,
    "name": "Jill"
}
Instead of averaging the values, they are each kept separate in their own series, one for Jack and one for Jill. Then, the following POST request is submitted:
POST /v2/customMetrics/weeklyScoreAverage
{
    "value": 13,
    "name": "Jack"
}
This request affects Jack's (but not Jill's) value. Since this metric was defined earlier as an Average data type, Jack's value is now 10.
ThreatConnect® is a registered trademark of ThreatConnect, Inc.
200101-01 v.03.A